Is It Possible to Eat Cheesecake on a Diet?
Let’s be honest: the hardest part of any weight loss journey isn’t the gym it’s the 8 PM sugar cravings. You spend all day hitting your macros and eating clean, but the moment you sit down to relax, your brain starts screaming for something sweet. For the longest time, I thought I had to choose between seeing results on the scale and enjoying my favorite desserts.
I remember one specific Tuesday evening when I was feeling particularly frustrated with my progress. Which had been “being good” for weeks, but all I wanted was a slice of rich, creamy cheesecake. I almost caved and ordered takeout, but I stopped myself. Then realized that restriction was only making me indulge later. I went into the kitchen determined to create something that matched that dense, velvety mouthfeel of a real New York-style slice
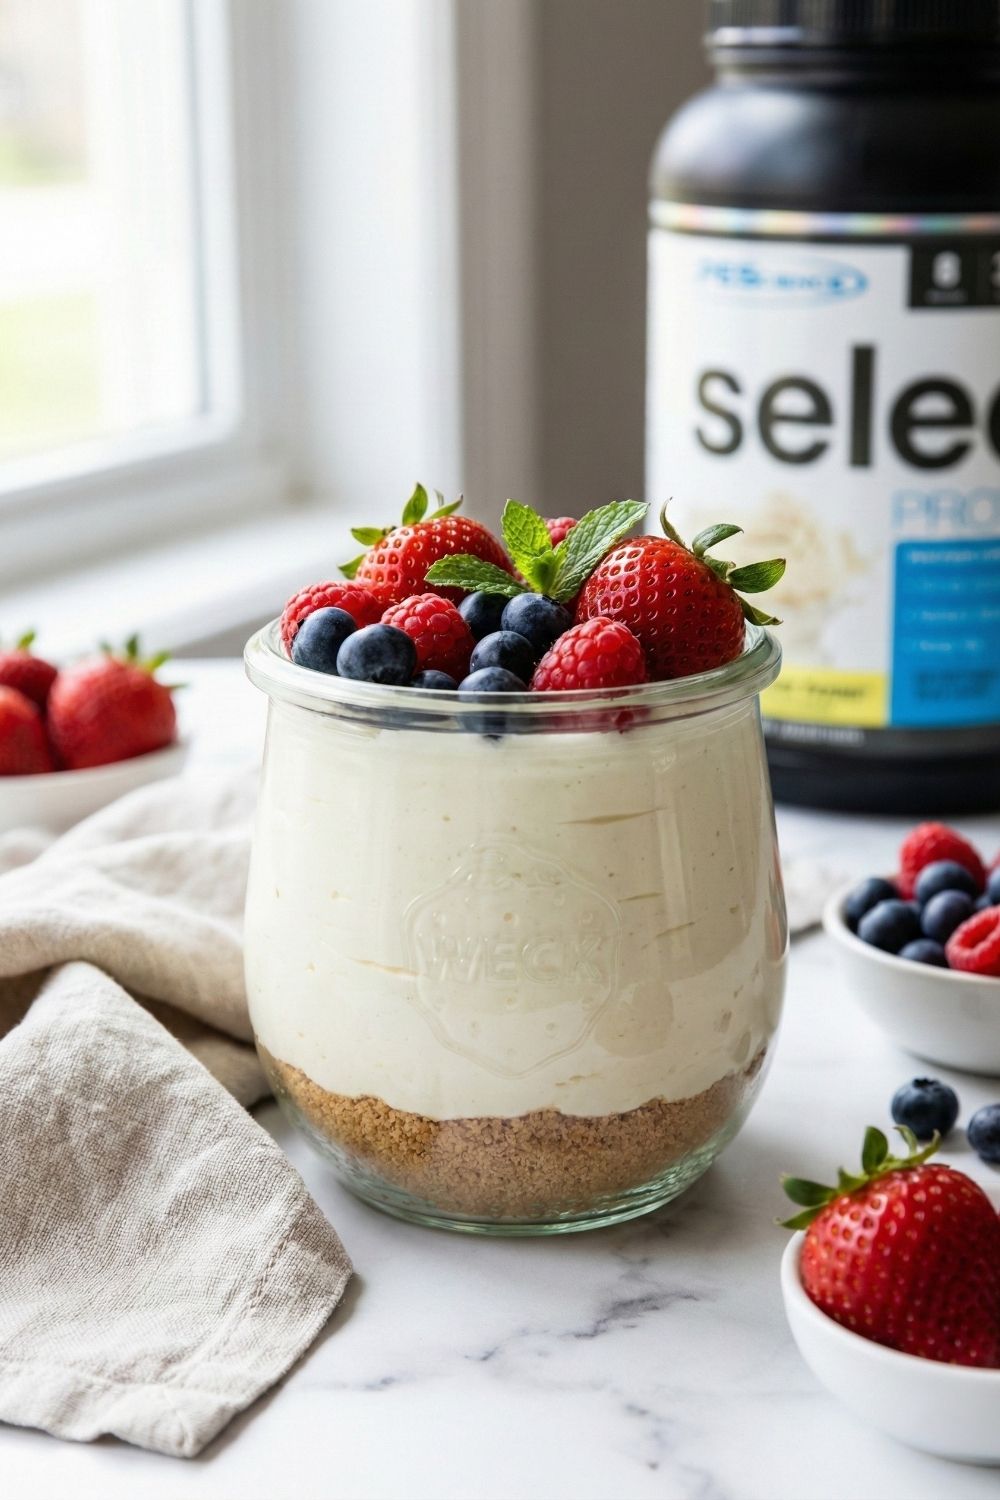
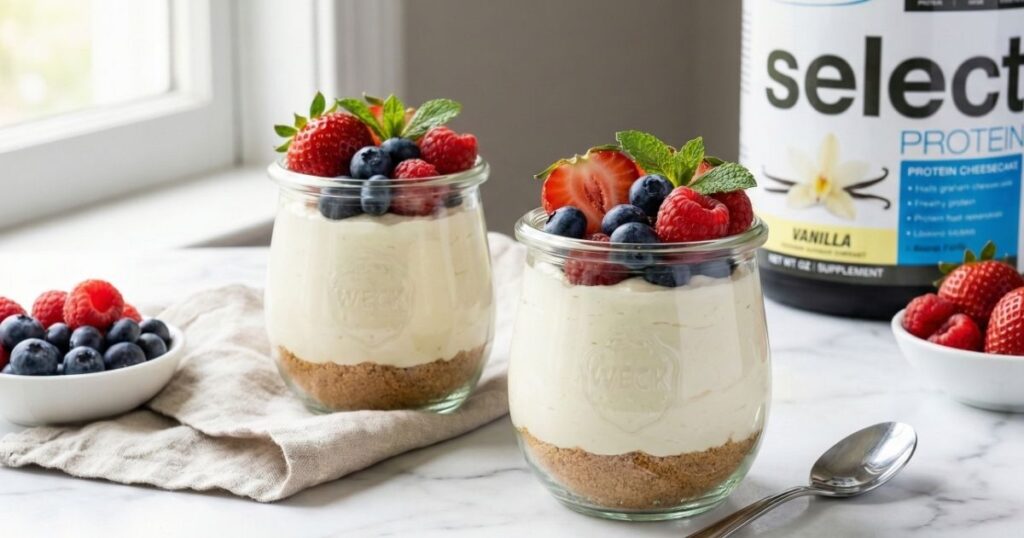
The result? These Low-Calorie High-Protein Cheesecake Jars. They are the ultimate “cheat code” for your diet. Coming in at under 200 calories and packing over 15g of protein, this recipe proves you can have your cake (or jar) and eat it too. Whether you need a post-workout refuel or just a guilt-free late-night treat, this is about to become your new obsession.
The Science Behind the Jars: Key Ingredients & Swaps
Creating a “cheesecake” that is actually good for youmand doesn’t taste like chalky gym food requires a bit of kitchen chemistry. To keep this recipe high protein and sugar-free without sacrificing that dense, rich mouthfeel, we have to choose our ingredients carefully. Here is the breakdown of why this specific combination works.
1. The Creamy Base: Cottage Cheese vs. Greek Yogurt
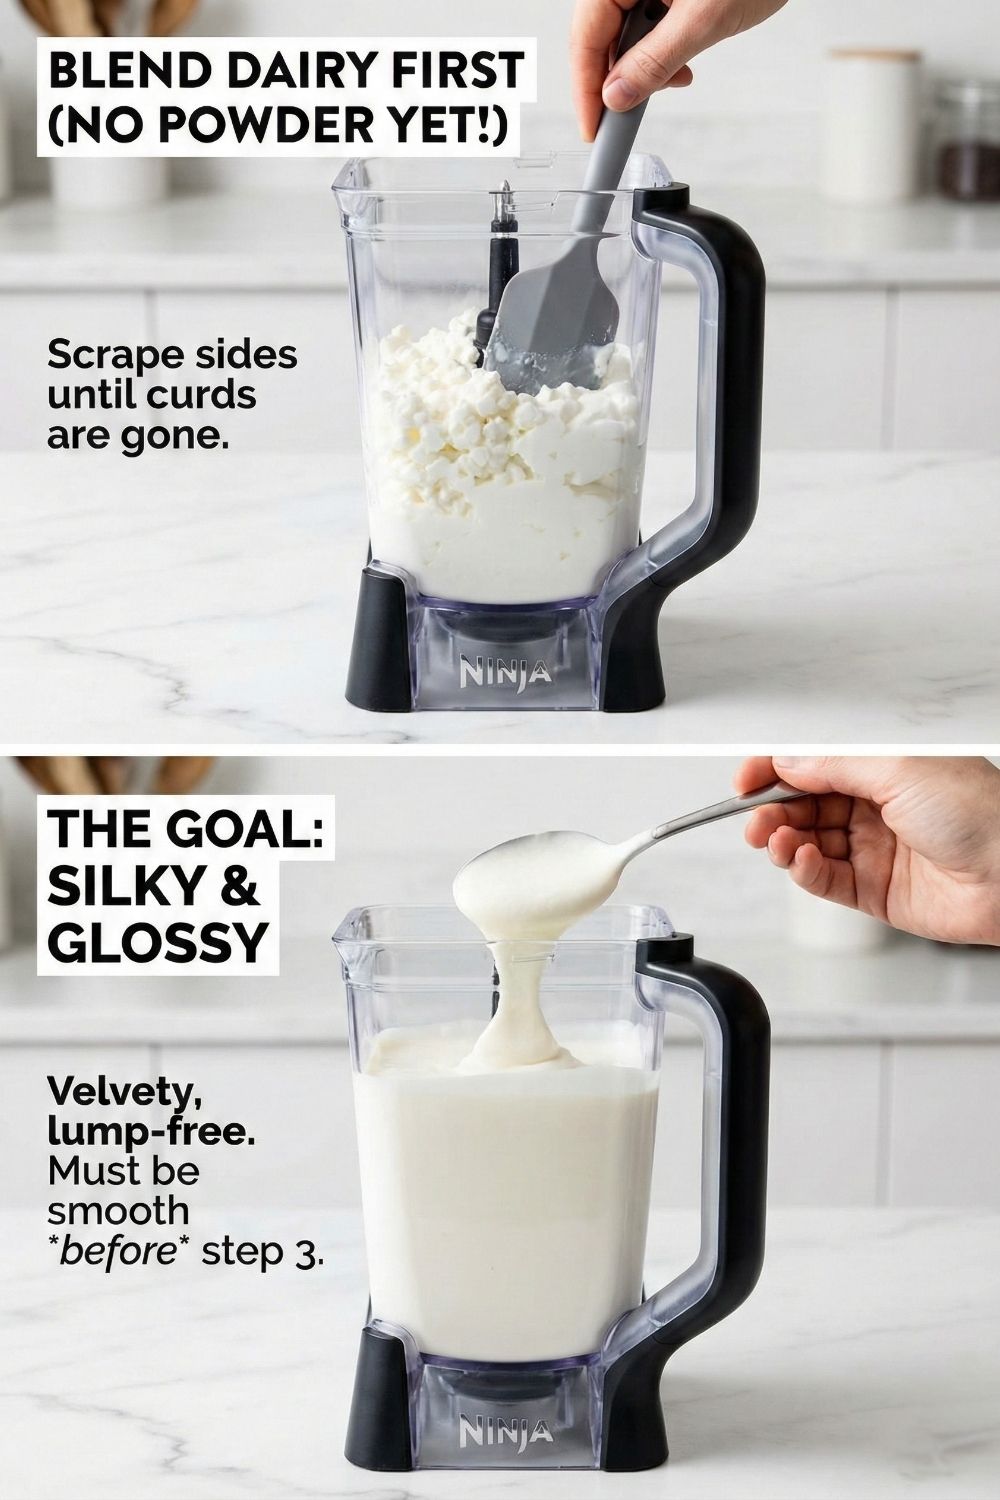
If you are skeptical about using cottage cheese in a dessert, I get it. But trust the process. When you blend cottage cheese, the curds disappear completely, transforming into a silky, slightly salty base that mimics cream cheese perfectly.
While many high-protein recipes rely solely on Non-Fat Greek Yogurt, I find that yogurt alone can be too tangy and a bit thin. By using a 50/50 blend of whipped cottage cheese and Greek yogurt, we get the best of both worlds: the structure and mild flavor of the cheese, plus the probiotics and tang of the yogurt.
- Dairy-Free Option: You can swap this for a thick dairy-free yogurt (like coconut or almond), but note that the protein count will drop significantly unless you add more powder.
2. The Thickener: Why I Recommend Casein (or a Blend)
Not all protein powders act the same in no-bake desserts.
- Casein Protein: This is the gold standard for cheesecake jars. Casein is a slow-digesting milk protein that naturally thickens when it hits liquid, creating a pudding-like consistency.
- Whey Protein: Whey is great for drinking, but it can sometimes result in a runny or “soup-like” texture in jars. If you only have Whey, you might need to add a teaspoon of coconut flour or xanthan gum to help it set.
I used a Vanilla Casein blend for this recipe, and it gave the filling a luxurious thickness that mimicked actual cream cheese, holding its shape on the spoon without any of that gritty, chalky aftertaste usually found in protein desserts.
3. The Crust & Sweeteners (Gluten-Free Options)
To keep this under 200 calories, we ditch the stick of butter usually found in graham cracker crusts. Instead, I use a splash of almond milk to bind the crumbs.
- Make it Gluten-Free: Simply swap standard graham crackers for a gluten-free alternative or use almond flour for a lower carb, keto-friendly base.
- Sweeteners: I stick to liquid Stevia or Monk Fruit to keep this 100% sugar-free, but maple syrup works if you prefer natural sugars (just remember to adjust the calorie count).
How to Make It: Step-by-Step for the Perfect Texture
You don’t need a water bath or a springform pan for this recipe. However, the order in which you blend your ingredients matters immensely if you want to avoid a grainy texture. Here is exactly how to build your jars to get that premium, dessert-shop finish.
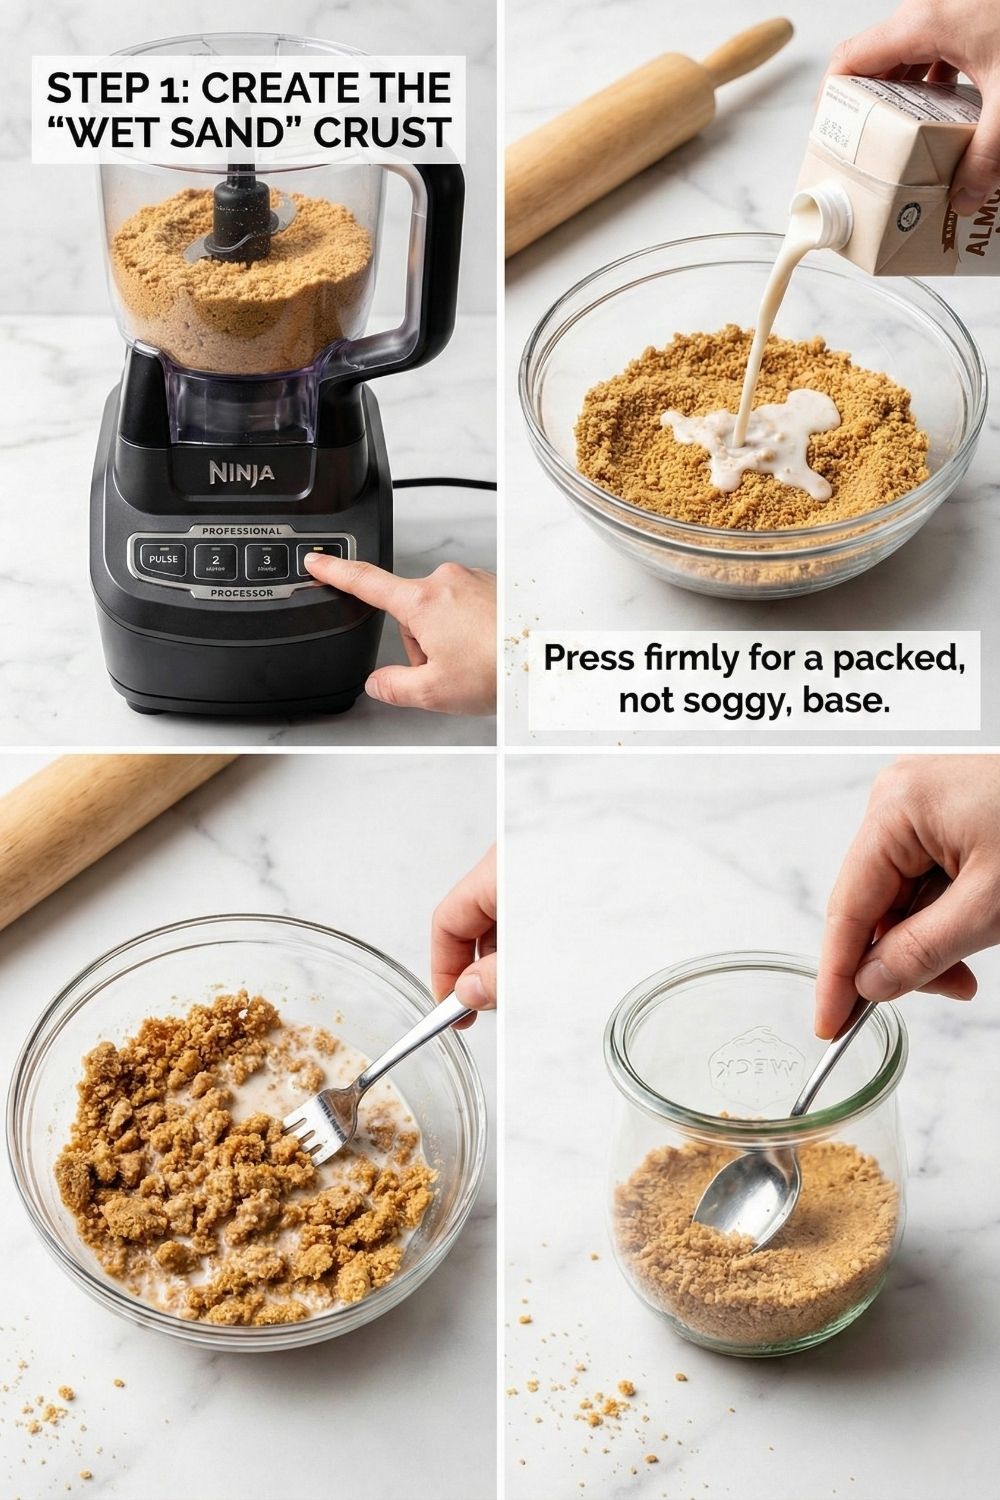
Step 1: Create the “Wet Sand” Crust
Start by crushing your graham crackers (or gluten-free alternative) into a fine dust. I like to do this in a small food processor, but a sealed bag and a rolling pin work just as well. Add your splash of almond milk slowly. You aren’t looking for a dough; you want a texture that resembles damp sand. When you press it into the bottom of your jar with the back of a spoon, it should pack down firmly without being soggy.
Step 2: The “Whip” (Crucial Step)
This is where the magic happens. Place your cottage cheese and Greek yogurt into a high-speed blender or food processor. Do not add the protein powder yet. Blend on high for at least 60-90 seconds. You need to break down every single curd of cottage cheese. Stop and scrape down the sides, then blend again until the mixture is completely silky and glossy. If you stop too early, you will end up with a lumpy consistency that feels odd on the tongue.
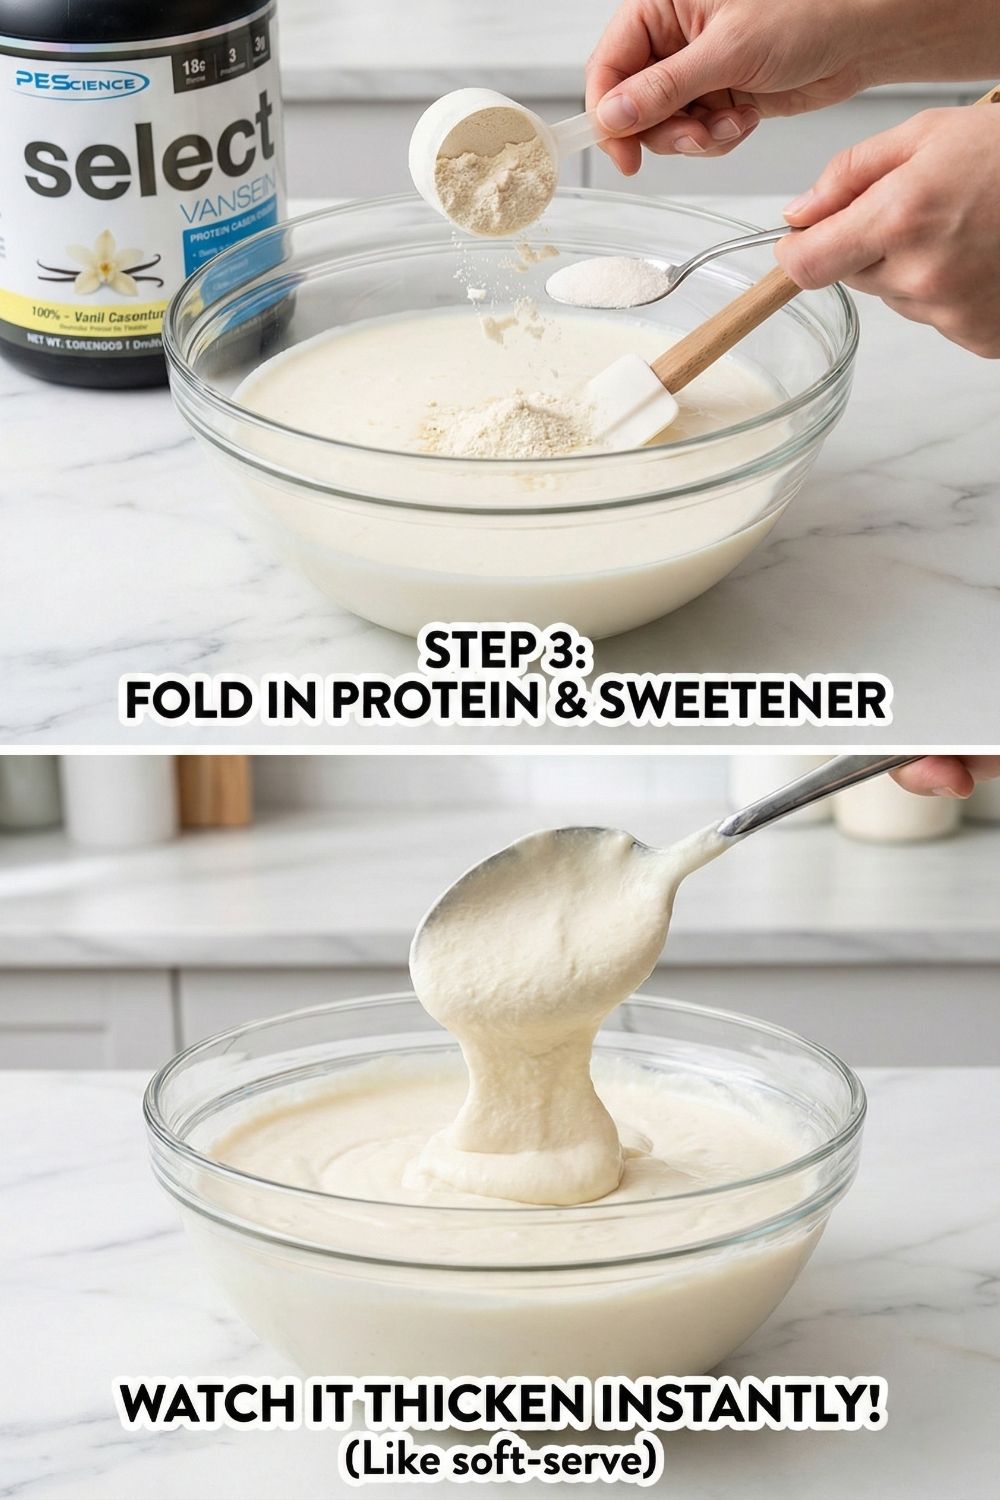
Step 3: Fold and Thicken
Once the dairy base is perfectly smooth, add your protein powder, sweetener, and optional pudding mix. Pulse this gently or fold it in by hand to avoid over-aerating the mixture, which can cause bubbles. As you mix in the casein, you will notice the batter instantly transform from a runny yogurt consistency to a thick, heavy batter that clings stubbornly to the spoon almost like a soft-serve ice cream.
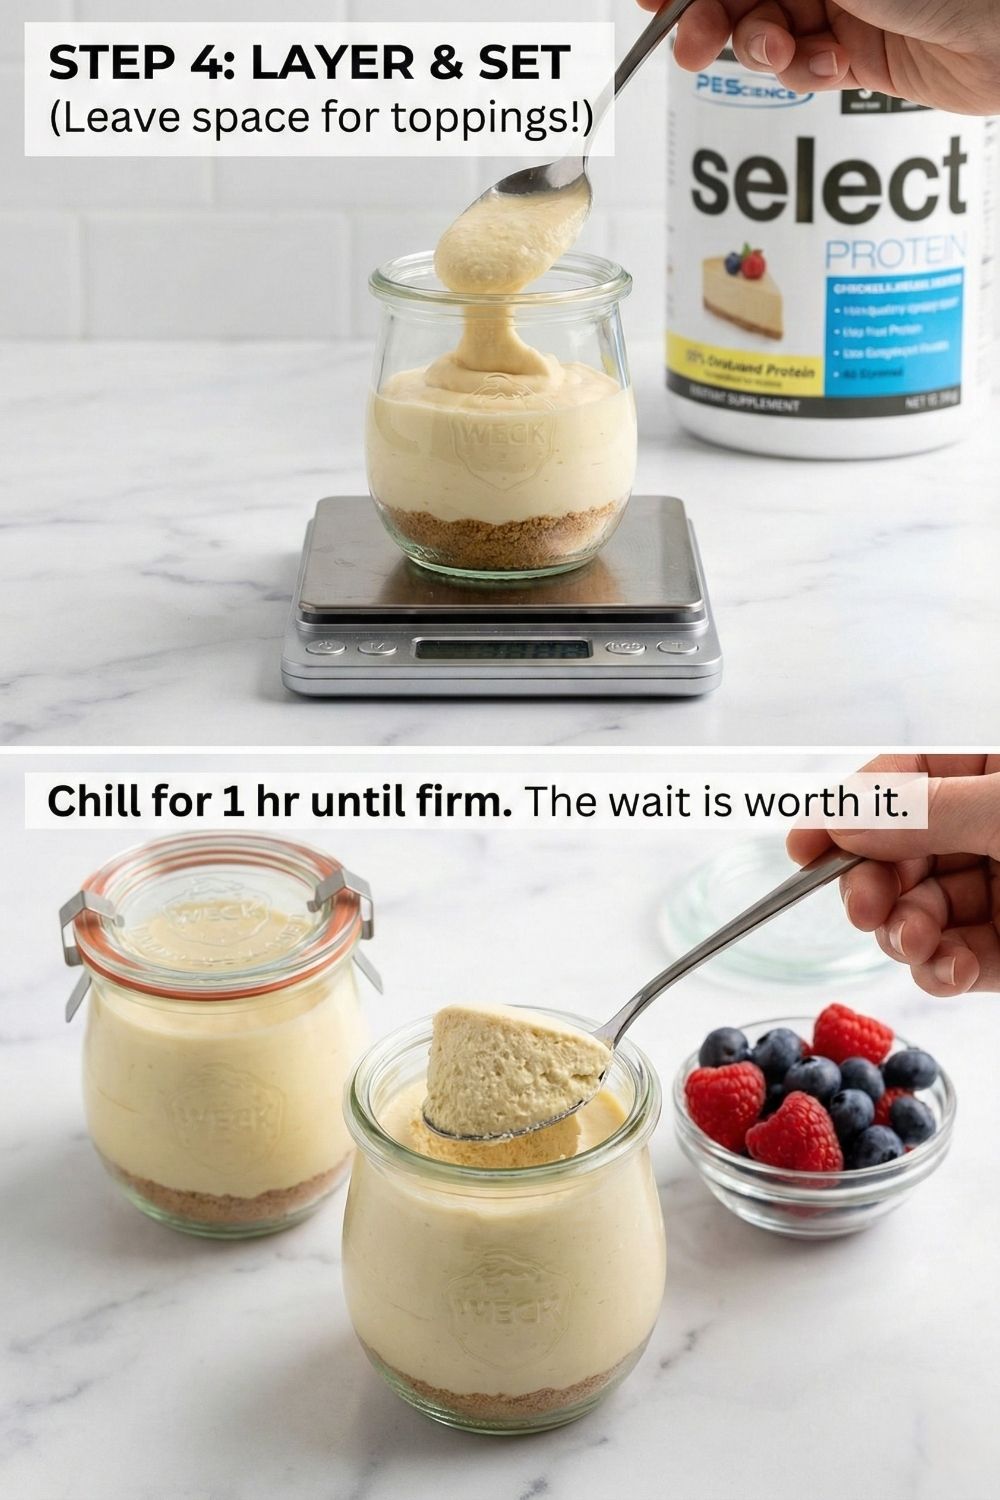
Step 4: Layer and Set
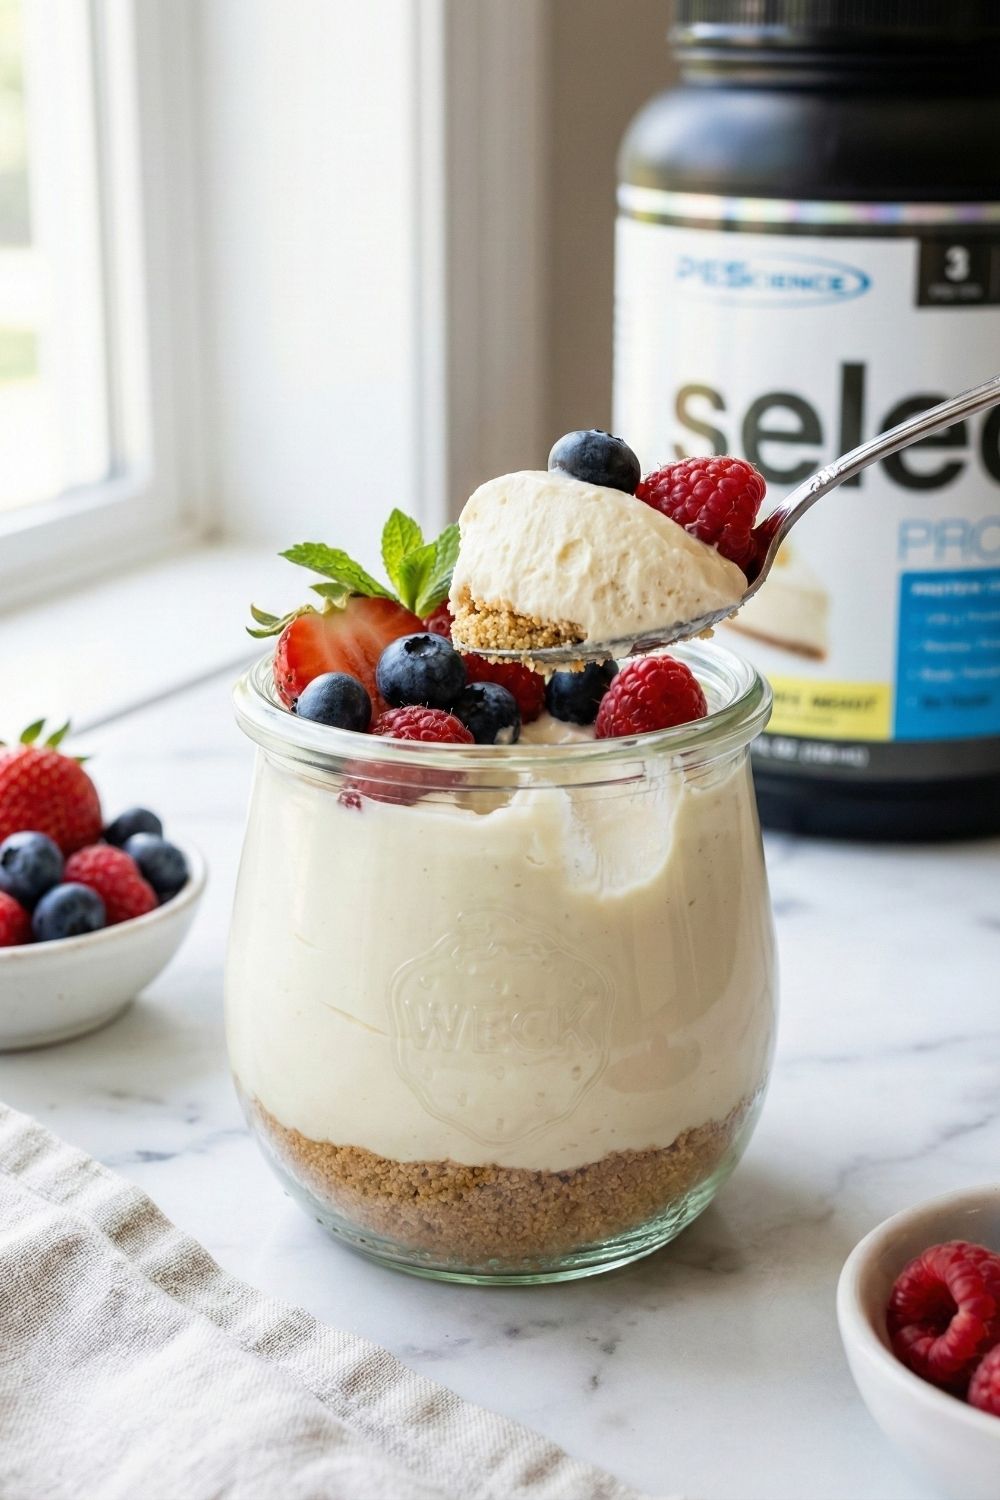
Spoon the filling over your crust. Smooth the top with the back of a wet spoon. Now, the hardest part: The Wait. Place the jars in the fridge for at least 30 minutes (ideally an hour). This allows the protein powder to absorb the moisture and the pudding mix to activate, changing the texture from “yogurt” to a firm, decadent cheesecake mousse that holds its shape when you dig in.
Reminder: Always double-check health claims and calorie counts with the specific brands you use, as ingredient density varies.
Low Calorie Protein Cheesecake Jars Recipe Frequently Asked Questions
When making high-protein desserts, small variables can change the outcome. Here are the answers to the most common questions I get about getting that perfect cheesecake consistency.
If your filling looks more like soup than cheesecake, the culprit is usually the type of protein powder used. Whey protein does not thicken the same way Casein does. If you only have Whey, your mixture will be thinner. To fix this, I recommend adding 1 teaspoon of xanthan gum or sugar-free pudding mix to help stabilize the structure. Also, ensure you didn’t skip the chilling time the mixture needs at least an hour in the fridge to set into that set into that firm, scoopable mousse that feels indulgent and heavy on the tongue.
Absolutely. These jars are actually better the next day. They will stay fresh in the refrigerator for 4 to 5 days when stored in airtight mason jars.
Pro Tip: If you prefer a crunchy crust, the graham crackers at the bottom will soften (become “cake-like”) after 24 hours. If you hate soft crusts, store the filling in the jar and sprinkle the crushed crackers on top right before you eat.
This recipe is designed to be under 200 calories (specifically ranging between 180–195 calories depending on your yogurt brand) with approximately 18–22g of protein. Compared to a standard slice of cheesecake which can hit 800+ calories, this is a massive volume-eating hack.
Can I freeze them? Yes, but the texture will change to resemble ice cream rather than cheesecake. If you freeze them, let them thaw on the counter for 10 minutes before eating.
Reminder: Please double-check health claims and recalculate the macro-nutrients using the exact brands of protein powder and cottage cheese you have in your kitchen, as formulations vary significantly.
Ready to Dig In?
I really hope these cheesecake jars become a staple in your meal prep rotation just like they have in mine. It is honestly rare to find a recipe that hits that perfect balance of tangy cheesecake flavor and sweet vanilla notes, with such a surprisingly creamy mouthfeel while still helping you hit your protein goals. You no longer have to choose between your health journey and your dessert cravings.
If you give this recipe a try, please leave a star rating and a comment below I love hearing how you customize your toppings! Also, don’t forget to save this pin to your “Healthy Desserts” or “High Protein” board on Pinterest so you can find it whenever that sweet tooth hits.