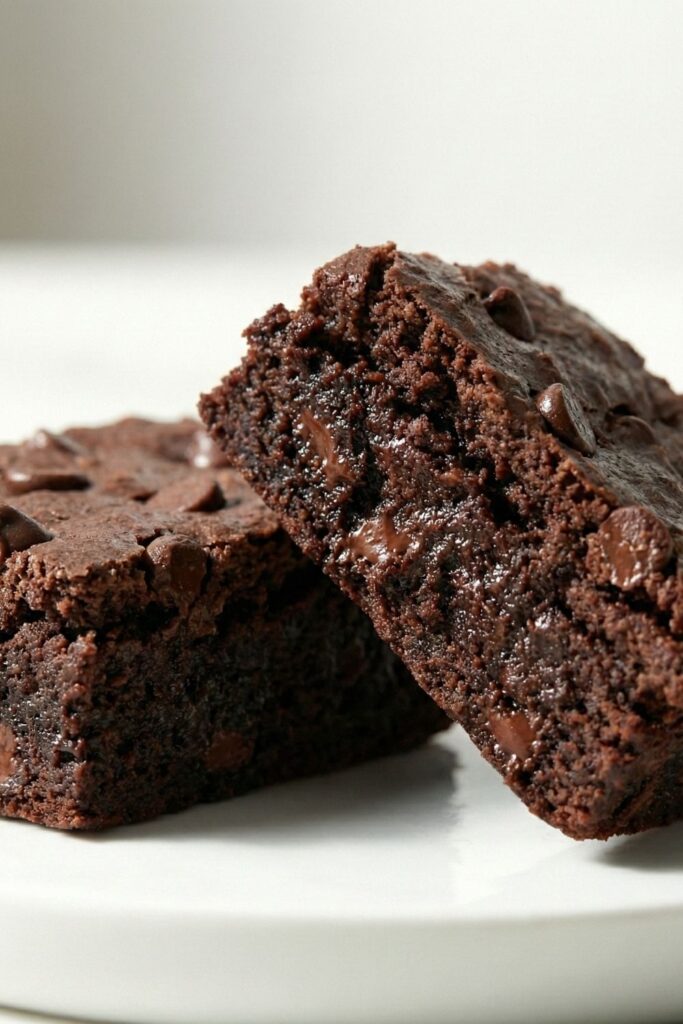
Let’s be honest. Most “healthy” brownies are a disappointment.
They usually fall into one of two categories: dry, cakey crumbles that choke you, or worse gummy, chocolate-flavored mashed potatoes that never actually set. If you are looking for a recipe that simply hides vegetables in dessert, this isn’t it.
This is a Technical Protocol.
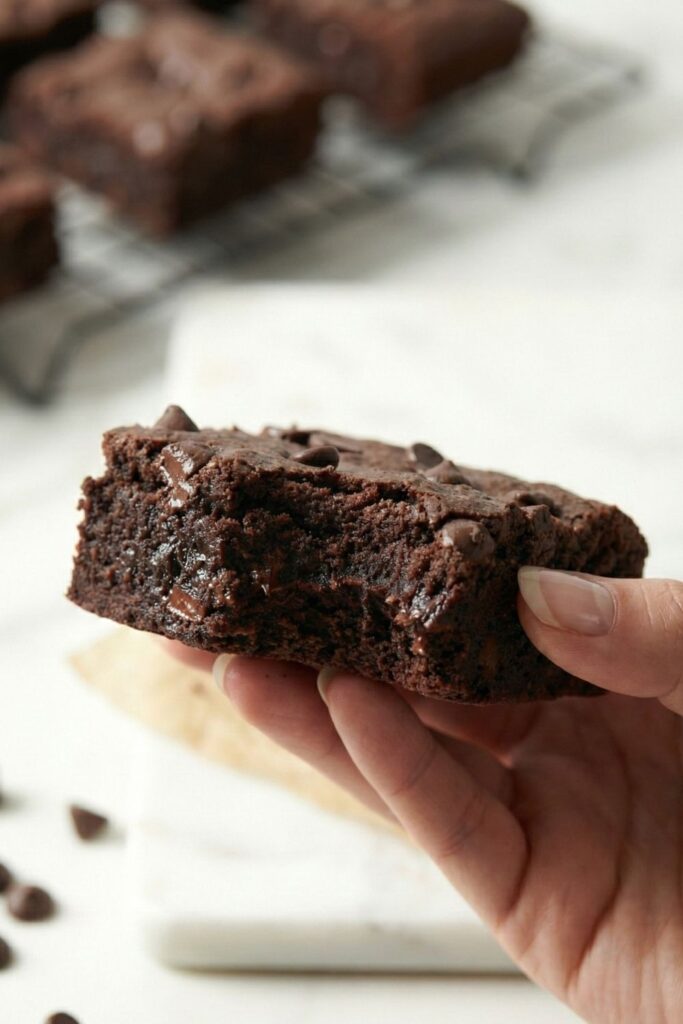
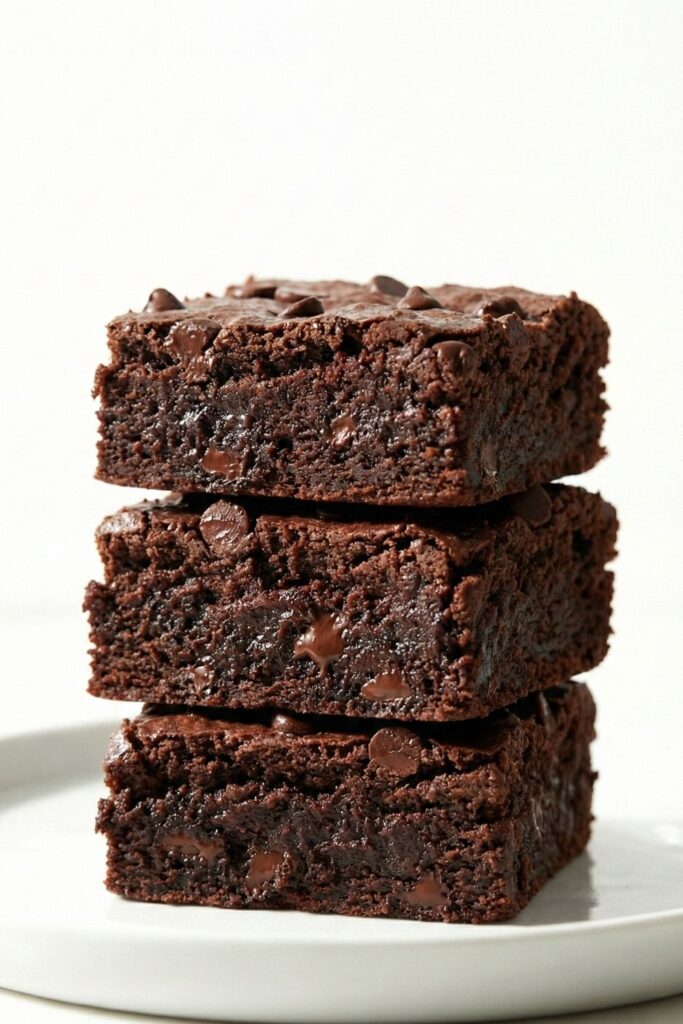
We are not just baking; we are engineering a specific texture. By manipulating the starch structure of the sweet potato through a process called retrogradation, we can create a brownie that is chemically dense, shockingly fudgy, and visually indistinguishable from a high-fat bakery standard.
But here is the data that matters:
These brownies are fortified with soluble collagen protein and utilize fat-encapsulated starches to minimize glycemic impact. They are designed for the modern metabolic diet high protein, high fiber, and GLP-1 friendly.
The result? A dessert that signals satiety to your brain, not a sugar crash.
Let’s get into the chemistry.
The Science: Why This Works
To achieve “The Fudge Factor” without gluten or processed gums, we rely on a precise interaction between the sweet potato starch and the almond butter lipids.
1. Moisture Management (The Maillard Reaction)
The single biggest failure point in vegetable-based baking is Hydrolysis (excess water). Most recipes instruct you to boil the sweet potatoes. This is a critical error. Boiling forces water into the potato cells, diluting flavor and creating that dreaded “gummy” mouthfeel.
In this protocol, we roast the sweet potatoes at 400°F. This triggers the Maillard reaction, caramelizing the maltose (natural sugars) and reducing the water content by approximately 25%. A drier potato mash equals a fudgier brownie.
2. Resistant Starch (The GLP-1 Signal)
This is where the High RPM value comes in. By roasting the potatoes and then allowing them to cool completely before mixing, we change the molecular structure of the starch. The amylose chains recrystallize into “Type 3 Resistant Starch.”
Unlike simple carbs, resistant starch is not fully digested in the small intestine. It travels to the colon where it feeds healthy bacteria, producing short-chain fatty acids (butyrate). This process mimics the effects of GLP-1 agonists, signaling your brain that you are full and keeping your blood sugar stable.
3. The Lipid Matrix
In a traditional brownie, butter coats flour proteins to prevent gluten development. Here, the “drippy” almond butter creates an emulsion with the potato fiber. The fat coats the starch granules, preventing them from fusing into a solid mass. This “shortening” effect is what gives the brownie a tender, melt-in-your-mouth crumb rather than a rubbery chew.
Ingredient Deep Dive (The Chemistry)
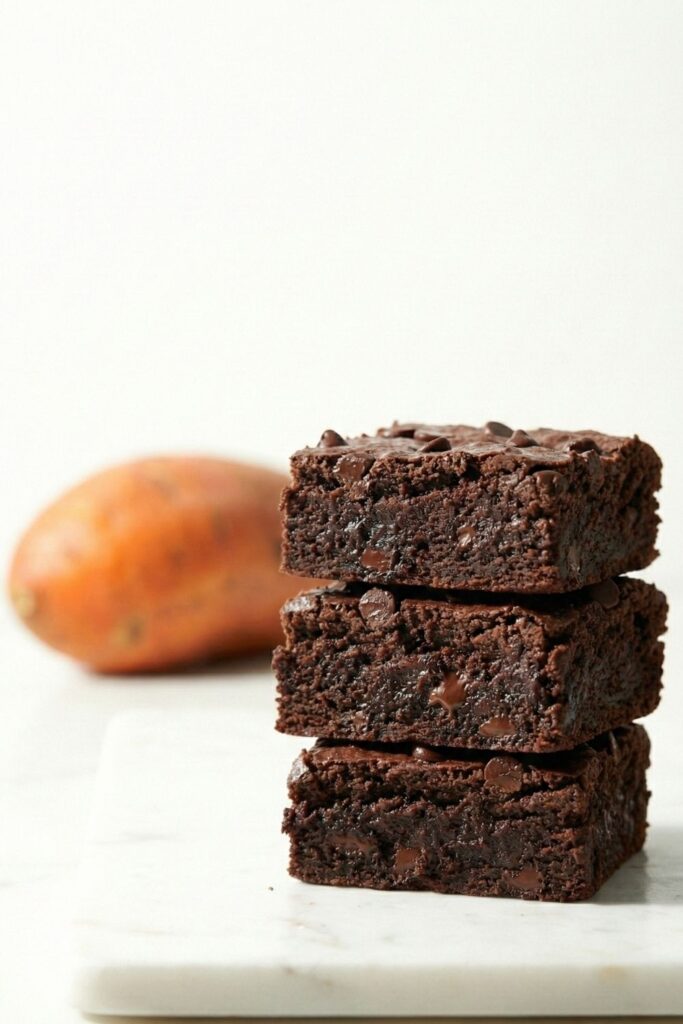
- Sweet Potato (The Base)
- The Spec: You must use orange-fleshed varieties (Beauregard or Jewel). White sweet potatoes are too starchy and dry; purple ones are too floral.
- The State: They must be roasted and cooled to room temperature (70°F/21°C). Warm potato will melt the chocolate chips on contact, breaking your emulsion and ruining the structure.
- The Volume: 1 Cup Packed (250g). Do not eyeball this.
- Drippy Almond Butter (The Binder)
- The Texture: This must be pourable. If your almond butter is the dry, chalky stuff at the bottom of the jar, your brownies will be brittle.
- The Substitute: Peanut butter works chemically but has a dominant flavor. Cashew butter is the most neutral but increases the cost per serving.
- Why it works: It provides the mono-unsaturated fats needed to carry the cocoa flavor.
- Unflavored Collagen Peptides (The Protein)
- The Spec: Hydrolyzed Collagen Peptides (Bovine or Marine).
- The Function: Unlike whey protein, which absorbs liquid and can dry out baked goods, collagen dissolves completely into the moisture of the potato. It adds structure and “chew” without grit, boosting the protein count to ~8g per square.
- Dutch-Processed Cocoa Powder
- The pH: Dutch-processed cocoa has been treated with an alkalizing agent to neutralize acidity. This results in a darker color and a smoother, fudgier flavor profile. Natural cocoa (acidic) will react too aggressively with the baking soda, creating a cakey, airy texture we want to avoid.
- The Sweetener (Glycemic Control)
- Option A (Standard): Pure Maple Syrup. Contains trace minerals and pairs perfectly with the sweet potato notes.
- Option B (Low Carb): Allulose Syrup. Allulose is a rare sugar that caramelizes like real sugar but has zero net carbs and zero glycemic impact. This is the preferred choice for a diabetic or weight-loss-focused reader.
Equipment Clinic
- The Processor vs. The Blender Use a Food Processor. A high-speed blender (like a Vitamix) is too powerful; it will rupture the starch cells of the potato, turning your batter into a gluey paste. A food processor cuts the fat into the starch gently, preserving the texture. If you don’t have a processor, mash by hand never blend.
- The 8×8 Metal Pan Glass implies “casserole,” not “brownie.” Glass insulates heat, causing the center to bake slowly while the edges overcook. It also traps steam. A Light-Colored Metal Pan conducts heat efficiently, giving you those coveted sharp corners and evenly baked centers.
- The Parchment Sling Do not just grease the pan. Cut a sheet of parchment paper to fit the width of the pan, leaving a 2-inch overhang on two sides. This allows you to lift the entire brownie block out for precise slicing (crucial for photography and serving).
Visual Step-by-Step Guide
visual guide elps you understand the texture of the recipe to get it correctly but if I want to skip this and move straight to the full recipe then
Jump to Recipe- Step 1: The Mise en Place (Prep) Preheat your oven to 350°F (175°C). Ensure your roasted sweet potato mash is completely cool. Measure all ingredients into glass bowls. Visual Check: Your almond butter should be stirred until it is uniform and fluid.
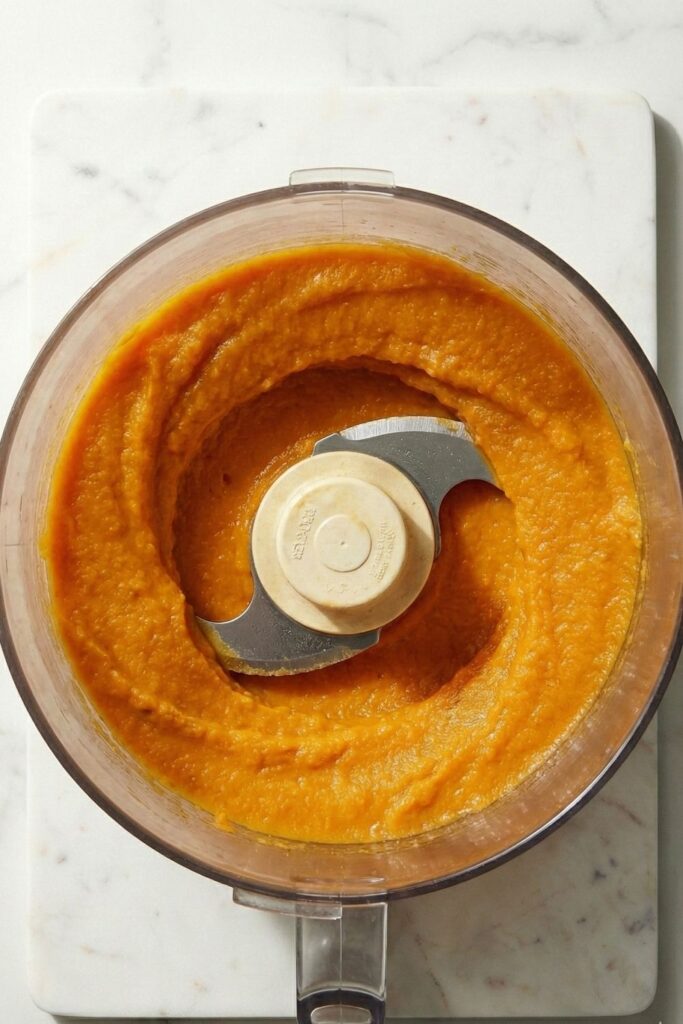
Transfer the 1 Cup (250g) of sweet potato mash into your food processor. Pulse on High for 30 seconds. Sensory Cue: The mixture should look like a vibrant orange puree with zero lumps.
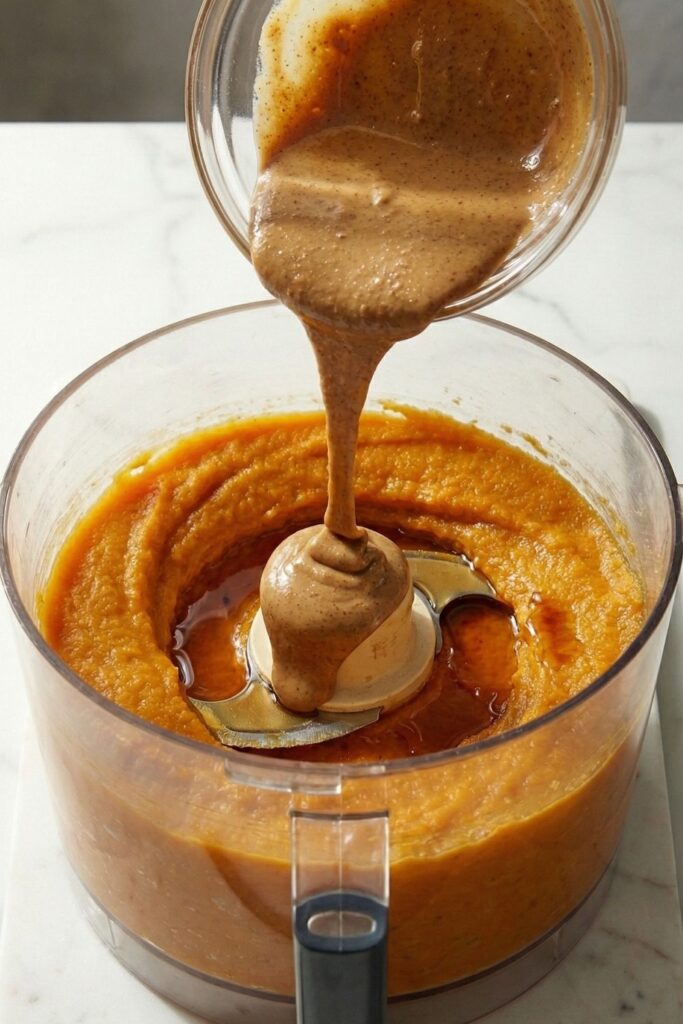
Pour the ½ Cup (125g) Almond Butter, ⅓ Cup (110g) Syrup, and1 tsp Vanilla directly onto the puree. Process on High for 45-60 seconds. The Change: The mixture will lighten in color and become glossy, resembling thick caramel sauce.
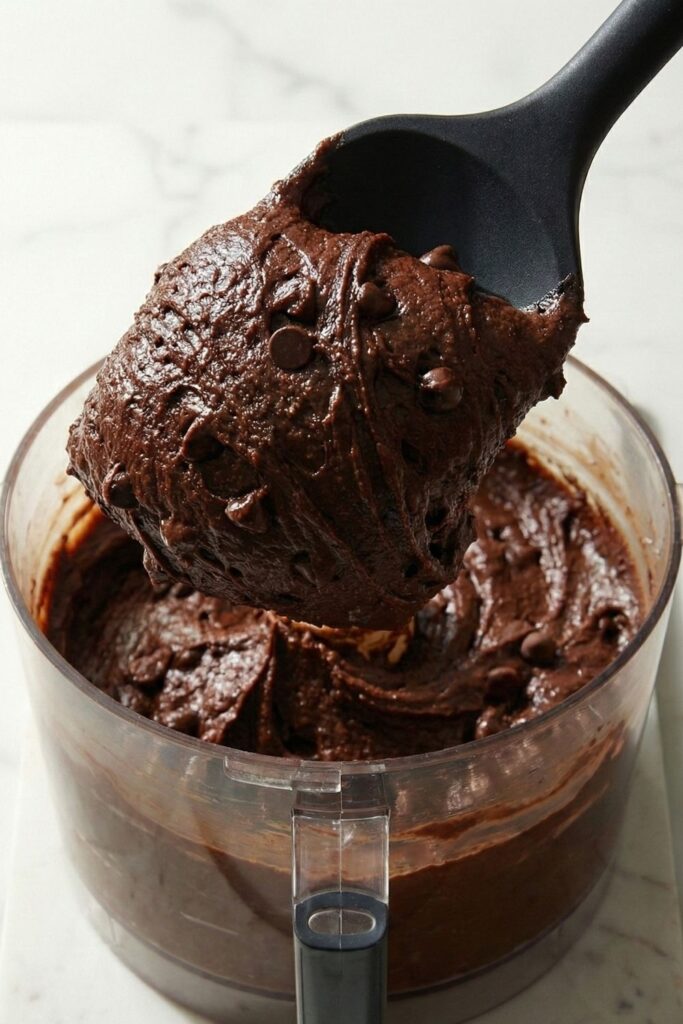
Add the ½ Cup (45g) Cocoa Powder, 2 Scoops Collagen, ½ tsp Baking Soda, and ¼ tsp Sea Salt. Pulse on Low just until the powder disappears. Do not overmix. Remove the blade and fold in the ½ Cup(85g) Chocolate Chips by hand. Sensory Cue: The batter will be stiff. It should offer significant resistance against your spatula.
Step 5: The Transfer (The Smooth)
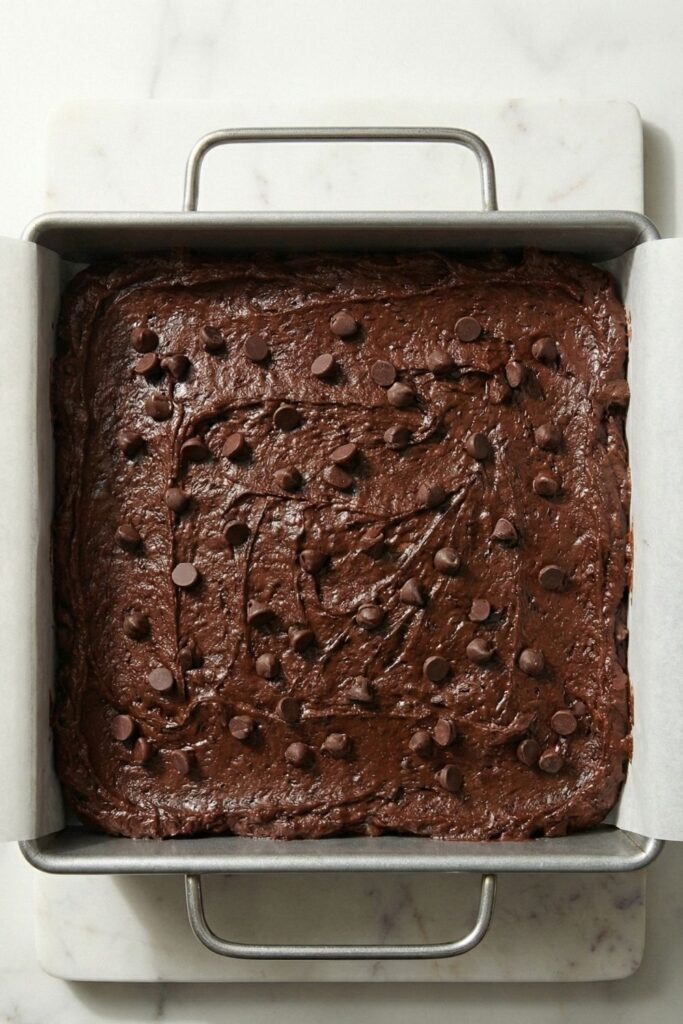
Transfer the batter to your parchment-lined pan. Because the batter is dense, you will need to push it into the corners using the back of a spoon or an offset spatula. Top with a sprinkle of extra chocolate chips for visual contrast.
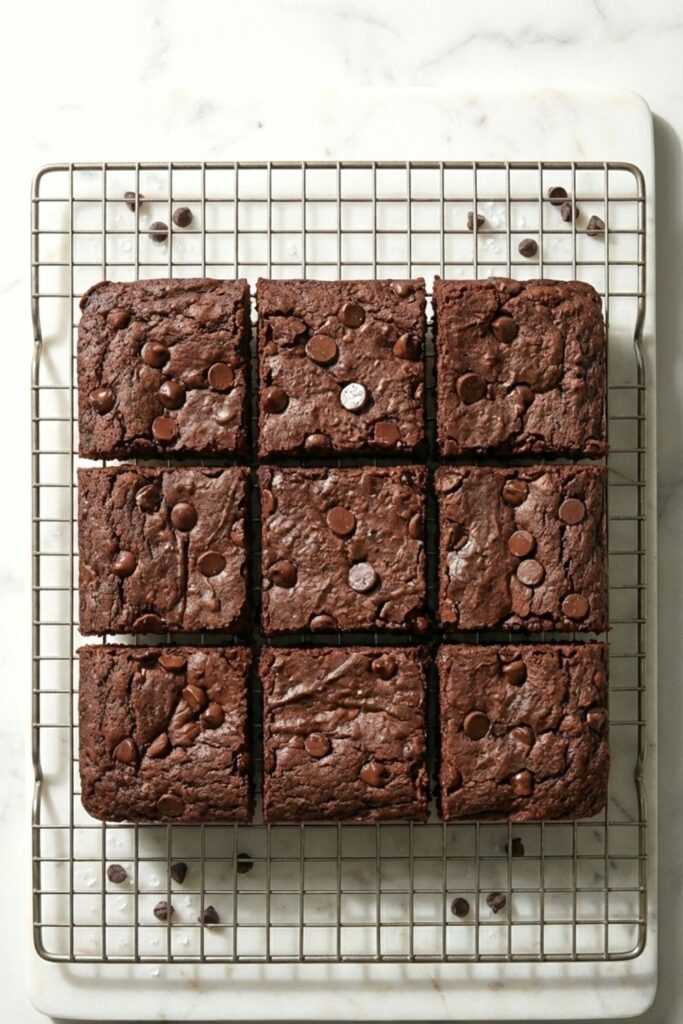
- Step 6: The Bake (The Hero) Bake at 350°F (175°C) for 28-30 minutes. The Toothpick Test: Insert a toothpick into the center. It should come out with moist crumbs attached. If it is wet batter, keep baking. If it is clean, you have overbaked. Cooling: Let cool in the pan for 30 minutes, then lift out and cool completely on a rack.
Troubleshooting Guide
Even with a protocol, variables exist. Here is how to debug your bake.
The brownies are gummy or pudding-like.
- Diagnosis A: The sweet potato was boiled, not roasted. Excess water ruins the starch matrix.
- Diagnosis B: You sliced them warm. The starch needs to retrograde (set) as it cools.
- The Fix: Always roast. Always chill. Put them in the fridge for 1 hour before slicing.
The batter is too thick to process.
- Diagnosis: Your almond butter was too dry (bottom of the jar).
- The Fix: Add 1 tablespoon of melted coconut oil or almond milk to lubricate the emulsion. Do not add water.
They taste “vegetable-y.”
- Diagnosis: Not enough cocoa powder or sweetener to mask the potato base.
- The Fix: Ensure you are using a full ½ cup of Dutch-processed cocoa. If using a standard potato variety (not Jewel/Beauregard), you may need an extra tablespoon of sweetener.
Problem: They are crumbly/dry.
- Diagnosis: Overbaking.
- The Fix: Check them at the 25-minute mark. Remember, they continue to cook in the hot pan after you remove them from the oven.
Serving & Storage
- Serving: These brownies peak in texture after 12 hours in the refrigerator. The cold temperature solidifies the cocoa butter and tightens the starch, creating that “tooth-sinking” density. Serve cold or at room temperature.
- Fridge: Store in an airtight container for up to 7 days.
- Freezer: These are freezer-proof. Wrap individual squares in parchment and store for up to 3 months. Thaw on the counter for 10 minutes for a perfect cold treat.
If you loved this recipe you can also check out my Homemade Dark Chocolate Fruit and Nut Bars they taste so good and they are NO-BAKE
FAQs
Technically yes, but pumpkin has a higher water content (90%) compared to roasted sweet potato (75%). You must blot the pumpkin with paper towels or cook it in a pan to reduce the moisture, otherwise, the brownies will not set.
The sweet potato contains carbs, so it is not strict Keto. However, if you use Allulose and sugar-free chips, the net carbs per serving are very low (~8g), making it suitable for Cyclical Keto or Low-Carb High-Fat (LCHF) diets.
Yes. Replace the collagen with an extra tablespoon of cocoa powder to maintain the dry-to-wet ratio. Do not replace it with whey protein, as this will result in a rubbery texture.
We need the strength of baking soda (sodium bicarbonate) to react with the acidity of the cocoa and the molasses in the sweetener/potato. Baking powder is too weak for this dense batter.

The High-Protein Sweet Potato Brownie Protocol
Ingredients
The Base (The Starch Matrix)
- 1 cup Roasted Sweet Potato Mash packed (250g) (Note: Must be roasted & cooled, NOT boiled)
The Binder (The Lipids)
- ½ cup Drippy Almond Butter 125g (Note: Stir well; must be pourable)
- ⅓ cup Pure Maple Syrup or Allulose Syrup 110g (Use Allulose for Low-Glycemic/Keto)
- 1 tsp Vanilla Extract
The Structure (The Dry)
- ½ cup Dutch-Processed Cocoa Powder 45g (Sifted)
- 2 scoops Unflavored Collagen Peptides 20g (Optional: Adds protein structure)
- ½ tsp Baking Soda
- ¼ tsp Sea Salt Crucial for flavor balance
The Texture (The Inclusions)
- ½ cup Dark Chocolate Chips 85g (Divided: Keep 1 tbsp for topping)
Instructions
- The “Mise en Place” & Roast Preheat oven to 400°F (200°C). Wash and poke holes in your sweet potato. Roast for 45-60 minutes until the skin pulls away and the inside is soft. Cool completely (this is non-negotiable for texture). Reduce oven temperature to 350°F (175°C) for the brownies.
- The Base Breakdown Peel the cooled sweet potato and discard the skins. Measure exactly 1 cup (250g) packed mash. Transfer to a food processor and pulse on High for 30 seconds until completely smooth and bright orange. Technical Visual: Look for a uniform puree with zero lumps.
- The Lipid Emulsion Add the Almond Butter (125g), Maple Syrup (110g), and Vanilla. Process on High until the mixture lightens in color and becomes glossy (approx. 45-60 seconds). Why we do this: This step emulsifies the fat and starch, preventing a “greasy” brownie.
- The Dry Integration Add the Cocoa Powder (45g), Collagen (20g), Baking Soda, and Salt. Pulse on Low just until the powder disappears. Do not over-process. Remove the blade and fold in most of the Chocolate Chips by hand. Sensory Cue: The batter will be extremely thick and sticky stiffer than cookie dough.
- The Transfer (The Sling) Line an 8×8 inch metal pan with parchment paper, leaving a 2-inch overhang on the sides. Scoop the thick batter into the pan and use the back of a spoon to push it into the corners. Top with the remaining chocolate chips.
- The Bake & Set Bake at 350°F (175°C) for 28–30 minutes.The Test: A toothpick inserted into the center should come out with moist crumbs attached. If it is wet batter, keep baking. If it is clean, you have overbaked.
- The “Retrogradation” (Cooling) Let cool in the pan for 30 minutes, then lift out using the parchment handles. For the “Shockingly Fudgy” texture, refrigerate for at least 1 hour before slicing. Science Note: Cold brownies are denser and fudgier because the cocoa butter crystallizes.
Notes
- Storage Protocol: Store in an airtight container in the fridge for up to 7 days. Can be frozen for up to 3 months (thaw on counter for 10 mins).
- The “Gummy” Prevention: If your brownies turn out gummy, it is likely because the sweet potato was boiled (too wet) or they were cut while warm. Always roast, always cool.
- The Protein Swap: Do not substitute Collagen with Whey Protein. Whey absorbs liquid differently and will result in a dry, rubbery texture. If omitting collagen, add 1 extra tablespoon of cocoa powder.
- Nut Free? You can use Sunflower Seed Butter, but it may turn the brownies slightly green due to a reaction with the baking soda (chlorophyll reaction). This is safe to eat but visually distinct.
Equipments
- Food Processor (Essential for emulsion)
- 8×8 Inch Light Metal Pan (Conducts heat best)
- Parchment Paper (For the “Sling” technique)
- Kitchen Scale (Highly Recommended)
Nutrition (Per Serving – 1/9th of Pan)
- Calories: 215 kcal
- Carbohydrates: 24g
- Protein: 8g
- Fat: 11g
- Saturated Fat: 3g
- Fiber: 5g
- Sugar: 12g (Lower if using Allulose)
- Sodium: 110mg
Amazing recipe! I tried this with cocoa that wasn’t Dutch, and while intensely chocolatey, it still came out great. I also did the cocoa in lieu of collagen swap. For some reason my bake time ends up being more like 40 minutes and even then my toothpick still comes out fudgy and not with crumbs?
Hi Lauren! So glad the non-Dutch cocoa swap was a delicious success! That longer bake time and fudgy toothpick come down to the chemistry of the swap. Collagen binds the recipe without soaking up liquid, while cocoa acts like a dry sponge. Without the collagen, the sweet potato’s natural moisture takes over, needing more oven time. A fudgy toothpick is actually perfect here it ensures they won’t dry out! Just let them cool completely to fully set the crumb. Thank you for the 5-star review!