The “Cheat Code” for Volume Eaters: How to Engineer a 45g Protein Dessert Block.
Let’s be technically accurate for a second.
Traditional “Raw Vegan” cheesecakes are a caloric trap.
If you search Pinterest for “healthy cheesecake,” you get recipes based on cashews and coconut oil. While “natural,” a single slice of cashew cheesecake often hits 450 calories and 35g of fat with less than 6g of protein. If you are on a GLP-1 protocol, a cut, or simply tracking macros, that math does not work.
You don’t need more fat. You need volume. You need satiety. You need leucine-rich protein.
This is not a recipe diary. This is a technical manual for engineering a High-Protein Strawberry Glaze Cheesecake that utilizes a hydrocolloid matrix (gelatin) and casein protein (cottage cheese) to mimic the exact mouthfeel of heavy cream cheese for 1/3 of the calories.
We are talking about a dessert that acts like a meal replacement.
Here is the chemistry behind why this works.
The Science: Hydrocolloids & Protein Density
Why do most “healthy” cheesecakes taste icy or grainy?
It comes down to water management.
When you remove fat (cream cheese) and replace it with lower-fat dairy (yogurt/cottage cheese), you are introducing a significant amount of water. If that water isn’t “bound” chemically, it freezes into micro-crystals. This creates that unpleasant “sorbet” texture instead of a creamy “cheesecake” texture.
The Solution: The Gelatin-Casein Lattice.
We are using Unflavored Gelatin (a hydrocolloid) to trap the water molecules inside a protein structure.
When you blend cottage cheese, you are mechanically shearing the curds into a smooth emulsion. By adding bloomed gelatin, we create a “scaffold” that holds the water in suspension.
Why Cottage Cheese?
Cottage cheese is 80% Casein Protein. Unlike Whey (which digests fast), Casein is thick, slow-digesting, and incredibly satiating. It coagulates in the stomach, keeping you full for 4-6 hours. This is the “GLP-1 Effect” in food form.
The “Pink” Factor
Most strawberry cheesecakes use artificial dye or jam. We are using 150g of fresh, raw strawberries blended directly into the batter.
Usually, fresh fruit ruins a cheesecake because fruit is 90% water. However, because we have increased our gelatin ratio to 10g, we can handle the extra liquid without the bar falling apart. This gives us that viral “Millennial Pink” color and legitimate micronutrients (Vitamin C) without the caloric penalty of cashew butter.
Ingredient Deep Dive: The Chemistry Set
Do not substitute these brands or types unless you understand the chemical implications.
1. Low-Fat Cottage Cheese (The Base)
- Recommendation: Good Culture or a “Dry Curd” variety
- Why: We want the solids, not the liquid whey. If your cottage cheese is soupy, strain it for 10 minutes. We need the Casein solids to build the structure.
- Substitute: You can use Ricotta, but the protein count will drop by 40%.
2. 0% Greek Yogurt (The Acid)
- Role: Taste mimicry. Cheesecake needs “tang.”
- Science: The lactic acid in Greek yogurt mimics the fermentation flavor of traditional cream cheese. Without this, your bar will just taste like sweet milk.
- Fat %: Stick to 0% or 2%. Do not use “Greek Style” (which is just thickened regular yogurt). You need the density of strained yogurt.
3. Unflavored Gelatin Powder (The Structural Engineer)
- Role: This is non-negotiable.
- The Ratio: We are using 10g of gelatin for this specific batch size.
- Warning: Do not use “Collagen Peptides.” Collagen dissolves but does not set. If you use Collagen, you will have a smoothie bowl, not a bar. You need Beef Gelatin (like Knox or Vital Proteins Gelatin).
4. Superfine Almond Flour (The Crust)
- Texture: We are using “Superfine” or “Blanched.”
- Why: Regular almond meal has skins, which creates a gritty crust. We want a buttery, shortbread-like “snap.” The almond flour provides the healthy fats required to balance the high protein of the filling.
5. Vanilla Whey Protein Powder (The Stabilizer)
- Type: Whey Concentrate or Isolate.
- Role: In the filling, it acts as a thickener (absorbing excess moisture). In the crust, it acts as “dry flour” to lower the calorie density of the nuts.
Equipment Clinic: The Lab Setup
You cannot build a house without a hammer. You cannot make this texture without high-shear force.
1. High-Speed Blender (Vitamix/Ninja)
- Necessity: 10/10.
- Why: You must atomize the cottage cheese curds. A food processor will leave it “grainy.” A hand mixer will not work. We need 3000+ RPM to create a smooth emulsion.
2. 8×8 Inch Metal Pan
- Material: Aluminum or Steel.
- Why: Metal conducts cold efficiently. This helps the gelatin set faster and more evenly than glass or ceramic.
3. Digital Kitchen Scale
- Why: Baking is chemistry. “1 cup” of strawberries varies by 50g depending on how you slice them. We measure in grams to guarantee the macros.
4. Parchment Paper
- Technique: The “Sling.” You need to cut a piece that fits the bottom and goes up two sides. This is the only way to remove the bars without destroying them.
The Visual Step-by-Step Guide
Phase 1: The Protein Lattice (Crust Assembly)
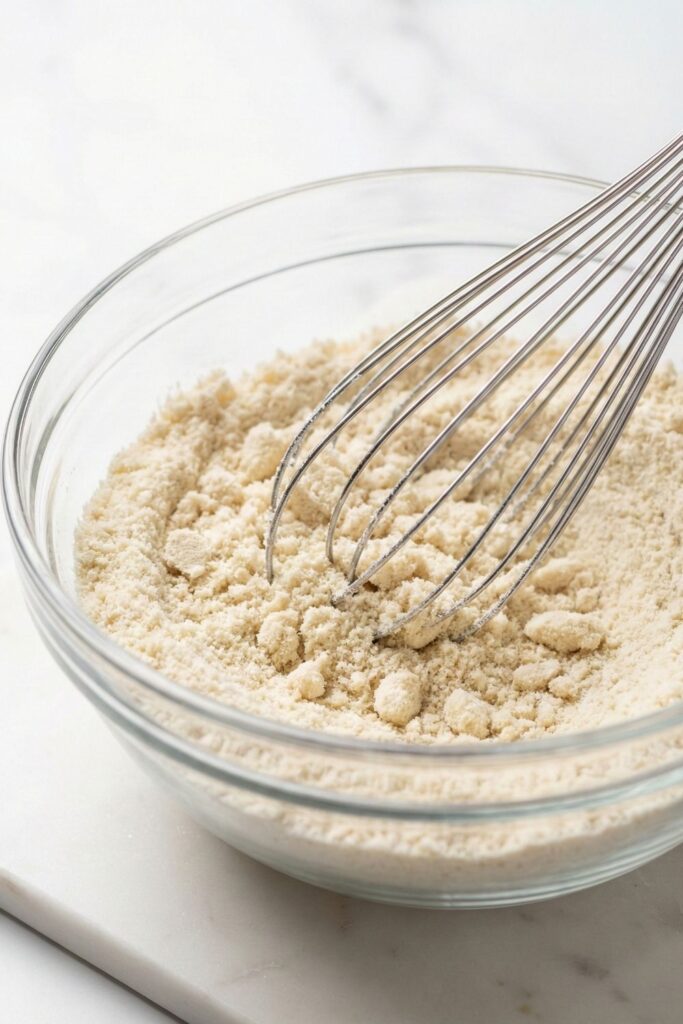
Place your mixing bowl on the scale. Weigh out 80g Superfine Almond Flour and 40g Vanilla Whey Protein Powder.
Why: Protein powder loves to clump. If you don’t whisk it now, you’ll have dry powder pockets in your crust.
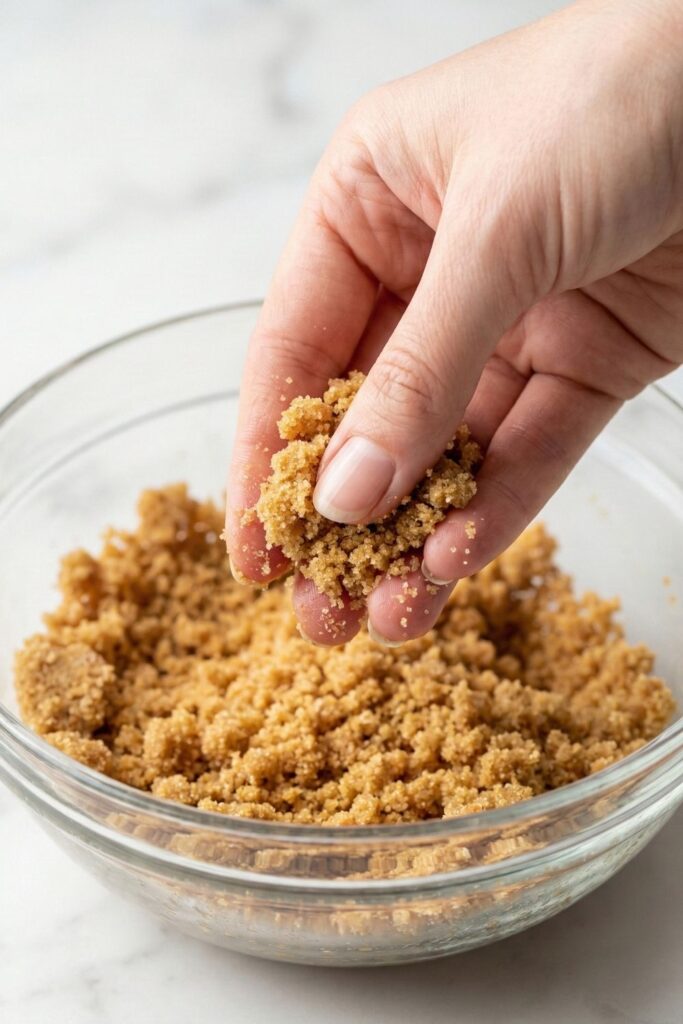
Step 2: The Wet Sand Transformation
Pour in 15g Melted Coconut Oil and 30ml Sugar-Free Maple Syrup.
Test: Pinch a bit between your fingers. Does it stick together? Good. If it crumbles apart, add 1 tsp more syrup.
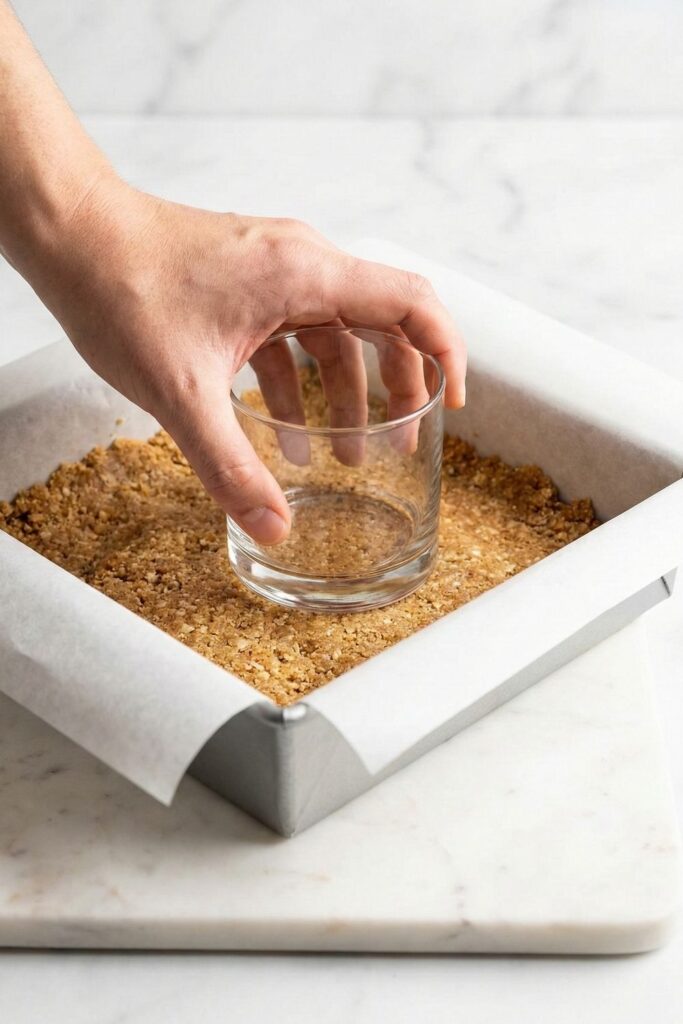
Dump the crumbs into your parchment-lined 8×8 pan.
Start in the center and work your way to the corners. You are compacting the fat and protein into a solid slab.
Place the pan in the Freezer immediately. This solidifies the coconut oil, “locking” the crust.
Phase 2: The Hydrocolloid Prep
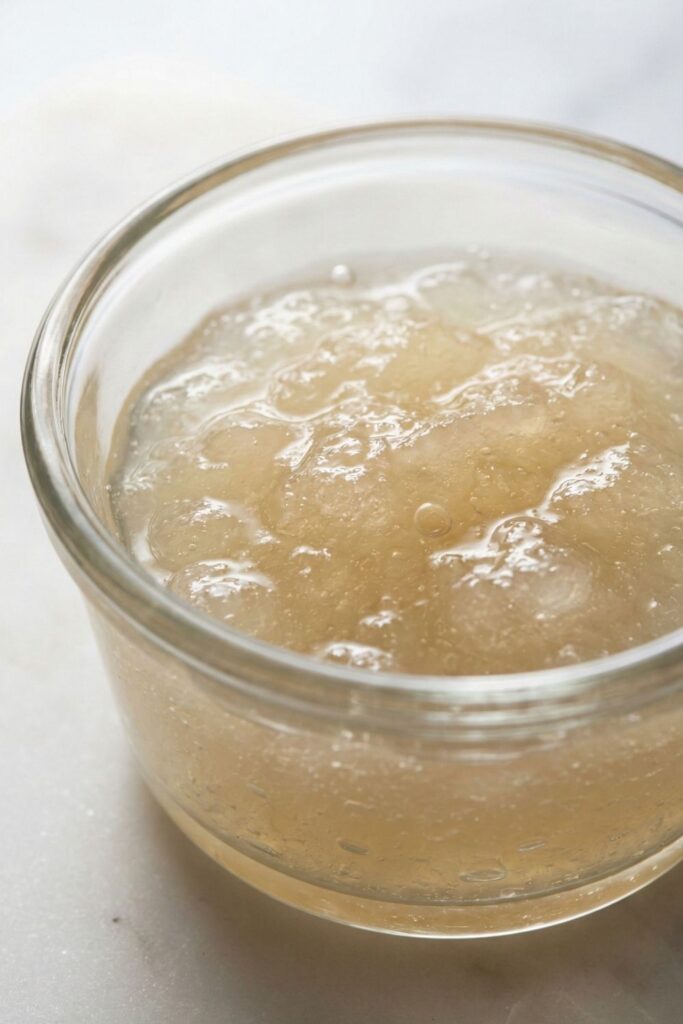
Pour 40ml Cold Water into a small ramekin. Sprinkle 10g Gelatin Powder evenly over the top.
Phase 3: The “Pink” Emulsion
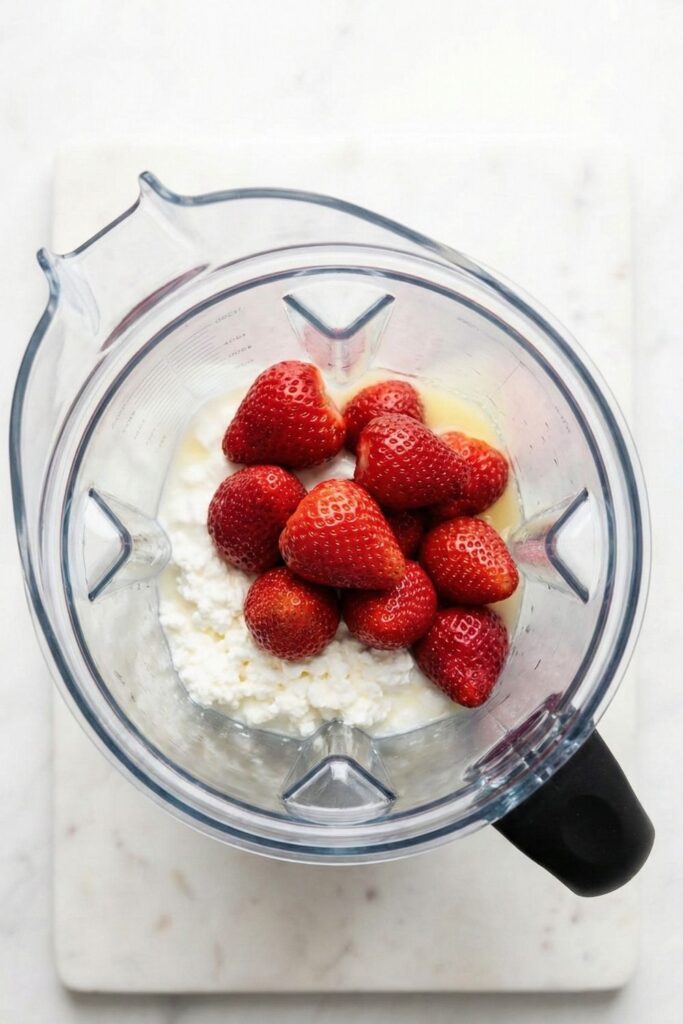
In your blender, combine:
- 450g Low-Fat Cottage Cheese
- 150g 0% Greek Yogurt
- 1 tsp Lemon Juice (To preserve the pink color)
- 150g Fresh Whole Strawberries (Hulled)
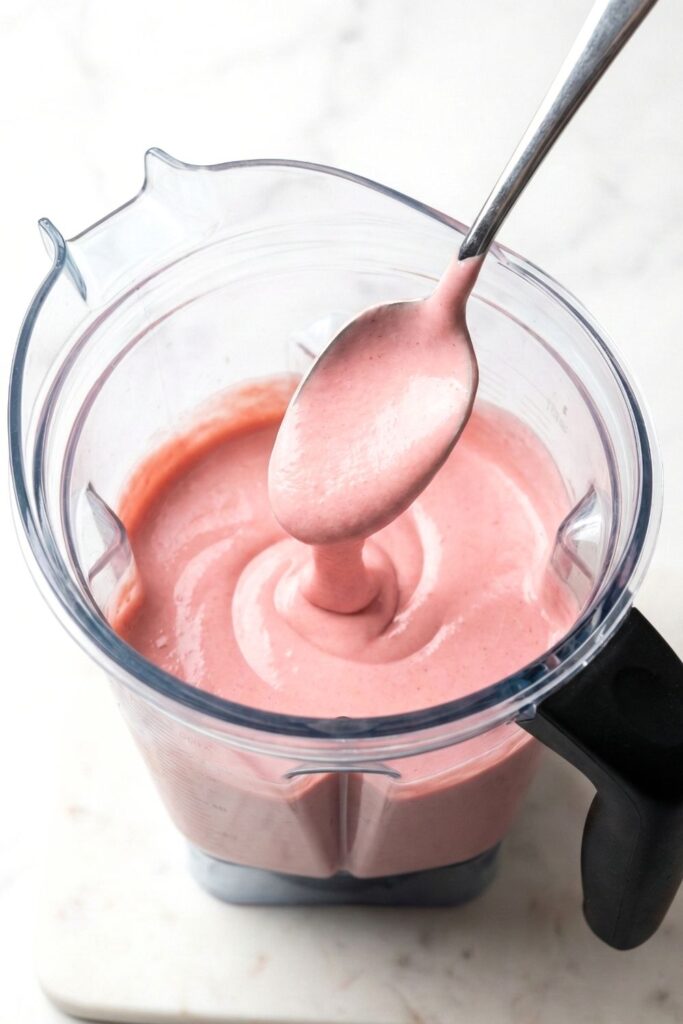
Blend on HIGH for 60-90 seconds. Do not rush this. It must look like Glossy Pink Paint.
Why: This is your last chance to fix the texture. Once the gelatin is added, you cannot blend out the grit.
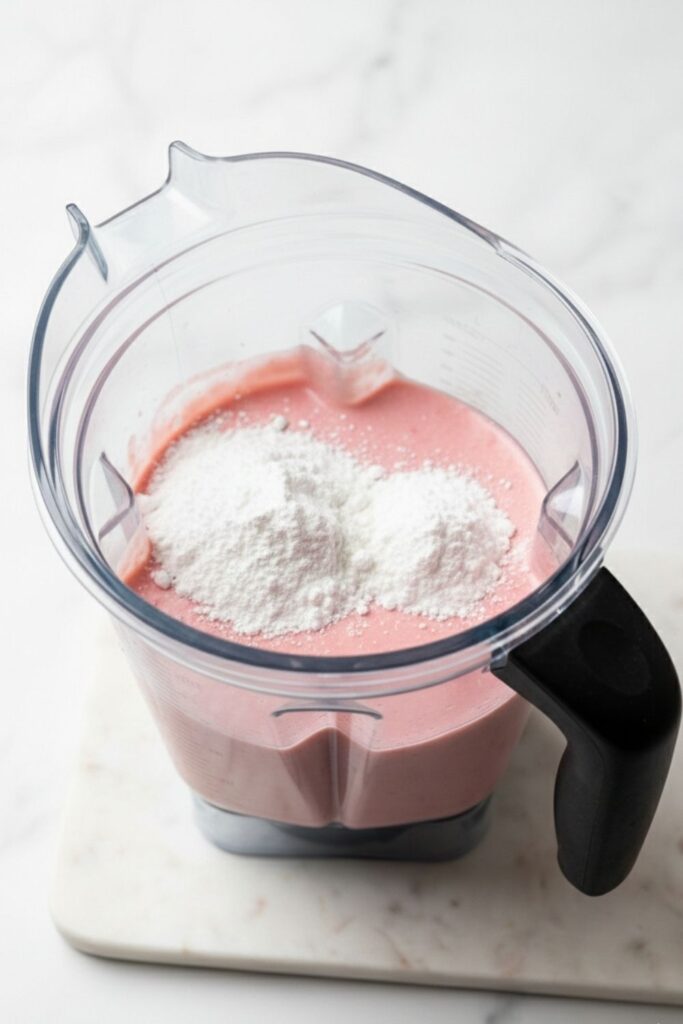
Now, add your dry filling ingredients to the blender: 60g Vanilla Whey Protein Powder 50g Powdered Sweetener
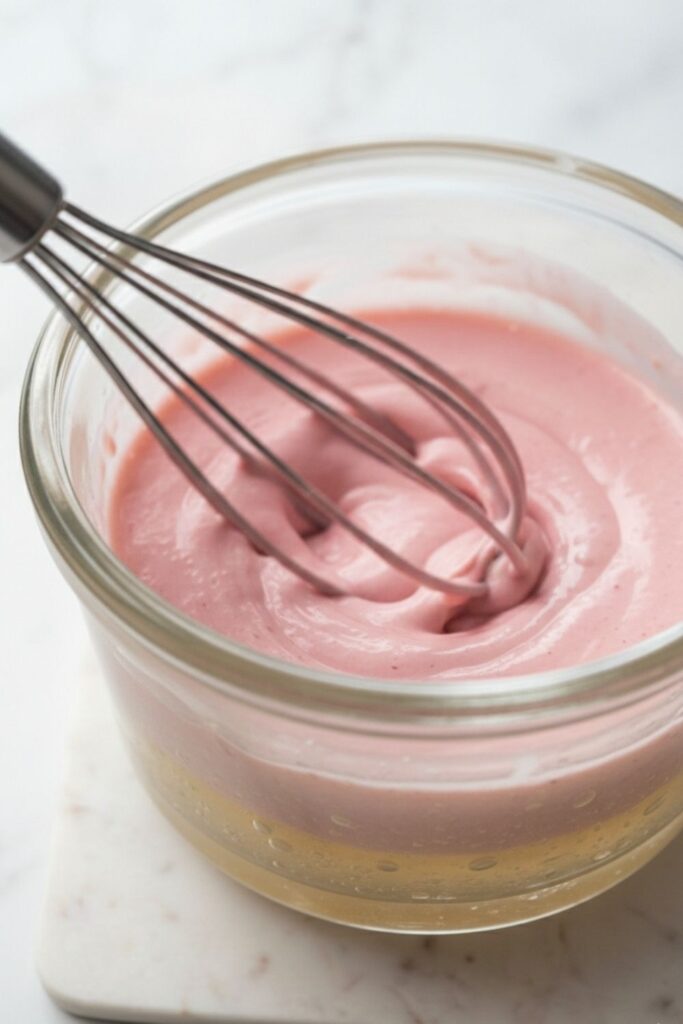
Microwave your “Gelatin Puck” (from Step 4) for 15 seconds. It should be hot and liquid. Take 1 tablespoon of the cold pink batter from the blender and whisk it into the hot gelatin bowl.
The Chemistry: This cools the gelatin down slightly (“tempering”). If you pour hot gelatin directly into cold cheese, it “shocks” and turns into stringy rubber instantly. Tempering prevents this.
Step 9: The Final Integration
Turn the blender on LOW. Pour the tempered gelatin stream into the vortex. Watch the vortex. Blend for only 10-15 seconds. You just want to distribute the setting agent.
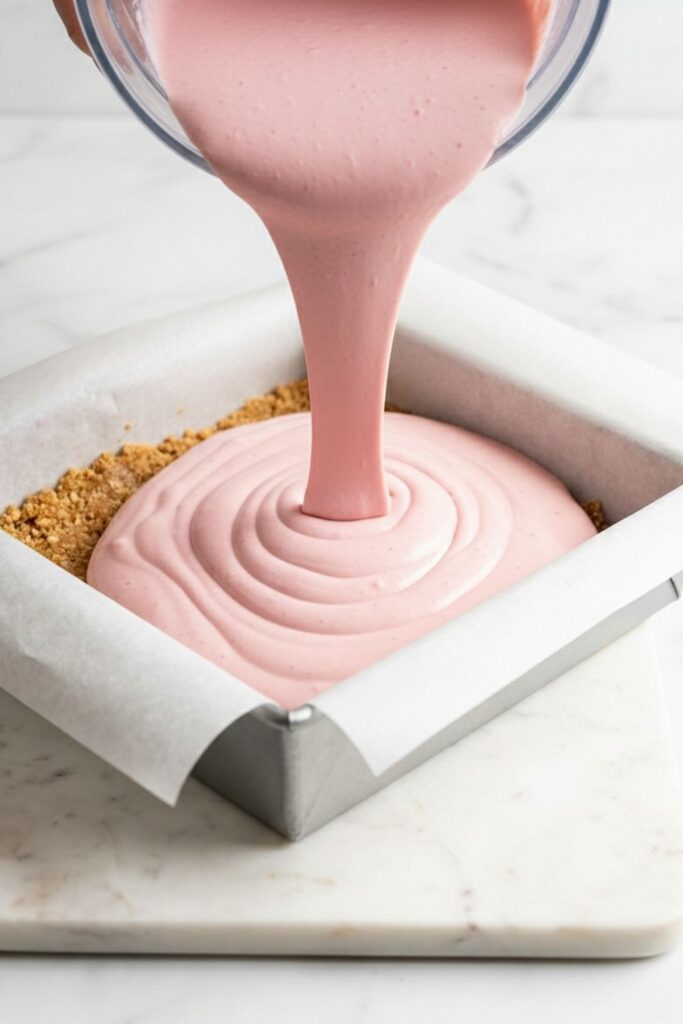
Retrieve your crust from the freezer. Pour the pink batter over it.
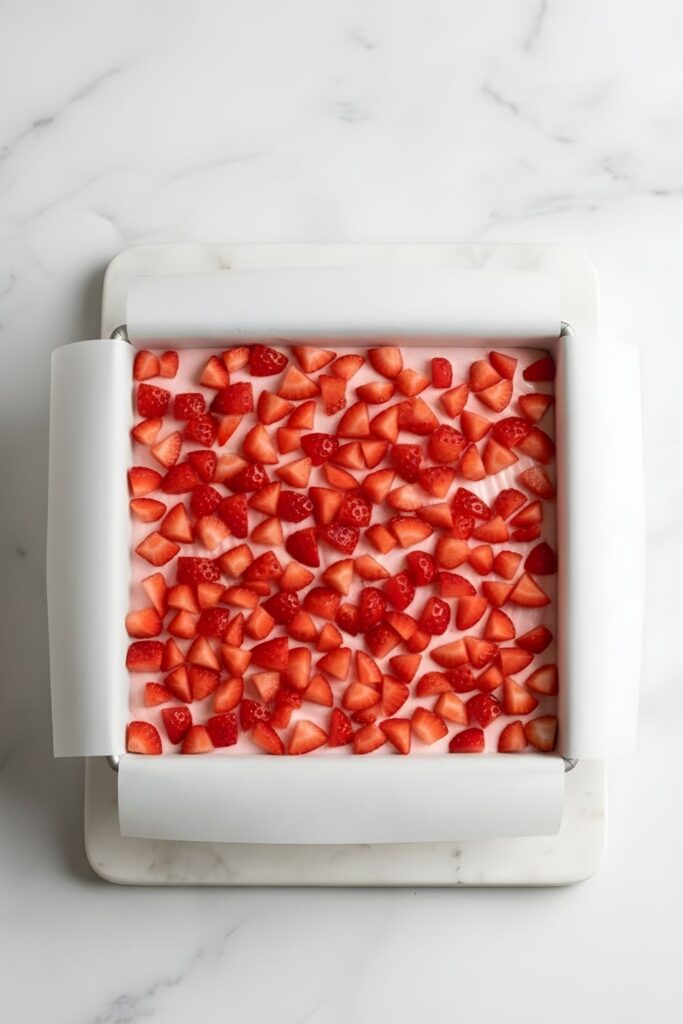
Take 100g Diced Strawberries and scatter them over the wet surface.
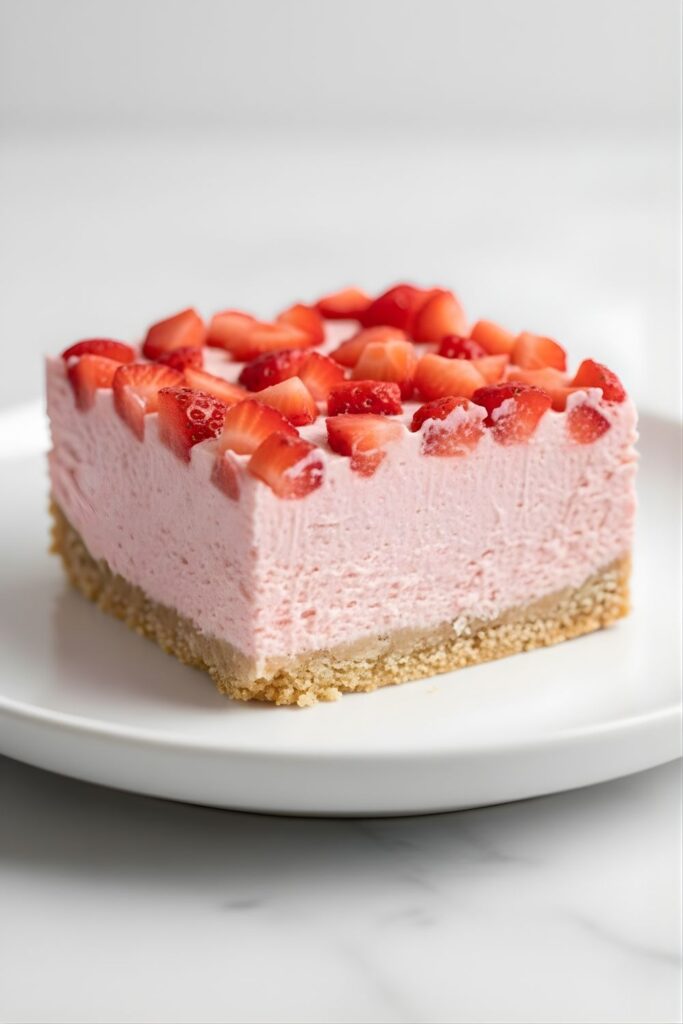
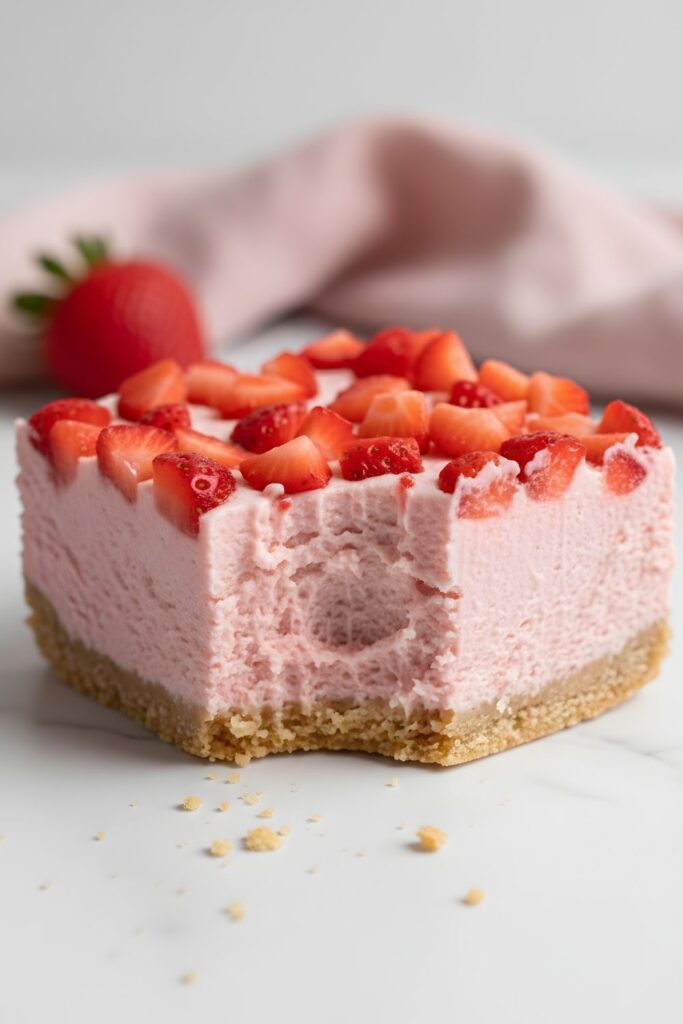
Refrigerate for at least 4 hours (or freeze for 2 hours). When you slice it (use a hot knife!), look at the side profile. It should be dense, creamy, and uniform. No air holes. No ice crystals.
Troubleshooting Clinic
My cheesecake isn’t setting.
Diagnosis:You likely used Collagen Peptides instead of Gelatin, or you didn’t let the gelatin bloom fully. Collagen is great for hair/nails, but it has zero structural holding power.
Fix: There is no fix for this batch. Freeze it and eat it as ice cream. Next time, buy Knox or Beef Gelatin.
The texture is grainy.
Diagnosis: Under-blending the cottage cheese.
Fix: You have to blend the cottage cheese and yogurt before adding the powder. If you add the powder too early, it thickens the mix and makes it hard for the blades to catch the cheese curds.
The crust crumbled when I cut it.
Diagnosis: Not enough compression or not enough binder.
Fix: Next time, press it down harder. Use your body weight. Also, ensure your coconut oil was fully melted when mixing.
Serving & Storage Protocols
- The “Thaw” Rule: If you store these in the freezer, let them sit on the counter for 10 minutes before eating. This allows the gelatin matrix to soften back into a creamy “cheesecake” texture. If you eat them frozen, they will be hard.
- Fridge Life: Because we are using fresh fruit on top, these have a shelf life of 3 days in the fridge before the strawberries start to “weep” (release water).
- Freezer Life: You can freeze these for up to 30 days in an airtight container.
if you loved this recipe and wanna try something different next time check out my High-Protein Sweet Potato Brownie this has no flour in it and your gonna love it
Frequently Asked Questions (FAQ)
Yes, but you must thaw and drain them first. Frozen berries release significantly more water than fresh ones. If you dump the extra liquid into the blender, the ratio will be off, and the bars won’t set.
Technically, yes, but it changes the recipe entirely. You would need to use a high-protein vegan yogurt and a vegan cream cheese alternative. However, the protein count will drop significantly because plant-based yogurts rarely match the casein density of cottage cheese.
Thermodynamics. Metal cools down instantly in the freezer. Glass holds heat. Using a metal pan ensures the bottom crust sets before the liquid filling can seep into it, keeping the layers distinct and crisp.
Absolutely. There are no stimulants or artificial chemicals. It is just fruit, dairy, and gelatin. It’s actually a fantastic way to get high-quality protein into “picky eaters” who refuse to eat meat.
Disclaimer: I am a food blogger, not a doctor. While this recipe is high-protein and GLP-1 friendly based on macronutrient profiles, always consult your dietician regarding your specific dietary needs.
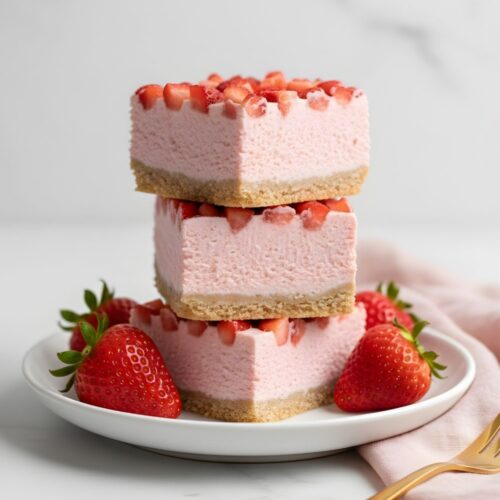
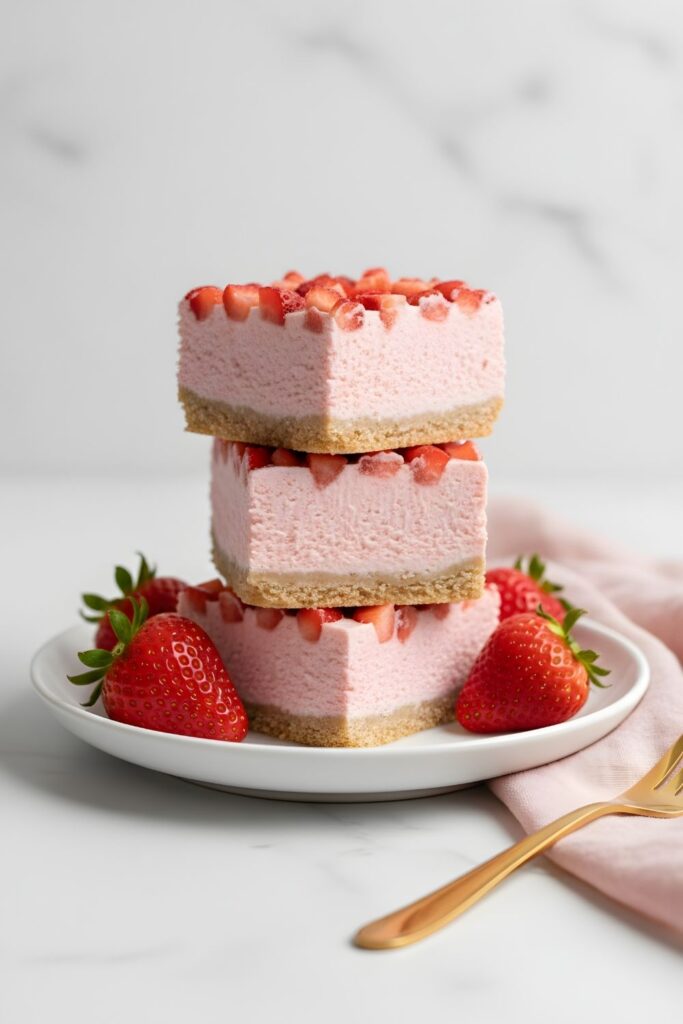
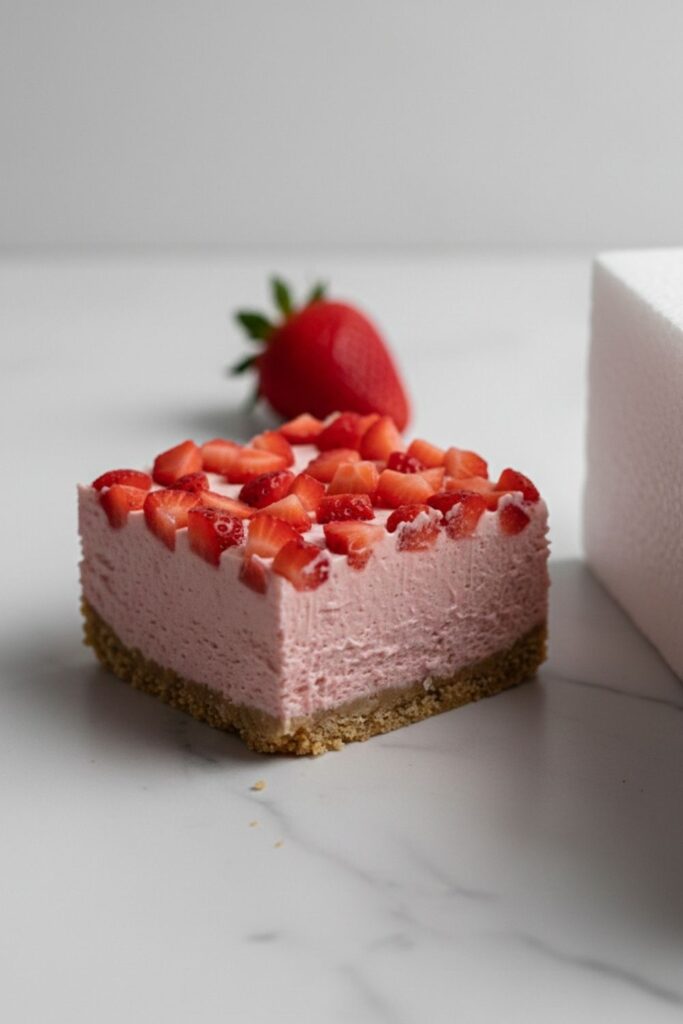
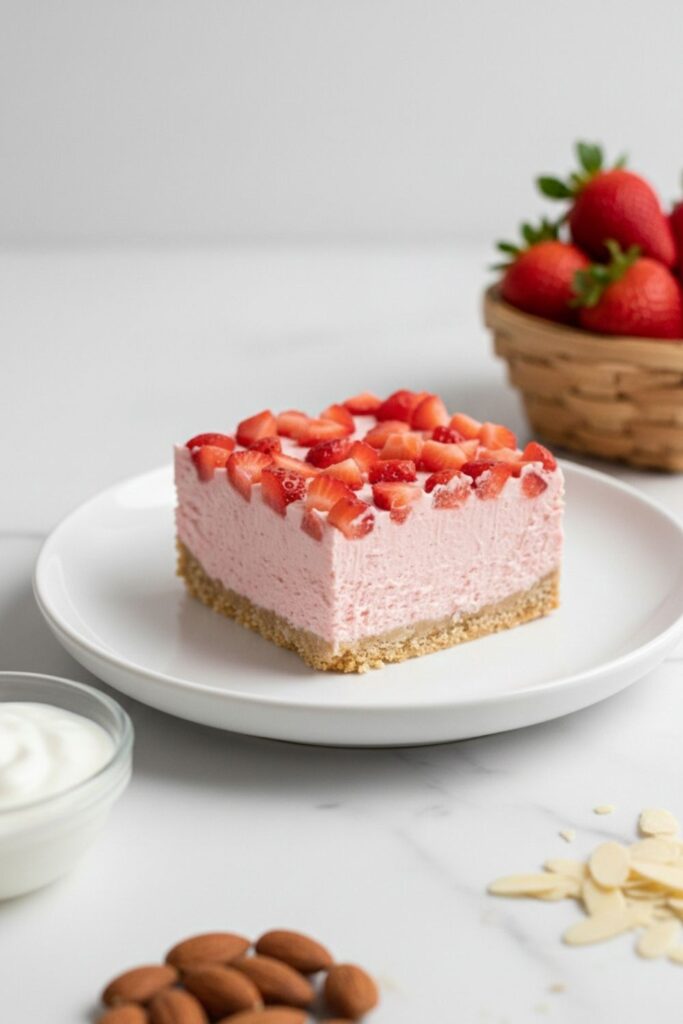
High-Protein Strawberry Glaze Cheesecake Bars (GLP-1 Friendly)
Ingredients
The Protein Lattice (Crust)
- 80 g Superfine Almond Flour Blanched, not almond meal
- 40 g Vanilla Whey Protein Powder
- 30 ml Sugar-Free Maple Syrup Sticky binder
- 15 g Coconut Oil Melted
The Pink Protein Matrix (Filling)
- 450 g Low-Fat Cottage Cheese Small curd or dry curd preferred
- 150 g 0% Greek Yogurt Strained, thick
- 150 g Fresh Strawberries Hulled and whole – for blending
- 60 g Vanilla Whey Protein Powder Isolate or Concentrate
- 50 g Powdered Sweetener Erythritol or Monkfruit blend
- 10 g Unflavored Gelatin Powder Beef Gelatin, NOT Collagen Peptides
- 40 ml Cold Water For blooming gelatin
- 1 tsp Lemon Juice Acid stabilizer
The Surface Tension (Topping)
- 100 g Fresh Strawberries Diced small
Instructions
1. Prepare the Crust
- Line an 8×8 inch metal pan with parchment paper, leaving a 2-inch overhang on the sides for lifting later. In a medium bowl, whisk the Almond Flour (80g) and Protein Powder (40g) to remove lumps. Pour in the Melted Coconut Oil (15g) and Syrup (30ml). Mix with a fork until the texture resembles wet sand.
2. Compress & Freeze
- Dump the crust mixture into the pan. Using the flat bottom of a glass, press down firmly to compact the crust into a solid, even layer. Place the pan immediately in the freezer.
3. Bloom the Gelatin
- In a small ramekin, pour the Cold Water (40ml). Sprinkle the Gelatin Powder (10g) evenly over the top. Do not dump it in a pile. Let it sit for 3-5 minutes until it turns into a solid rubber puck.
4. Create the Emulsion (The Pink Base)
- In a high-speed blender, combine the Cottage Cheese (450g), Greek Yogurt (150g), Lemon Juice (1 tsp), and Whole Strawberries (150g). Blend on HIGH for 60 seconds until the mixture is glossy pink and completely smooth. Test: Rub a drop between your fingers; if it is gritty, keep blending.
5. Add Structure
- Add the Protein Powder (60g) and Powdered Sweetener (50g) to the blender. Pulse 3-5 times to incorporate. Do not over-blend at this stage to avoid adding excess heat.
6. Temper the Gelatin
- Microwave the solid gelatin puck for 15 seconds until it is liquid and hot. Take 1 tablespoon of the cold pink batter from the blender and whisk it into the hot gelatin bowl (this prevents seizing).
7. Final Integration
- Turn the blender on LOW. Pour the tempered gelatin mixture into the vortex. Blend for 10-15 seconds to distribute.
8. Assemble
- Retrieve the crust from the freezer. Pour the pink filling over the crust. Tap the pan against the counter 3 times to release trapped air bubbles.
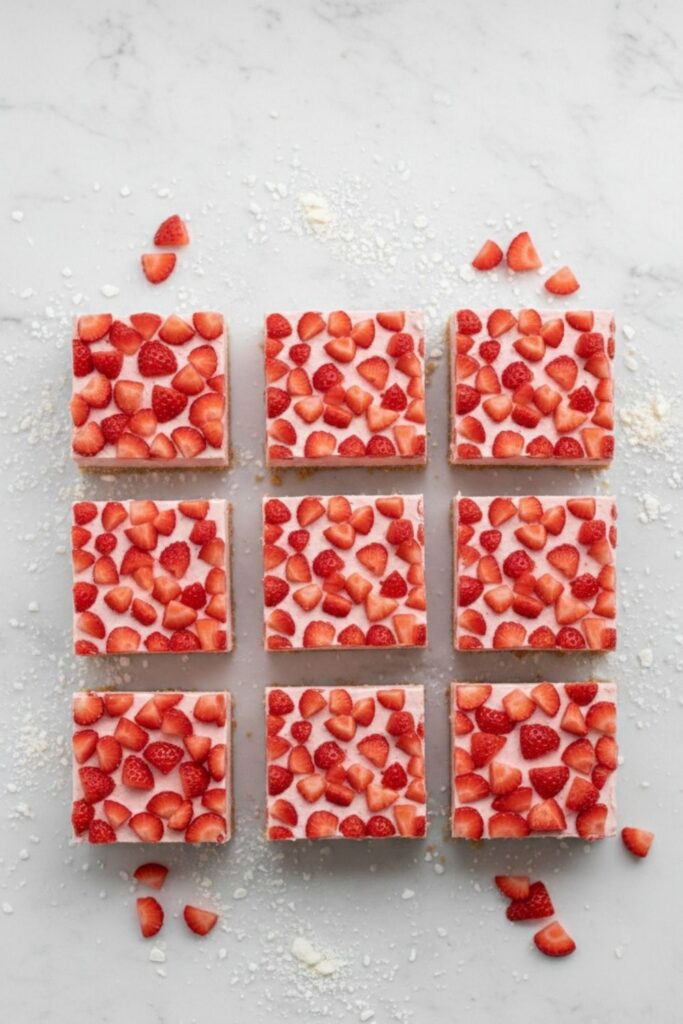
9. The Mosaic Finish
- Gently press the Diced Strawberries (100g) onto the wet surface of the cheesecake.
10. Set & Serve
- Refrigerate for at least 4 hours (or freeze for 2 hours for a firmer texture). Remove from the pan using the parchment overhang. Slice into 9 bars using a knife run under hot water, wiping the blade between cuts.
Notes
- Gelatin vs. Collagen: You must use Unflavored Gelatin (like Knox or Beef Gelatin). Collagen Peptides will dissolve but will not set, resulting in a soup texture.
- The “Gritty” Fix: If your cottage cheese is very dry, you may need to add 1 tbsp of almond milk to help the blender catch. Blend the cheese before adding the protein powder to ensure smoothness.
- Storage: Store in an airtight container in the refrigerator for up to 3 days. Can be frozen for up to 30 days (thaw on counter for 10 mins before eating).
- Macros: Calculated based on 9 equal bars. Net carbs are calculated by subtracting fiber and sugar alcohols.
Equipment
- Kitchen Scale (Required for gram accuracy)
- High-Speed Blender (Vitamix or Ninja recommended)
- 8×8 Inch Metal Baking Pan
- Parchment Paper
- Rubber Spatula
Nutrition (Per Bar)
- Serving Size: 1 Bar
- Calories: 179
- Carbohydrates: 9g
- Protein: 18g
- Fat: 7g
- Saturated Fat: 2g
- Polyunsaturated Fat: 1g
- Monounsaturated Fat: 3g
- Trans Fat: 0g
- Cholesterol: 12mg
- Sodium: 140mg
- Potassium: 110mg
- Fiber: 2g
- Sugar: 4g
- Vitamin A: 150IU
- Vitamin C: 18mg
- Calcium: 120mg
- Iron: 0.5mg