Let’s be real for a second: I love potato chips. I love the crunch, the salt, the mindless hand-to-mouth rhythm that somehow empties a family-sized bag during a single episode of my favorite show. But as someone committed to a high-protein lifestyle, that relationship had to end. The problem? “Healthy” alternatives usually taste like salted cardboard or air.
l tried the kale chips (sad). I tried the pork rinds (too heavy). I even tried those expensive store-bought protein crisps that cost $5 for a handful of dust.
Then, I discovered the secret.
It sounds weird until you try it. Chicken. Chips.
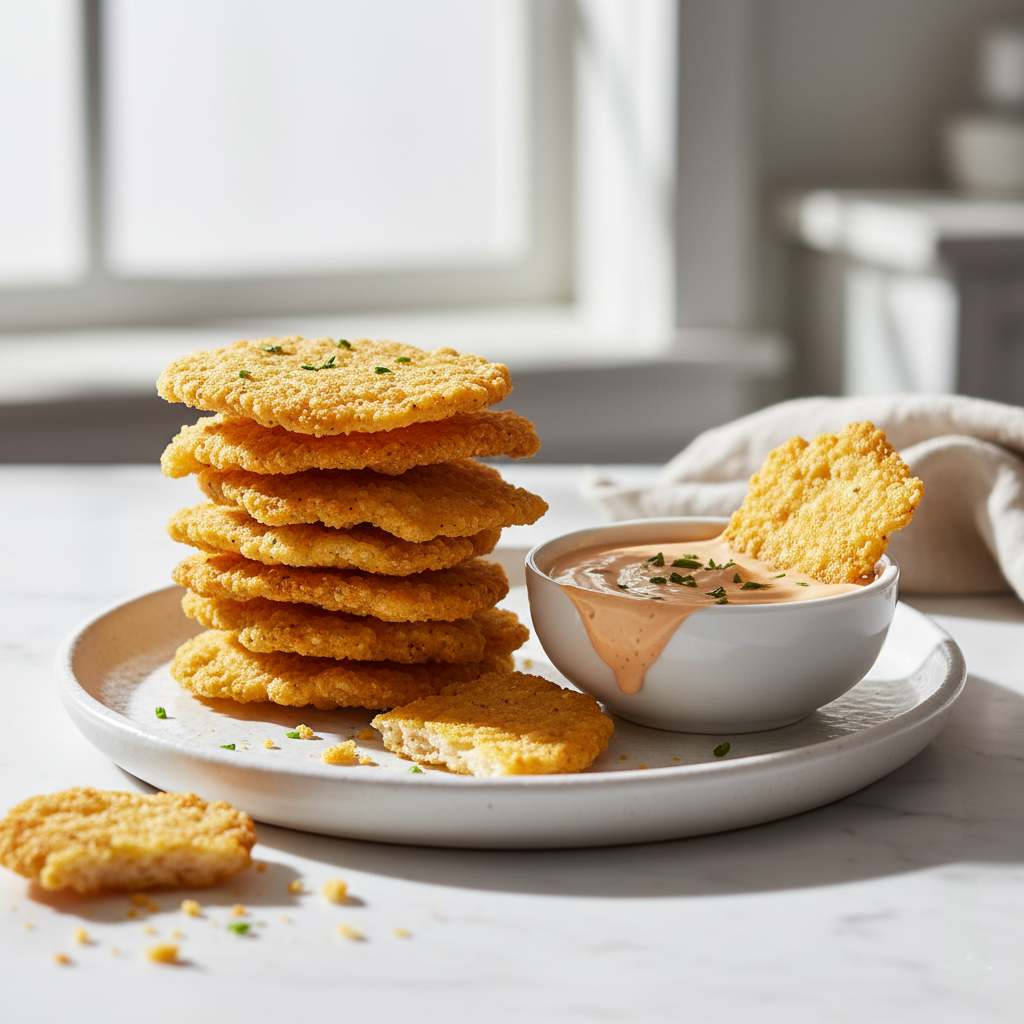
Not “chicken-flavored” crackers made of flour. I’m talking about turning actual, lean chicken breast into a wafer-thin, shattering crisp that rivals any Dorito or Lay’s chip on the market. And the macros? They almost don’t look real. 140 calories and 26g of protein for a massive bowl? It’s a cheat code for your diet.
If you are looking to hit your protein goals without sacrificing the joy of snacking, this is the recipe that will change your life.
The “Why” Behind the Viral Sensation
Why is this recipe exploding on Pinterest and TikTok right now? Because it solves the biggest problem in the fitness community: The Savory Crunch Gap.
Most high-protein foods are soft (yogurt, cottage cheese, cooked meat) or sweet (protein bars, shakes). When you crave something salty and crunchy, your options are usually terrible for your macros.
These Chicken Chips are the solution because they are:
- Zero Carb: Literally zero. No almond flour, no fillers.
- Dairy-Free Friendly: Unlike “keto cheese crisps” that are grease-bombs of melted cheddar, these use lean protein as the base.
- 3 Ingredients: You probably have them in your kitchen right now.
- Meal Prep Gold: You can make a massive batch on Sunday and snack all week.
The Secret Ingredient: Science of the Crunch
You might be looking at the recipe below and asking, “WaitBaking Soda? In chicken?”
Yes, and here is why. This is the game-changer that separates soggy chicken jerky from a crispy chip. Baking soda is an alkaline leavening agent. When you add it to the ground meat, it raises the pH level of the chicken. This accelerates the Maillard reaction that magical chemical process that creates browning and savory flavors when food cooks.
By altering the pH, we force the chicken to brown faster and crisp up more intensely than it naturally would. It also creates tiny micro-bubbles inside the meat matrix, which gives the chip a delicate, airy “snap” rather than a hard, tooth-breaking chew. Do not skip this ingredient; it is the difference between a professional snack and a failed experiment.
The Gear: Tools You Actually Need
Before we start, let’s talk hardware. You don’t need a fancy dehydrator, but you do need two specific things to make this work. If you try to wing this with poor tools, you will end up with a sticky mess.
1. A Heavy-Duty Rolling Pin: This is non-negotiable. To get the chips crispy, the chicken needs to be rolled paper-thin. I’m talking “see-through” thin. A lightweight, hollow plastic roller won’t give you the leverage you need to flatten the meat fibers down to millimeter thickness.
2. Quality Parchment Paper: Do not use wax paper (it will smoke and melt) and do not use foil (the chicken will fuse to it, and you will be eating aluminum). You need high-quality, silicone-coated parchment paper.
Step-by-Step Guide to Perfection
Start by preheating your oven to 350°F (175°C).
In your mixing bowl, combine your ground chicken with the baking soda and your spices. This is where you can get creative, but I highly recommend starting with my “Holy Grail” blend: garlic powder, onion powder, paprika, and chili powder. This mimics a BBQ chip vibe that is universally loved.
Pro Tip: Mix this with your hands or a stiff spatula until it is a sticky paste. You want the baking soda evenly distributed so every single chip gets that puff and crunch.
Step 2: The “Sandwich” Method
This is the part that intimidates people, but it is effortless if you follow this trick. Tear off a large piece of parchment paper and place your chicken mixture in the center. Now, tear off a second piece of parchment (or plastic wrap) and place it on top. You are making a chicken sandwich between the paper.
Step 3: Roll It Till You Can See Through It
Using your rolling pin, press down firmly and roll the chicken out. Push from the center outwards. You are not making a pizza crust; you are making a skin.
Keep rolling until you think it’s thin enough, and then roll it some more. You want the layer to be almost translucent. If it’s too thick, you’ll end up with a weird, chewy meat-cookie. If it’s thin, you get a chip.
Step 4: The Slow Bake
Peel off the top layer of plastic wrap or parchment. Slide the bottom parchment (with the flattened chicken) onto a baking sheet.
Bake for 1.5 to 2 hours. I know, I know that sounds like a long time. But we are essentially dehydrating the meat while roasting it. Check it at the 90-minute mark. It will look shrunken and golden brown.
Important: The chicken will look “flimsy” when you first touch it inside the hot oven. Do not panic! It crisps up as it cools down. If it’s golden brown, take it out.
Step 5: The Cool Down & Snap
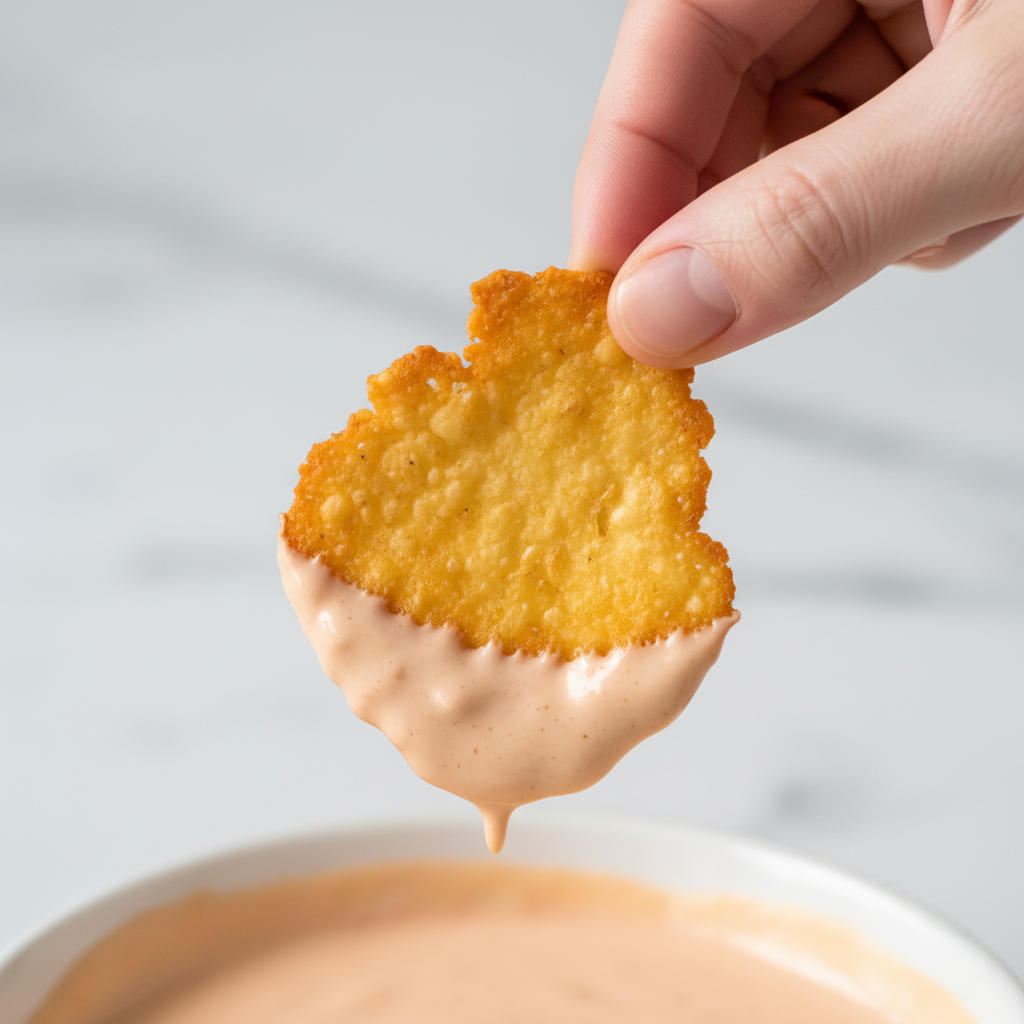
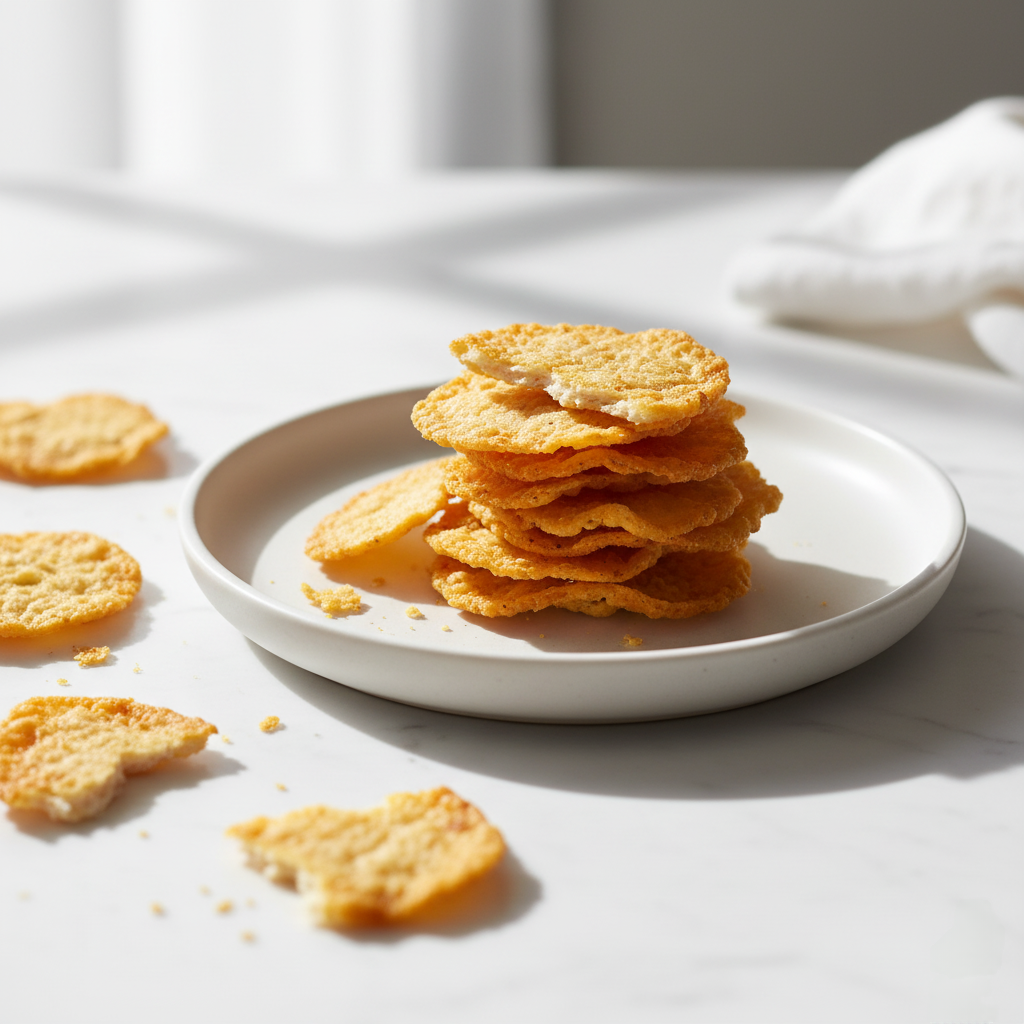
Let the sheet cool completely on the counter. This is when the magic happens. As the residual heat leaves, the structure hardens into a glass-like crisp. Once cool, use your hands to snap it into abstract, jagged shards. This is the most satisfying part of the process!
Flavor Variations to Keep It Fresh
Once you master the base recipe (which tastes like a plain roasted chicken chip), you can customize it to kill any specific craving you have. Here are my three favorite variations:
1. “Cool Ranch” Style: Add dried dill, dried parsley, and a little extra onion powder to the mix. After baking, dust them with a little buttermilk powder if your diet allows.
2. Spicy Nacho: Heavy on the chili powder and cumin. Once they come out of the oven, zest a little fresh lime over them for a “hint of lime” tortilla chip vibe.
3. Salt & Vinegar: This one is tricky because liquid vinegar makes the mix too wet. Instead, buy “vinegar powder” online or just go heavy on the sea salt and dip them in a vinegar-based hot sauce.
Common Troubleshooting (Don’t Give Up!)
“My chips are chewy, not crunchy!” This means one of two things: either you didn’t roll them thin enough, or you didn’t bake them long enough. If they are thick, put them back in the oven at a lower temp (250°F) for another 20 minutes to dry them out without burning.
“The chicken stuck to the paper!” You likely used a low-quality parchment paper or wax paper. If you are struggling with sticking, try lightly spraying your parchment with avocado oil spray before putting the chicken down.
“They taste bland.” Meat absorbs flavor differently than flour. You need to be aggressive with your spices. If you think you added enough salt, add a pinch more. These are chips they are supposed to be salty!
Storage and Meal Prep
Can you store them? Absolutely. In fact, I think they taste better the next day.
Store your cooled chips in an airtight glass container or a Ziploc bag with the air squeezed out. They will stay crunchy for 3 to 5 days at room temperature. Do not put them in the fridge, or the humidity will make them soft and soggy.
If they do lose their crunch after a few days, just toss them in the air fryer or oven for 2-3 minutes to wake them back up.
Frequently Asked Questions
Final Thoughts
Health and fitness shouldn’t feel like a punishment. We live in an era where we can hack our food to work for us, not against us. These chicken chips are proof that you can have your high-protein goals and eat your salty snacks too.
Give this recipe a try this weekend. I promise, once you hear that first CRUNCH, you’ll never look at a chicken breast the same way again.