If you’ve been scrolling through food news lately, you’ve definitely seen the headlines: Official Zero Sugar Oreos are hitting shelves in January 2026. The internet is buzzing, and honestly, the nostalgia is real. We all grew up twisting, licking, and dunking those blue-packaged cookies. But when I looked closer at the press release details for the upcoming launch, my excitement dipped just a little bit.
The reality? The new store-bought versions rely on sweeteners like Maltitol and Sucralose. While they technically remove the sugar, they often replace it with ingredients that can cause bloating or that weird chemical aftertaste we all secretly hate.
So, I headed into the kitchen with a mission: Create a Better-Than-Oreo Zero Sugar Cookie that gives you that identical chocolatey “snap” and silky vanilla crème filling, but uses ingredients that actually love your body back. These are 100% Gluten-Free, Vegan, and sweetened naturally.
Get your tall glass of almond milk ready we’re about to outdo the grocery store.
Why You Need To Make These (Instead of Waiting for 2026)
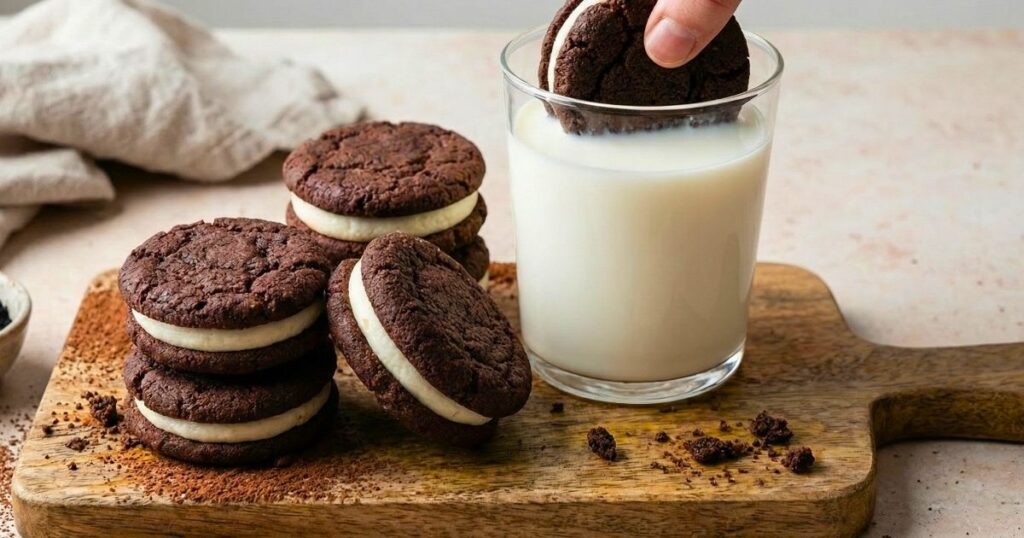
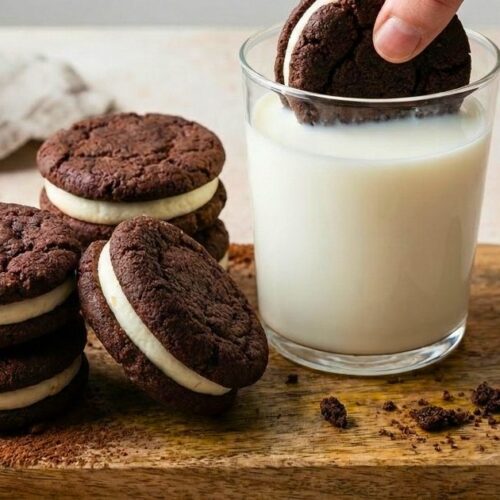
The “Dunk” Factor (My Personal Story)
Growing up, Oreos weren’t just a cookie; they were an activity. My sister and I had a very specific ritual. You had to submerge the cookie until the bubbles stopped rising that was the scientific indicator of maximum milk absorption. If you pulled it out too early, it was too crunchy. Too late? It disintegrated into the milk abyss.
When I started my health journey, that ritual was the first thing to go. I tried “healthy” store-bought alternatives, but they always tasted like cardboard mixed with sadness. They didn’t snap. They just crumbled.
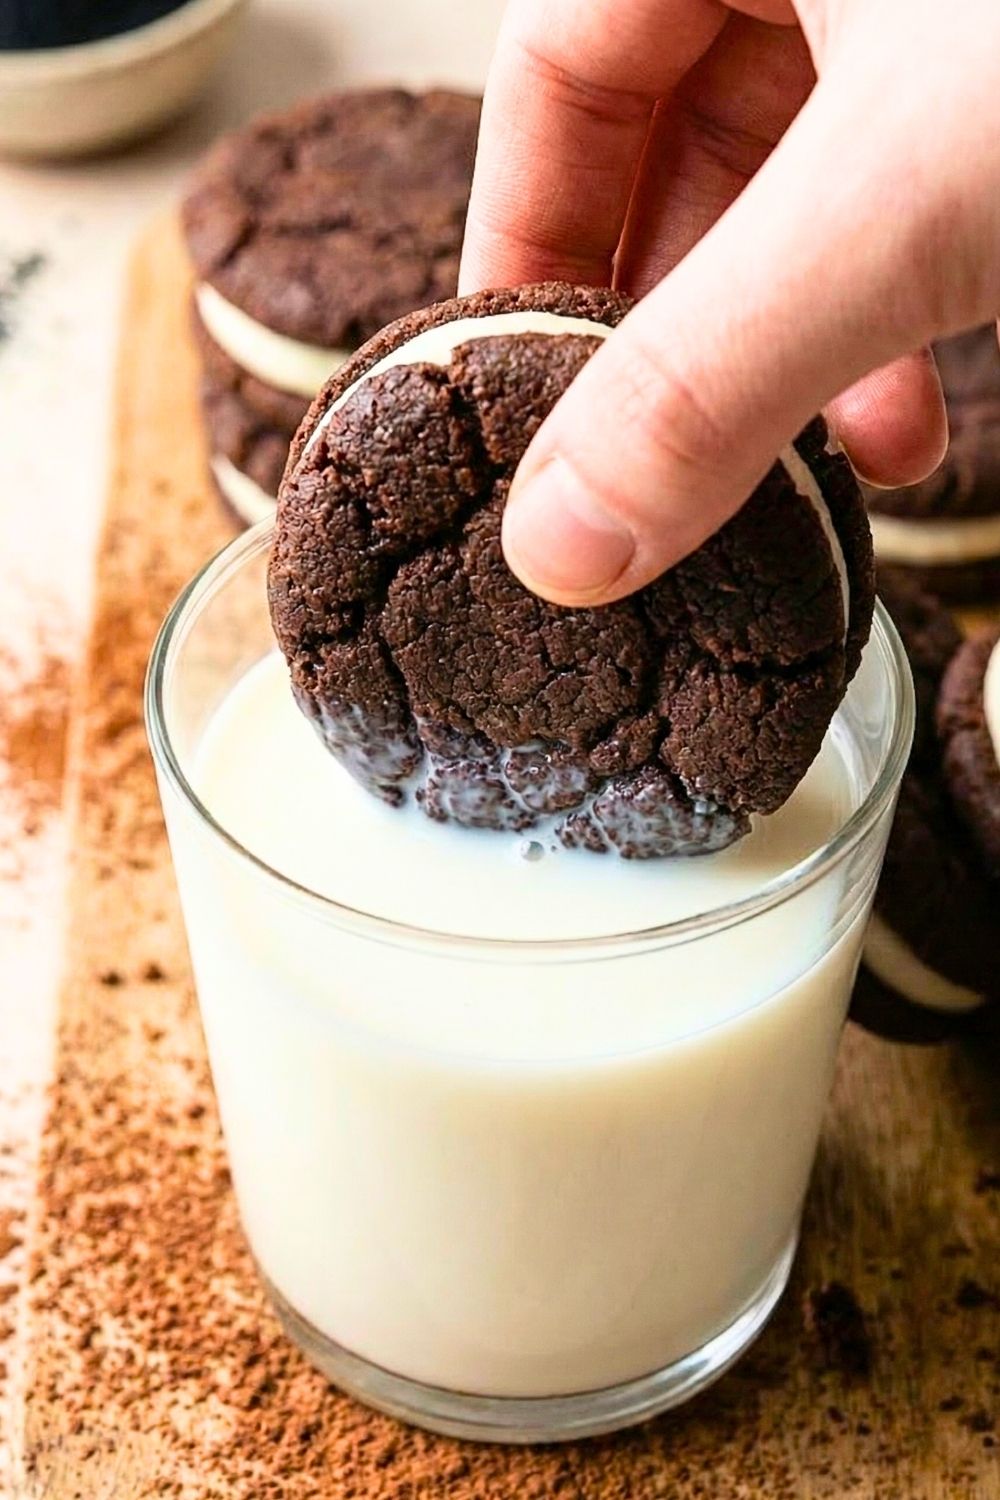
That’s why this recipe is personal to me. I didn’t stop testing until I heard that specific audible crunch when I bit into the wafer. I didn’t stop mixing the filling until it coated my tongue with that cool, creamy sweetness that I remember from childhood. This isn’t just a “healthier alternative”; it’s a time machine back to your kitchen table, just without the sugar crash afterwards.
Texture & Taste Check
Let’s be real if it doesn’t taste good, the macros don’t matter. Here is exactly what you can expect from this recipe:
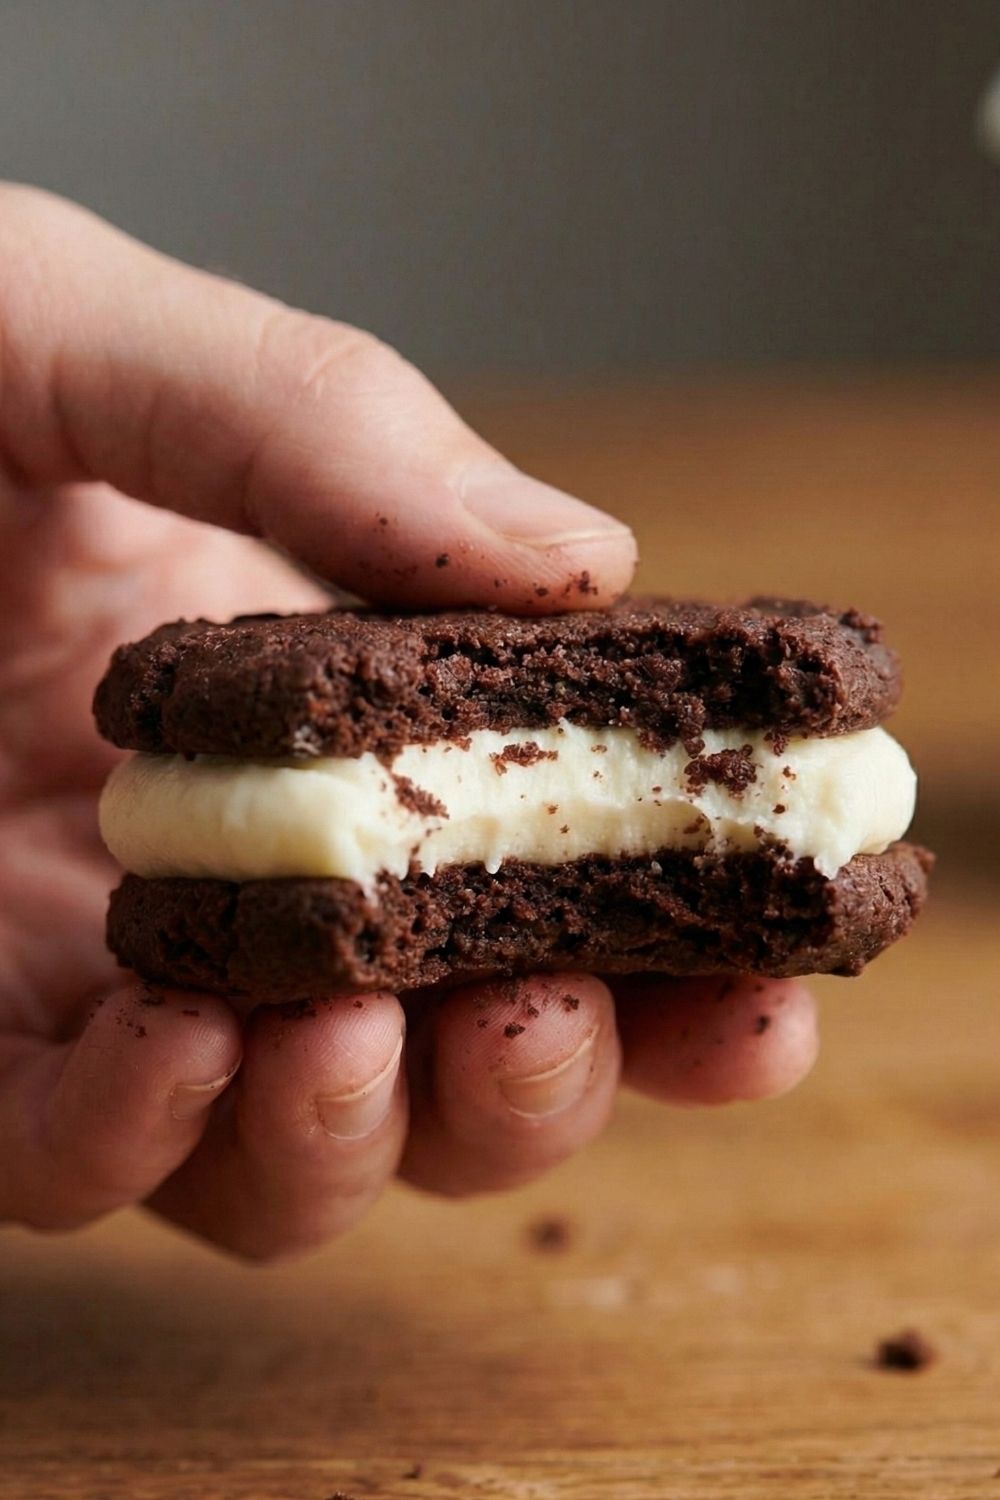
- The Wafer: It is undeniably crisp. I use a specific blend of almond flour and Dutch-process cocoa that creates a dark, rich chocolate flavor that isn’t bitter. It has a “shortbread-like” snap that holds up perfectly to dunking.
- The Crème: Most healthy fillings are oily or gritty. This one uses coconut butter (not oil!) to achieve a filling that is shockingly silky and stiff enough to hold its shape, yet melts immediately on your tongue. It mimics that “Stuf” texture perfectly.
Store-Bought vs. Abby’s Version: The Showdown
I’m a data nerd, so I broke down exactly why we are making these at home. Here is how the upcoming 2026 commercial version compares to my homemade clean version.
| Feature | Official Zero Sugar Oreo (Jan 2026) | Abby’s “Better-Than-Oreo” |
| Sweetener | Maltitol & Sucralose (Known to cause bloating) | Monk Fruit or Maple Syrup (Gut-friendly) |
| Flour Base | Enriched Wheat Flour (Gluten) | Almond & Oat Flour (Gluten-Free & Protein-rich) |
| Fat Source | High Oleic Canola/Palm Oil | Coconut Oil & Cashew Butter |
| Texture | Standard crisp | Fudgy-yet-crisp |
| Aftertaste | Often metallic/chemical | Clean vanilla finish |
| Protein | <1g per cookie | 4g per cookie |
Abby’s Tip: The “Zero Sugar” label on store packages often hides sugar alcohols that can spike your glycemic index just like regular sugar. Always read the back, not just the front!
The 5 Key Ingredients (And Why They Work)
(Note: I have linked the exact brands I use below to ensure your results match mine!)
- Black Cocoa Powder: This is the secret. Regular cocoa powder will give you a brown cookie. [Black Cocoa Powder] is ultra-dutched, meaning it’s neutralized of acid. This gives the cookie that signature jet-black color and the distinct “Oreo” flavor rather than just a “chocolate” flavor.
- Superfine Almond Flour: You don’t want grainy cookies. I use [Bob’s Red Mill Superfine Almond Flour] because it mimics white flour’s texture while adding healthy fats and Vitamin E.
- Monk Fruit Sweetener (Powdered): For the filling, you must use a powdered sweetener. Granulated sweetener will make your crème gritty. [Lakanto Powdered Monk Fruit] dissolves instantly, giving you that smooth, commercial-style mouthfeel.
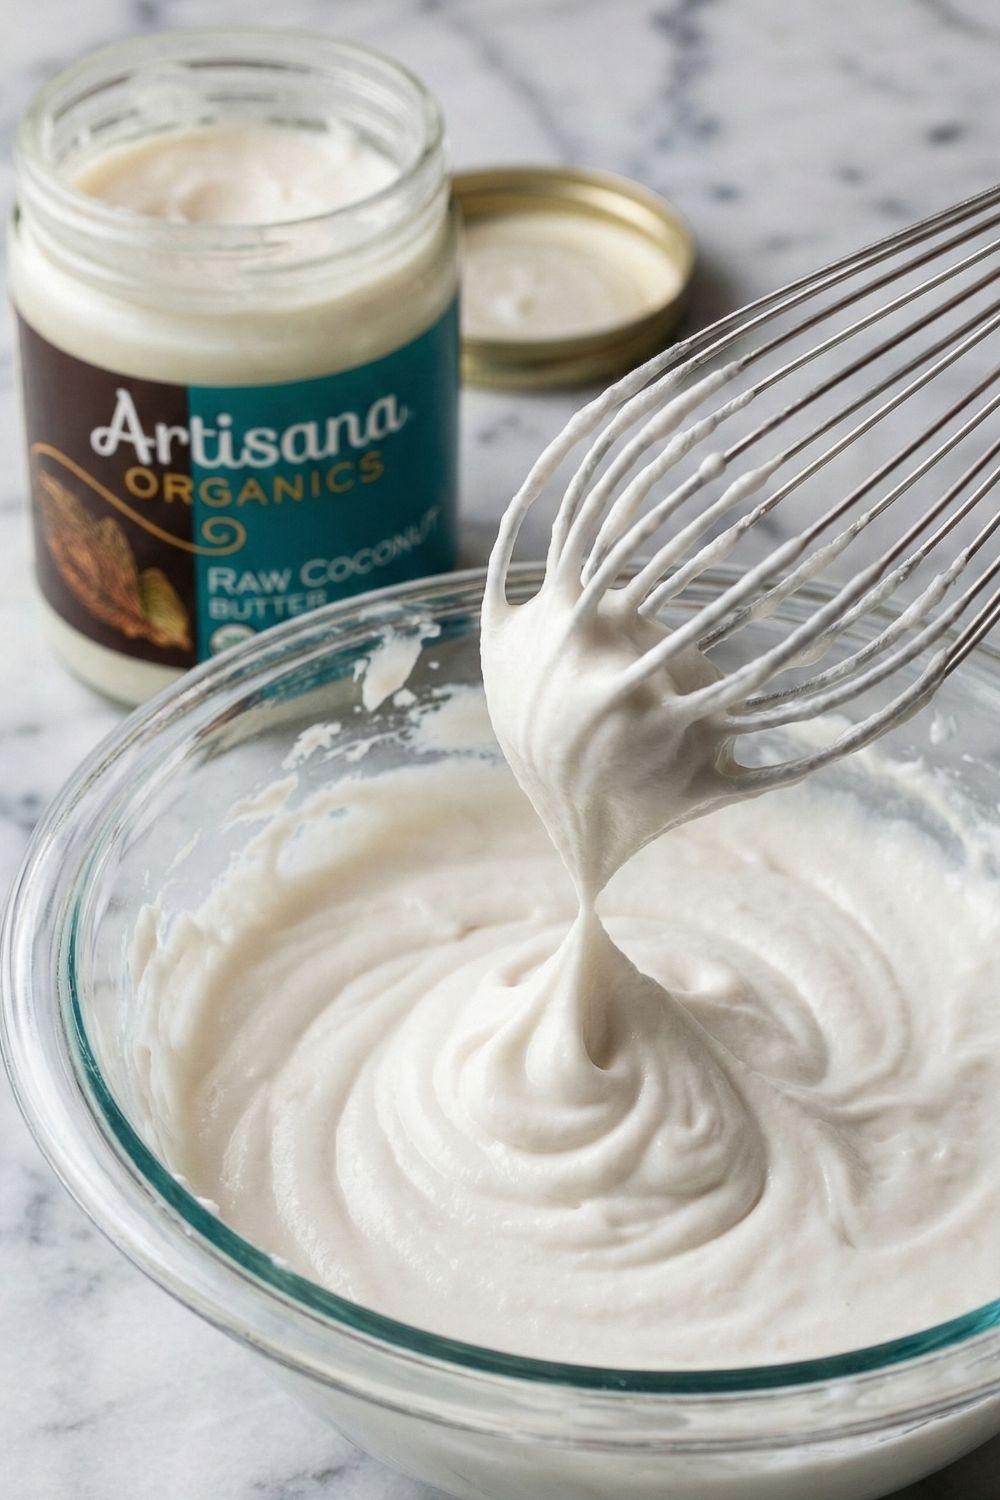
- Coconut Butter (Not Oil): This is for the filling. Coconut oil melts too fast at room temperature. [Artisana Organics Raw Coconut Butter] is the flesh of the coconut blended down. It stays solid at room temp, meaning your Oreos won’t slide apart in your lunchbox.
- Pure Vanilla Bean Paste: Since we don’t have sugar to mask the flavor, quality vanilla matters. I prefer paste over extract because seeing the little vanilla bean specks in the white crème makes them look gourmet.
Step-by-Step Recipe: Better-Than-Oreo Zero Sugar Cookies
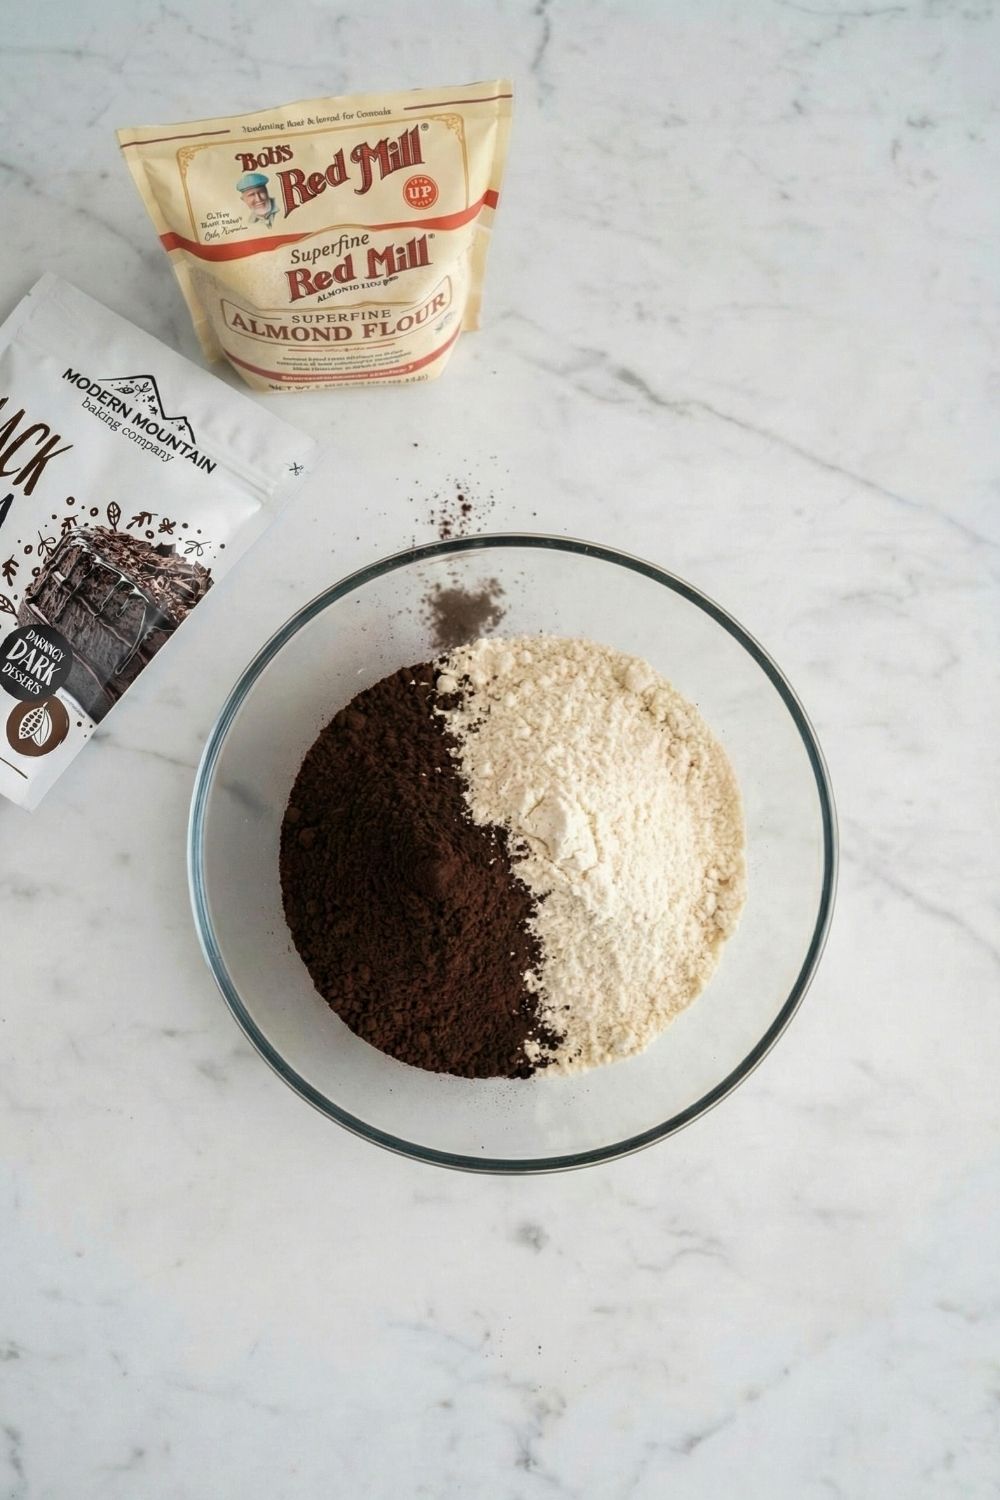
1. Mix the Dry Ingredients Preheat your oven to 325°F (160°C) and line a baking sheet with parchment paper. In a large bowl, whisk together the almond flour, black cocoa powder, sweetener, baking soda, and salt. Make sure there are no lumps lumps are the enemy of a crisp cookie!
2. Form the Dough Pour in the melted coconut oil. Use a spatula to mix. Slowly add the warm water one tablespoon at a time. You want a dough that holds together when you squeeze it, like playdough, but isn’t sticky.
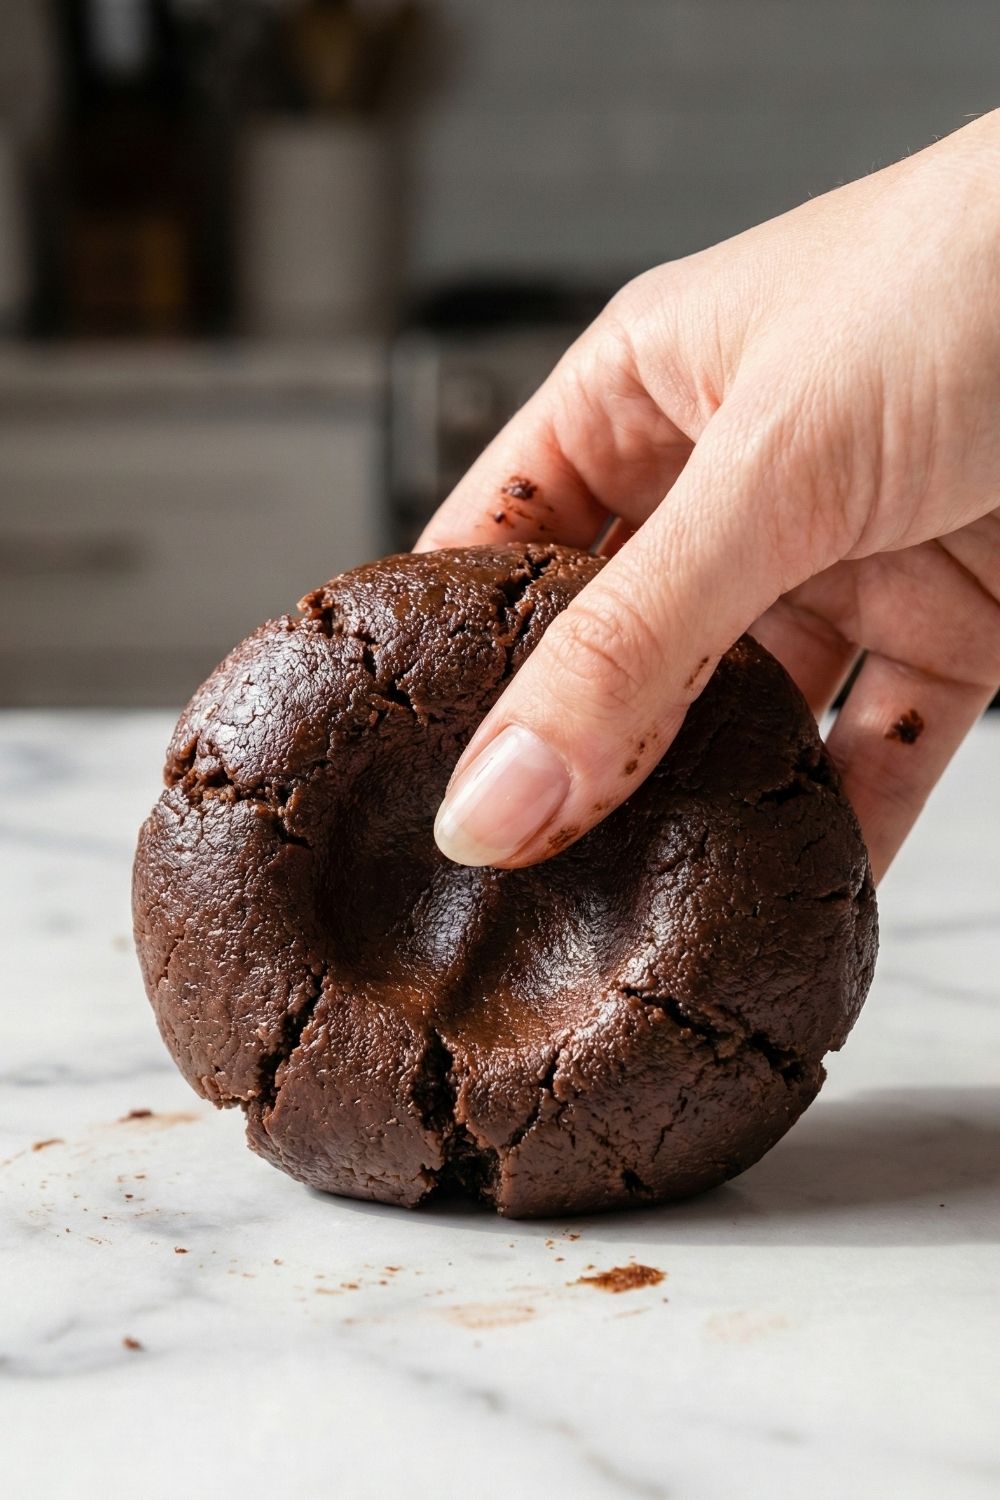
- Sensory Check: The dough should feel cool and slightly oily to the touch, and it should smell intensely like dark chocolate.
3. Roll and Cut Place the dough between two sheets of parchment paper. Roll it out to about 1/8 inch thick. Thinner is better for that “snap”! Use a small round cookie cutter to cut out your circles. Transfer them carefully to the baking sheet.
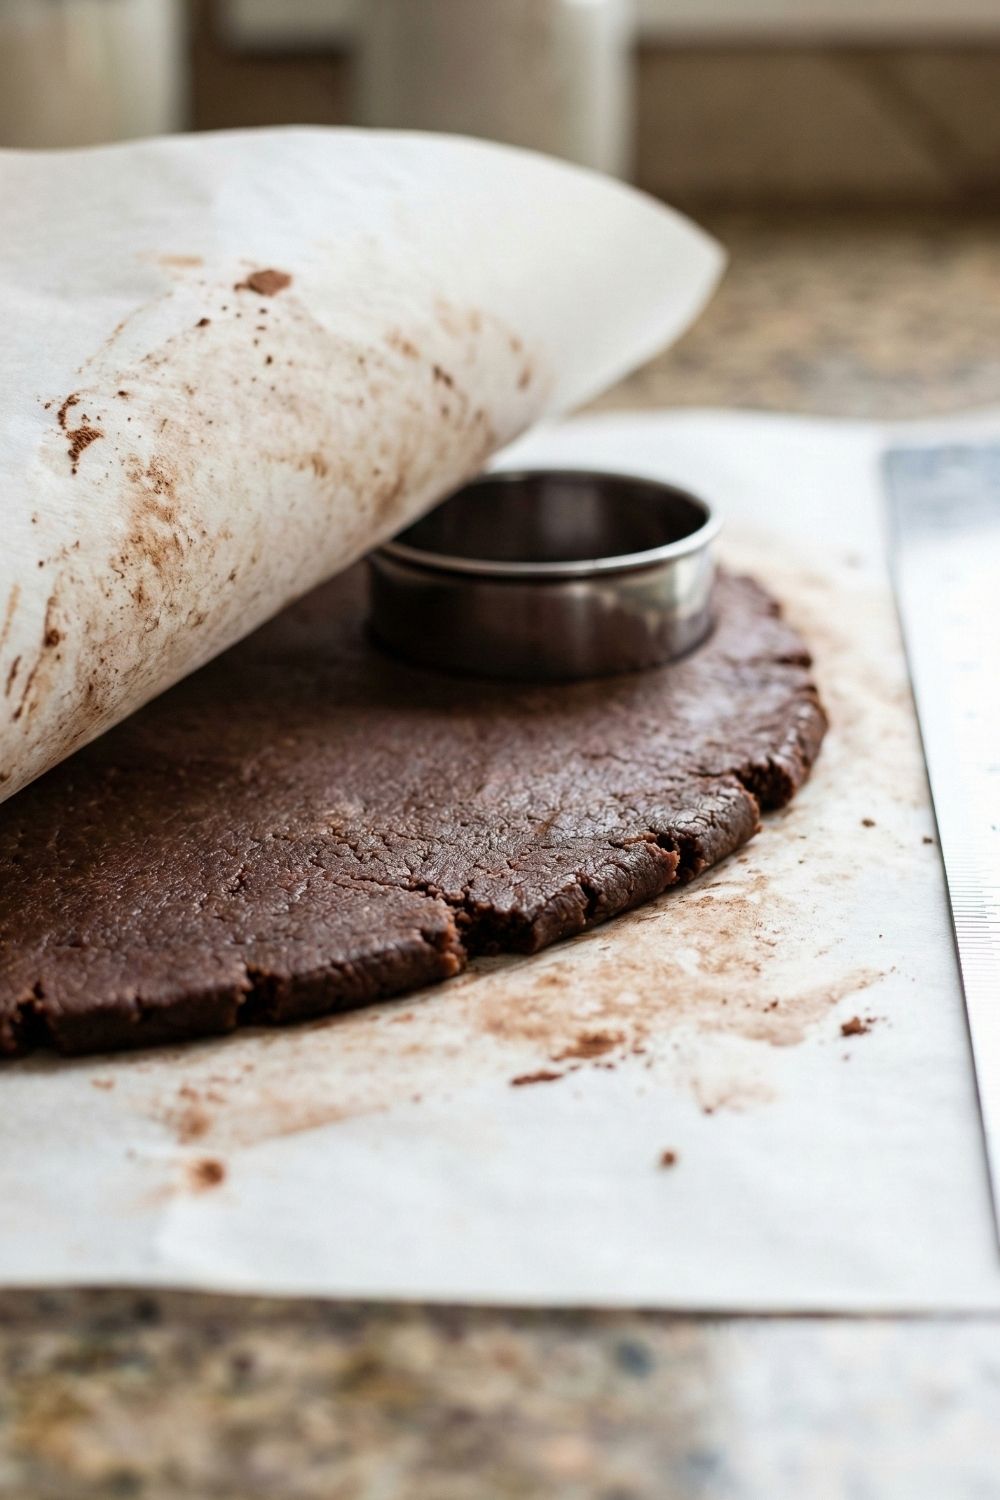
Pro Tip: If the dough sticks, pop it in the fridge for 10 minutes to firm up.
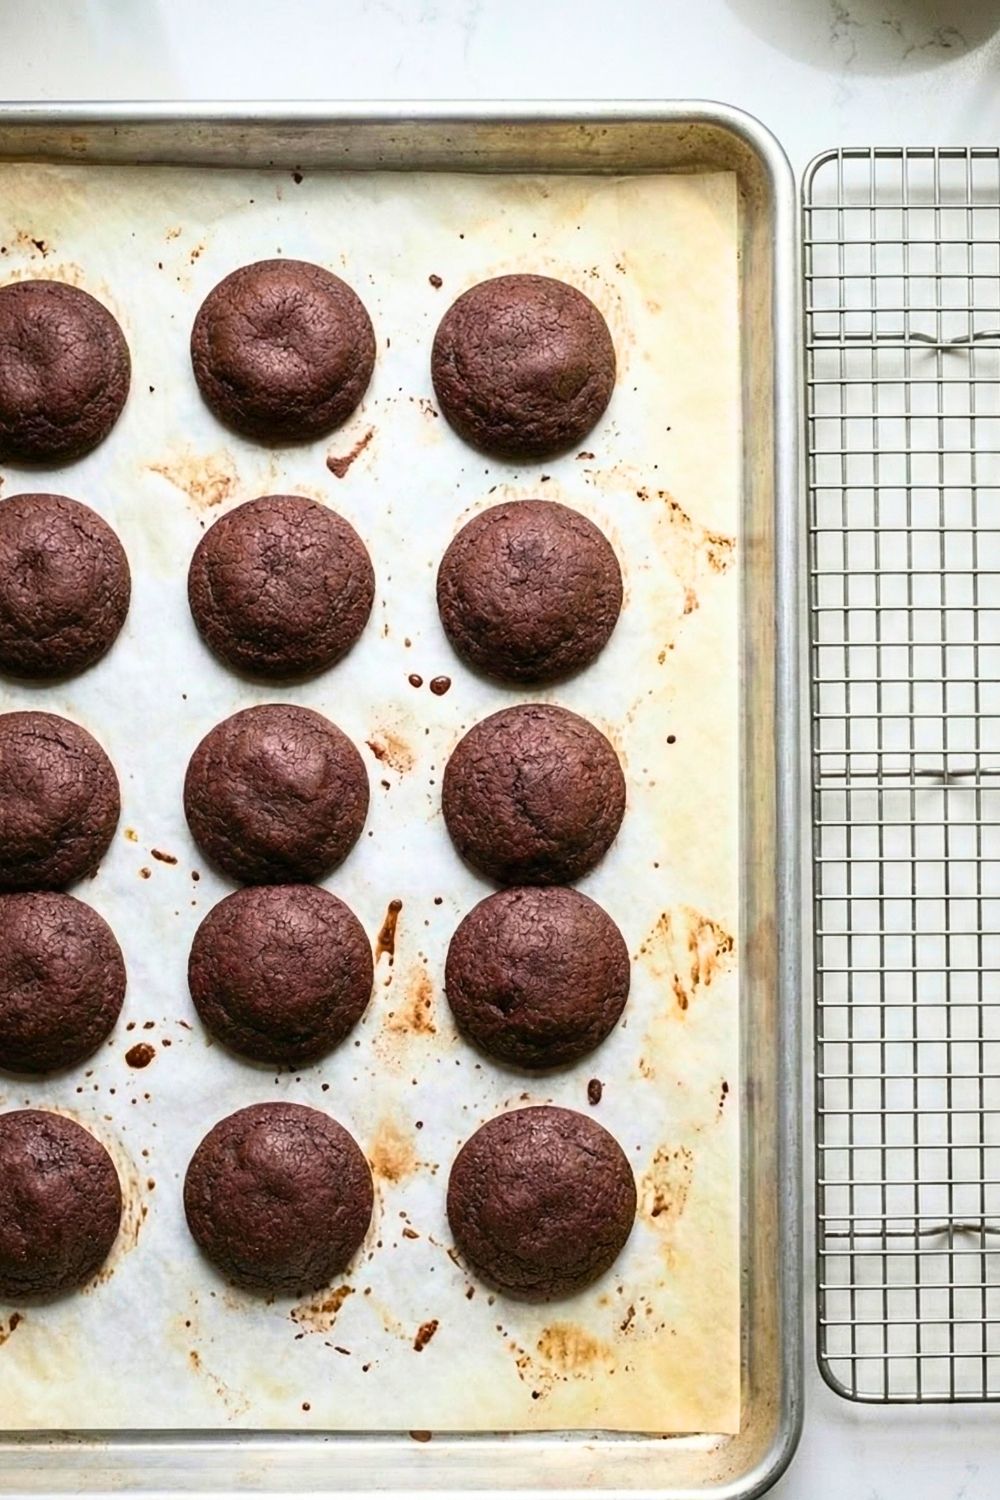
4. Bake for the Snap Bake for 10-12 minutes. Important: They will still feel soft when you take them out. Do not touch them! They crisp up as they cool. Let them cool completely on the pan for at least 20 minutes.
5. Whip the “Stuf” While cookies cool, whisk together the softened coconut butter, powdered sweetener, and vanilla. If it’s too stiff, add a drop of coconut milk. It should be thick, white, and spreadable.
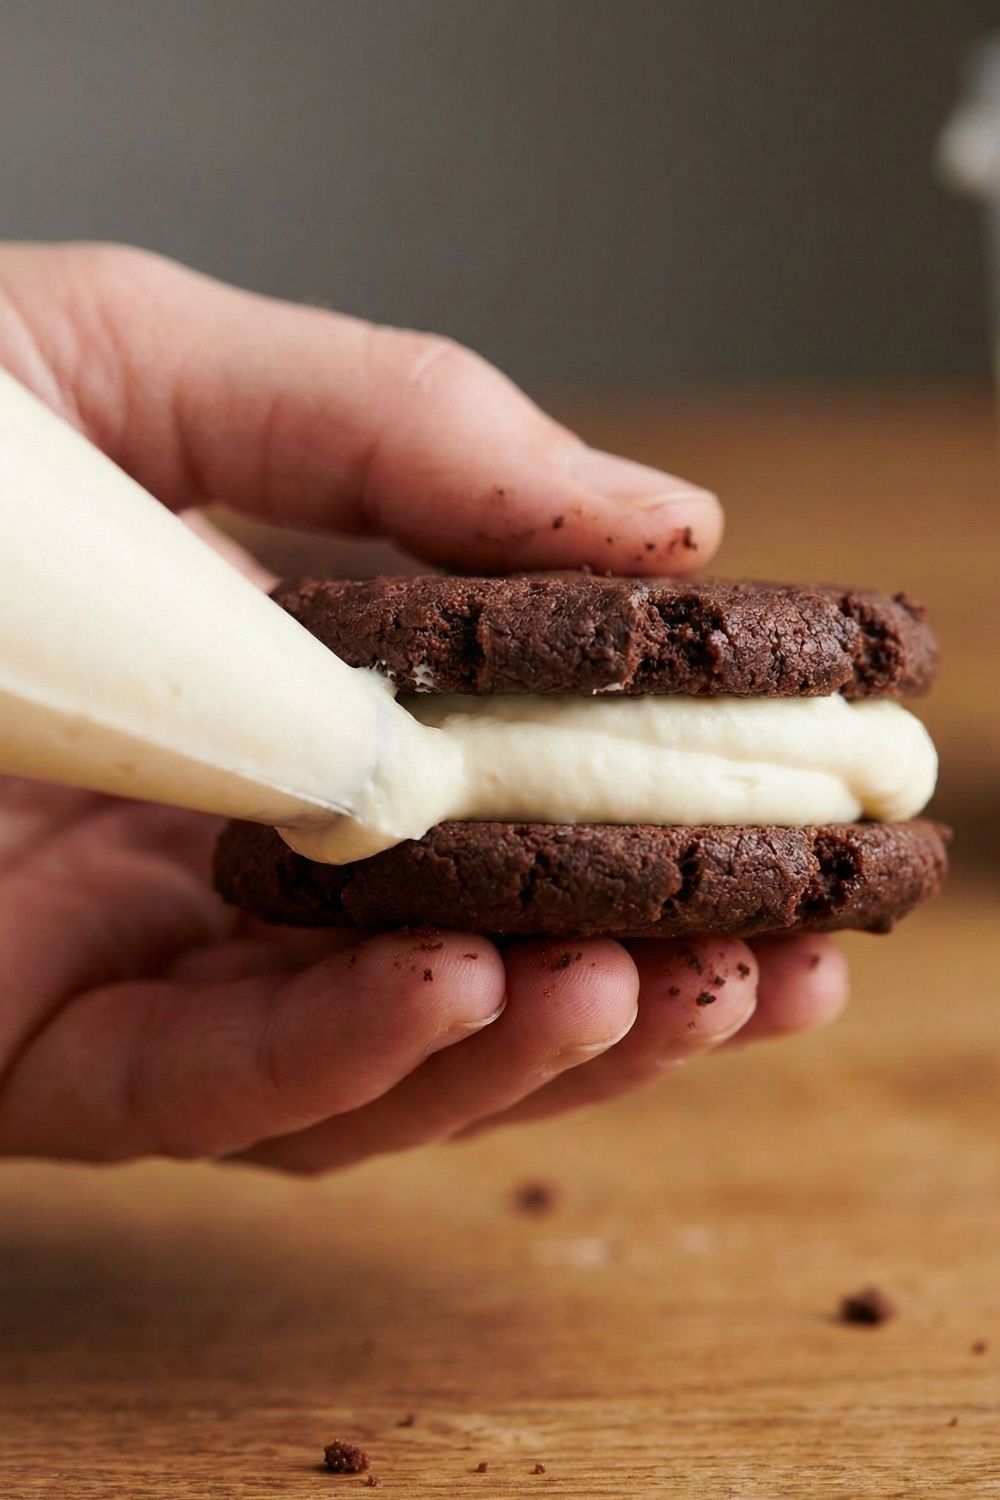
6. Assemble Pipe or spoon a dollop of crème onto the center of one cookie. Gently press a second cookie on top until the filling spreads to the edges.
7. The Chill (Optional but Recommended) Place the assembled cookies in the fridge for 15 minutes to let the filling set
Better-Than-Oreo Zero Sugar Cookies (FAQ)
You can, but your cookies will be brown and taste like a standard chocolate cookie. For that specific “Oreo” nostalgia, the [Black Cocoa] is non-negotiable.
Generally, yes! Since we are using Monk Fruit and almond flour, the glycemic load is very low. However, always check with your doctor if you have specific restrictions.
Store them in an airtight container in the fridge for up to a week. Because we don’t use preservatives, they stay freshest when chilled. (Plus, cold Oreos are superior fight me on this!)
You likely need a tiny bit more water or fat. Almond flour absorbency can vary by brand. Add water 1/2 teaspoon at a time until it comes together.
Final Thoughts: The Future of Snacking
While the world waits for the 2026 Zero Sugar Oreo release, you don’t have to wait to treat yourself. Taking control of your ingredients means you can enjoy the nostalgia without the side effects.
This recipe is proof that “healthy” doesn’t have to mean “boring.” It means upgrading your standards. You get the crunch, the cream, and the joy minus the maltitol.
Did you try this recipe? I’d love to see your creations! Snap a photo and tag me on Instagram or Pinterest. And if you enjoyed this, check out my [5-Ingredient No-Bake Collagen Protein Bars] for another high-protein snack option!
Disclaimer: I am a recipe developer, not a doctor. Please verify all health claims regarding sugar alcohols and gluten sensitivities with a certified medical professional.
Better-Than-Oreo Zero Sugar Cookies (Gluten-Free & Vegan)
Equipment
- Large Mixing Bowl
- Baking sheet
- Parchment paper
- Small Round Cookie Cutter
- Whisk or Hand Mixer
Ingredients
- 1 Cup Superfine Almond Flour
- ½ Cup Modern Mountain Black Cocoa Powder
- ¼ Cup Granulated Monk Fruit Sweetener
- ¼ tsp Sea Salt
- ¼ tsp Baking Soda
- 3 tbsp Melted Coconut Oil
- 2-3 tbsp Warm Water (add slowly)
For the Vanilla Crème Filling:
- ½ Cup Raw Coconut Butter (softened)
- 2 Tbsp Powdered Monk Fruit Sweetener
- 1 tsp Warm water (add slowly)
Instructions
- Mix Dry Ingredients: Whisk almond flour, Modern Mountain Black Cocoa, sweetener, baking soda, and salt until no lumps remain.
- Form Dough: Add melted coconut oil and warm water (1 tbsp at a time) until a moldable, non-sticky dough forms.
- Roll and Cut: Roll dough between parchment paper to 1/8 inch thickness. Cut rounds using a small circular cookie cutter.
- Bake: Bake at 325°F (160°C) for 10–12 minutes. Do not touch until fully cooled on the tray to ensure they crisp up.
- Whip Filling: Whisk softened coconut butter, powdered sweetener, and vanilla until silky peaks form.
- Assemble: Dollop filling onto one wafer and gently press a second wafer on top until filling reaches the edges.
- Set: Chill in the refrigerator for 15 minutes before serving for the best texture.
Notes
- Storage: Store in an airtight container in the fridge for up to 7 days.
- Authenticity: Using Modern Mountain Black Cocoa is essential for the authentic “Oreo” black color and flavor profile.
- Health Claim Disclaimer: Always double-check health claims and ingredient nutritional data with a certified medical professional or nutritionist.