We have all been there. It’s 3:00 PM, and the energy slump hits hard. You’ve been doing so well with your nutrition eating clean, hitting your protein goals, and staying on track but suddenly, your brain starts screaming for sugar.
For the longest time, my solution was to grab a “healthy” protein bar from the grocery store. It wasn’t until I actually turned the package over and read the label that I realized my mistake. Most of those bars are glorified candy bars, packed with inflammatory oils, artificial sweeteners that ruin your gut health, and enough sugar alcohols to cause serious bloating. And i was trying to lose weight and feel energized, but those snacks were doing the exact opposite.
I needed a bridge. I needed something that felt indulgent enough to silence the cravings but was functionally designed to fuel my body and support my weight loss goals. And wanted simple ingredients I could pronounce, and I wanted the skin-boosting benefits of collagen without having to drink another smoothie.
That is exactly how these 5-Ingredient No-Bake Collagen Protein Bars were born. They are my secret weapon for staying on track without feeling deprived.
What Do They Taste Like?
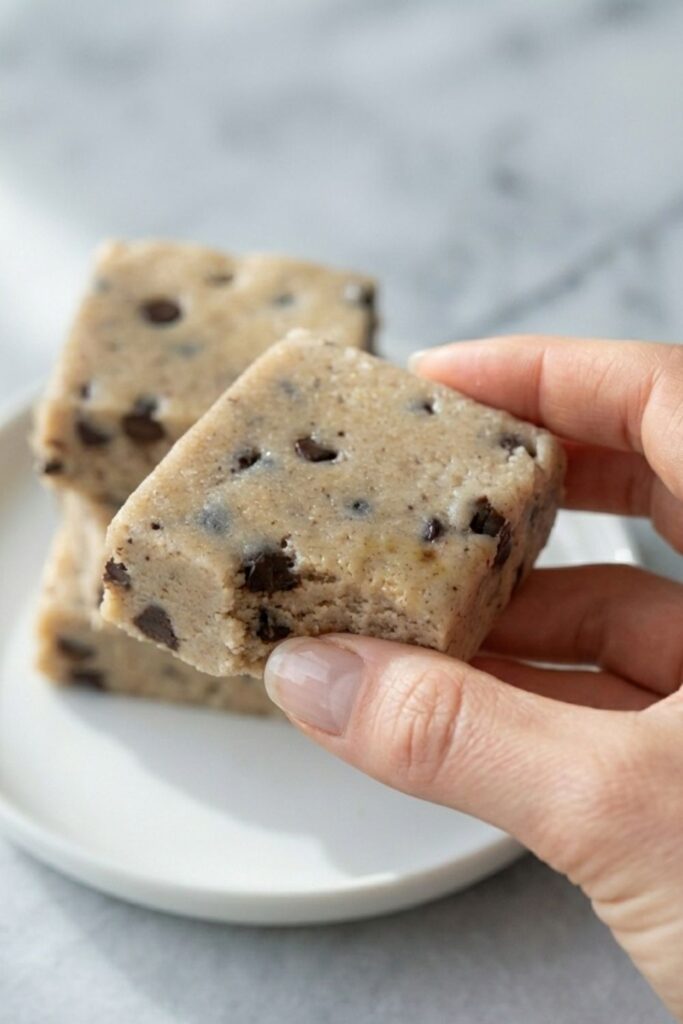
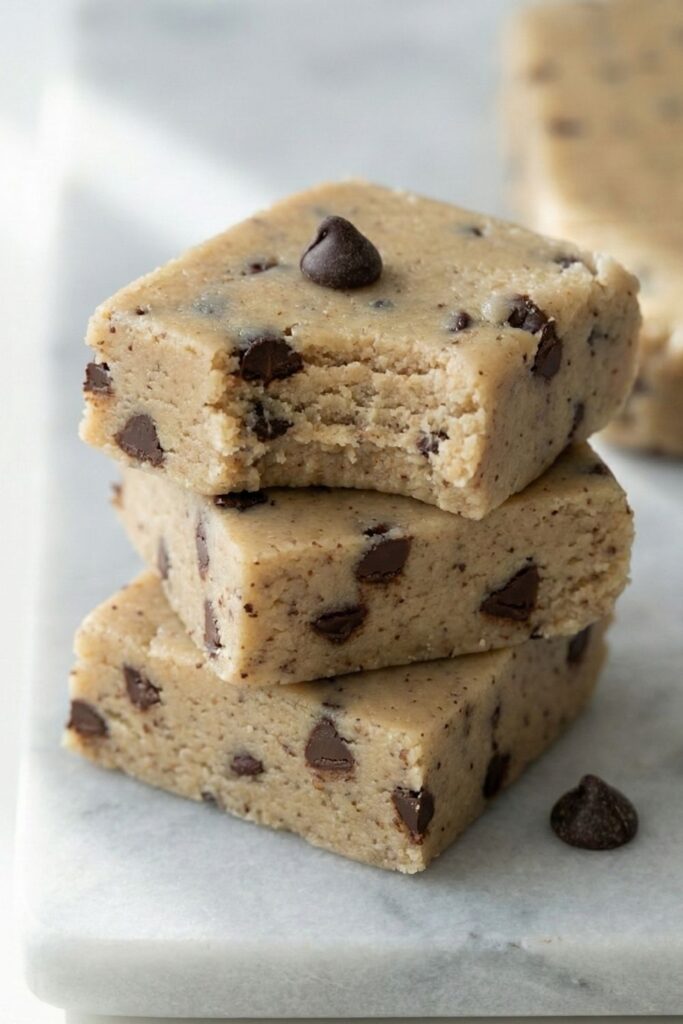
If you are worried that these will taste like “health food” don’t be. The texture is incredible. Because we use a specific ratio of nut butter to collagen, these don’t have that dry, powdery mouthfeel that plagues so many homemade protein bars.
Instead, they are dense, chewy, and fudgy, almost like a chilled cookie dough or a soft nougat. The nut butter provides a creamy richness, while the collagen disappears completely into the mixture, leaving no grit behind. They are just sweet enough to feel like a dessert, but savory enough to satisfy genuine hunger.
Why You’ll Love This Recipe
- Zero “Baking” Required: No oven, no heat, no waiting for things to rise. This preserves the integrity of the amino acids in the collagen.
- Only 5 Ingredients: You likely have all of them in your pantry right now.
- Low Sugar & Low Glycemic: Unlike date-based bars which can spike blood sugar, these use low-glycemic sweeteners to keep your energy stable.
- Glow-Boosting: Packed with hydrolyzed collagen to support skin elasticity, hair growth, and joint health.
- Macro-Friendly: High protein, healthy fats, and low carb perfect for weight management.
Ingredients & Substitutions: The “Expertise” Breakdown
To make the best bars, you need to understand your ingredients. Here is exactly what I use and, more importantly, why I use it.
Hydrolyzed Collagen Peptides (Unflavored)
- Why: Collagen is the star here. It is unique because it dissolves instantly and doesn’t thicken the way whey or casein protein does. This allows us to pack in protein without the bar becoming dry or rubbery.
- Substitution: You cannot use gelatin here; it will make the bars gummy. If you want a vegan option, you can swap this for a high-quality fermented pea protein, but you may need to add a tablespoon more liquid (like almond milk) as pea protein absorbs more moisture.
- Recommendation: [Unflavored Hydrolyzed Collagen Peptides]
2. Creamy Natural Almond Butter
- Why: This acts as the “glue” for the recipe. It provides healthy monounsaturated fats and Vitamin E. You want the “drippy” kind where oil separation happens—not the stiff, shelf-stable kind with added palm oil.
- Substitution: Cashew butter works beautifully for a more neutral, cookie-dough flavor. Peanut butter works great if you want a “Reese’s” vibe. Sunflower seed butter is a perfect 1:1 swap for a nut-free version.
- Recommendation: [Organic Creamy Almond Butter]
3. Coconut Flour
- Why: Coconut flour is highly absorbent (hygroscopic). It soaks up the oil from the almond butter and gives the bar structure without needing to bake it. It is also high in fiber.
- Substitution: Do not swap 1:1 with almond flour. Almond flour is not absorbent enough. If you must use almond flour, you will need to triple the amount (use roughly 3x the amount of coconut flour listed), but the texture will be softer and oilier. Oat flour can work, but use 2x the amount.
4. Liquid Sweetener (Sugar-Free Syrup or Honey)
- Why: You need a liquid sweetener to bind the dry ingredients.
- Option A (Strict Keto/Low Sugar): Use a sugar-free monk fruit syrup or allulose syrup. This keeps the sugar impact near zero.
- Option B (Paleo/Natural): Use raw honey or pure maple syrup. This adds natural sugars but binds the bars firmly.
- Recommendation: [Lakanto Monk Fruit Maple Syrup]
5. Dairy-Free Chocolate Chips (Optional but Recommended)
- Why: Texture contrast! The crunch of the chocolate against the chewy bar is essential for satisfaction.
- Substitution: Cacao nibs for a superfood crunch, or chopped walnuts.
- Recommendation: [Enjoy Life or Lily’s Sweets]
Step-by-Step Process (With Visual Cues)
Follow these steps exactly to ensure the perfect consistency.
Step 1: Create the Liquid Foundation
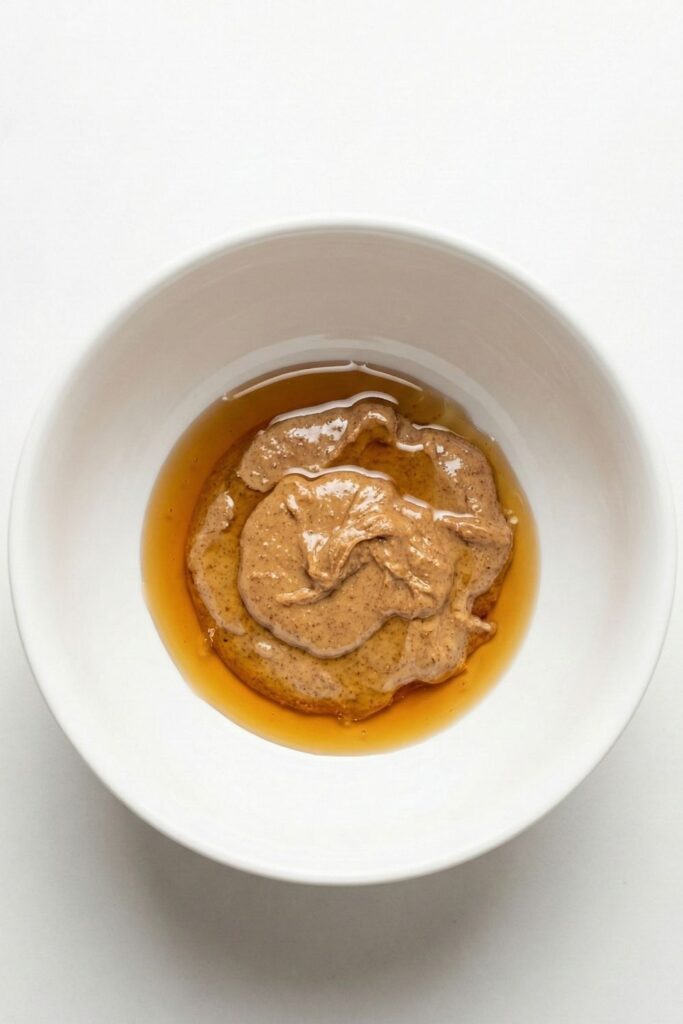
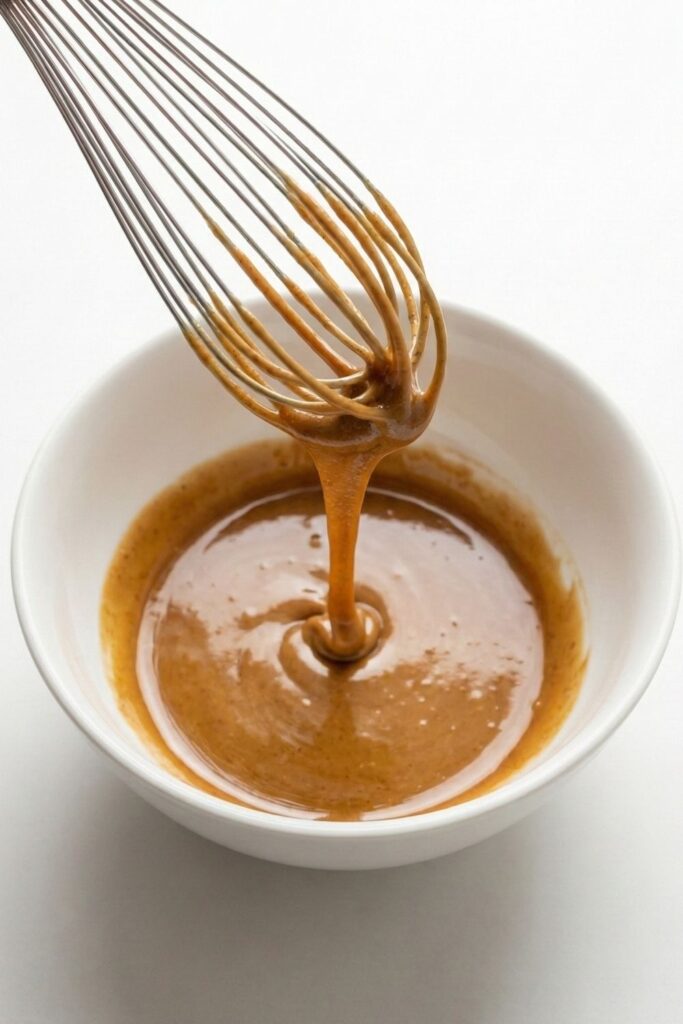
Start by combining your nut butter and maple syrup in a large mixing bowl. It is crucial to whisk these together before adding any dry ingredients.
Step 2: Dissolve the Collagen
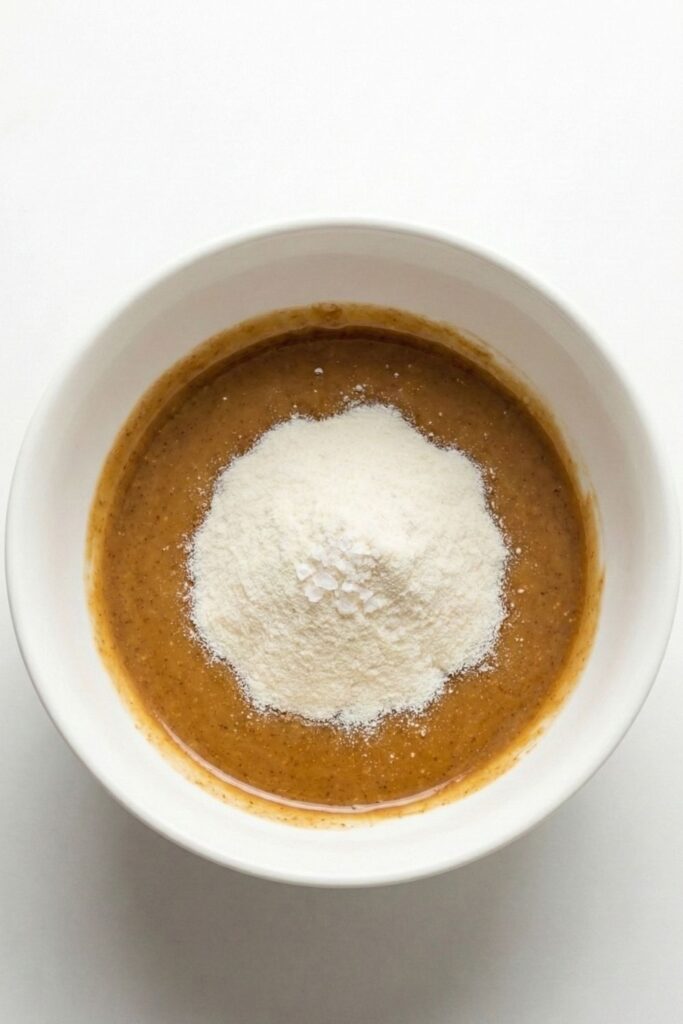
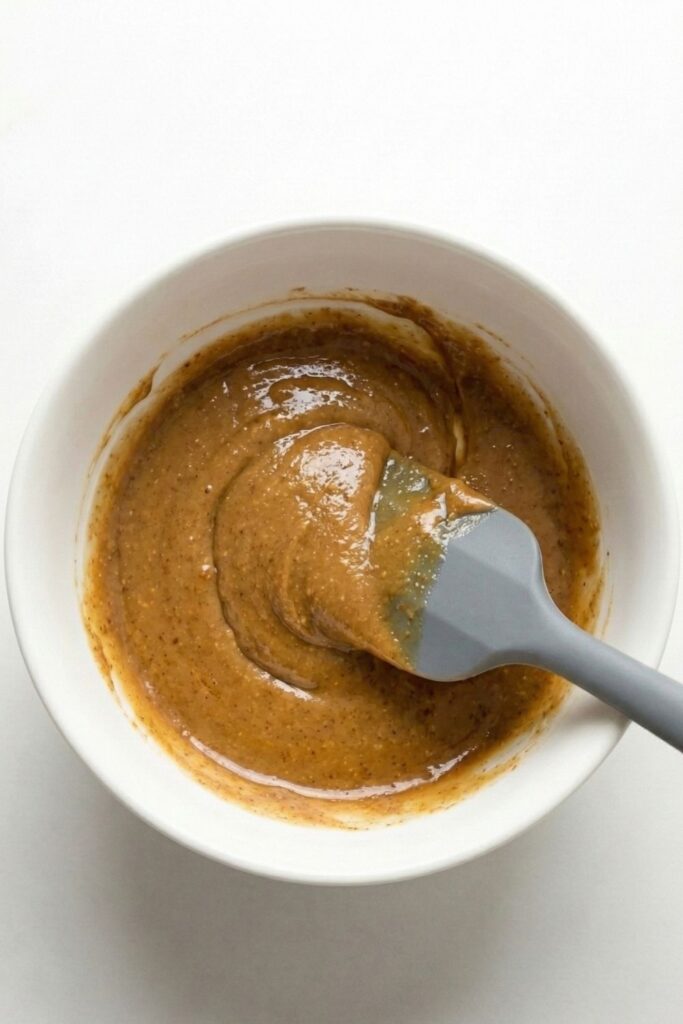
Add the collagen peptides and salt directly to the wet mixture. Switch to a rubber spatula and stir until the powder is completely dissolved.
Step 3: The “Crumbly” Phase (Don’t Panic!)
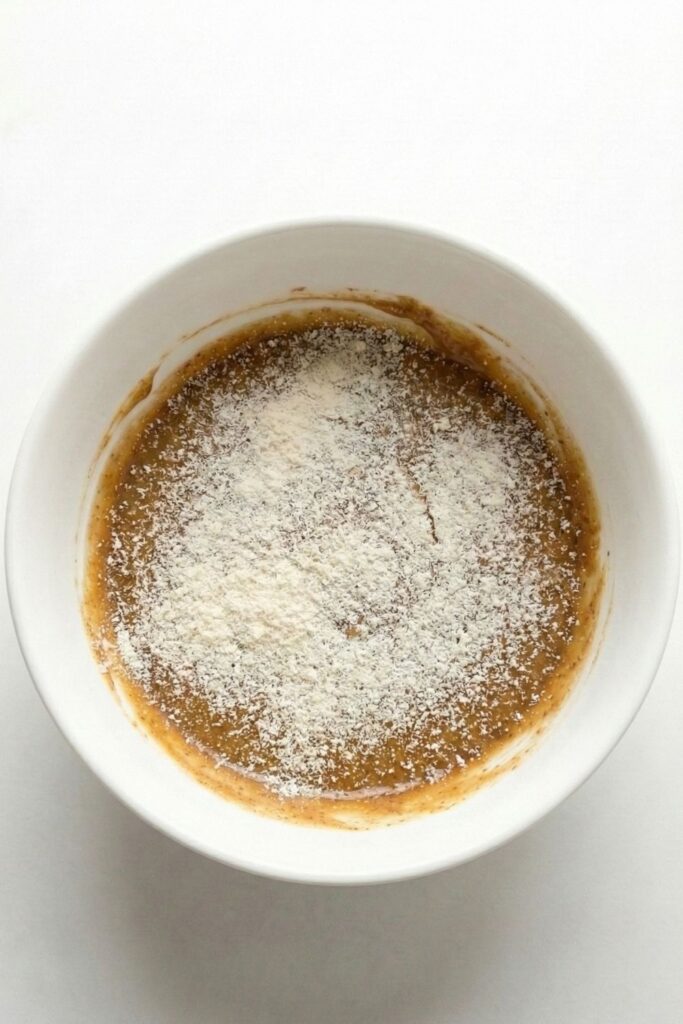
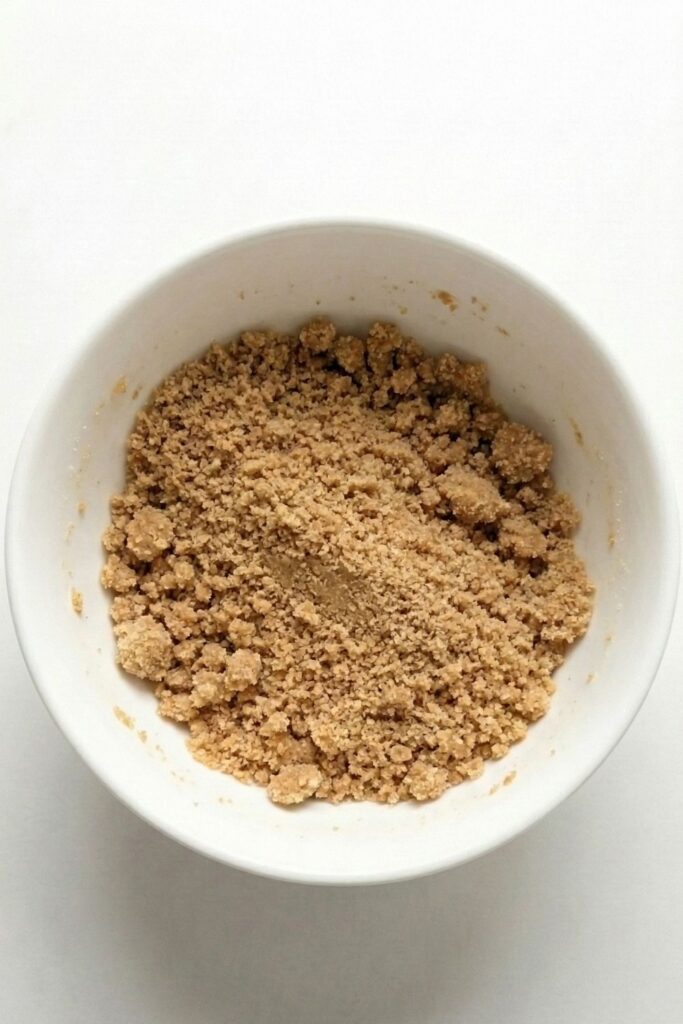
Sprinkle the coconut flour evenly over the bowl and fold it in. After about 30 seconds of mixing, the dough will look crumbly and dry, almost like wet sand.
Step 4: The Dough Test
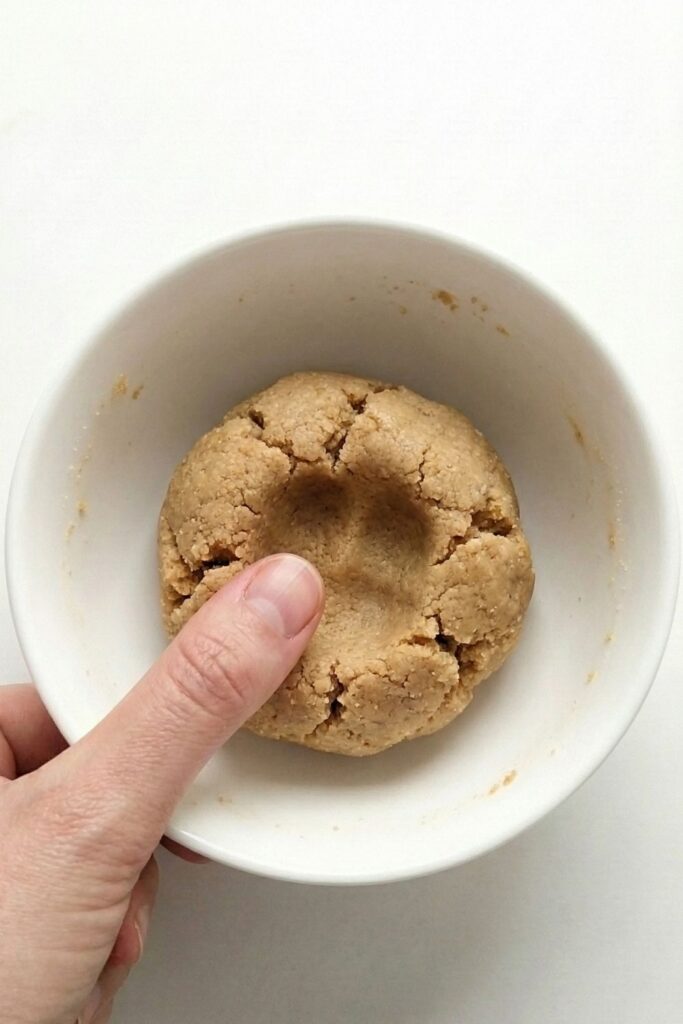
Use your clean hands to press the crumbs together. The heat from your hands helps the coconut flour absorb the moisture, instantly transforming the “sand” into a cohesive dough.
Step 5: Fold in the Chocolate
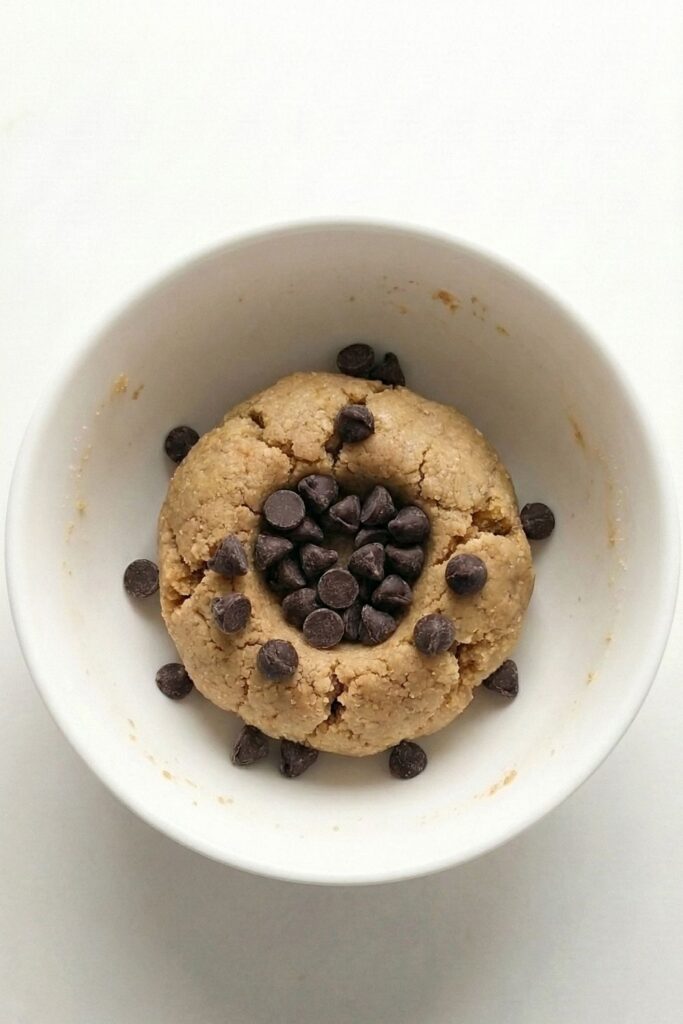
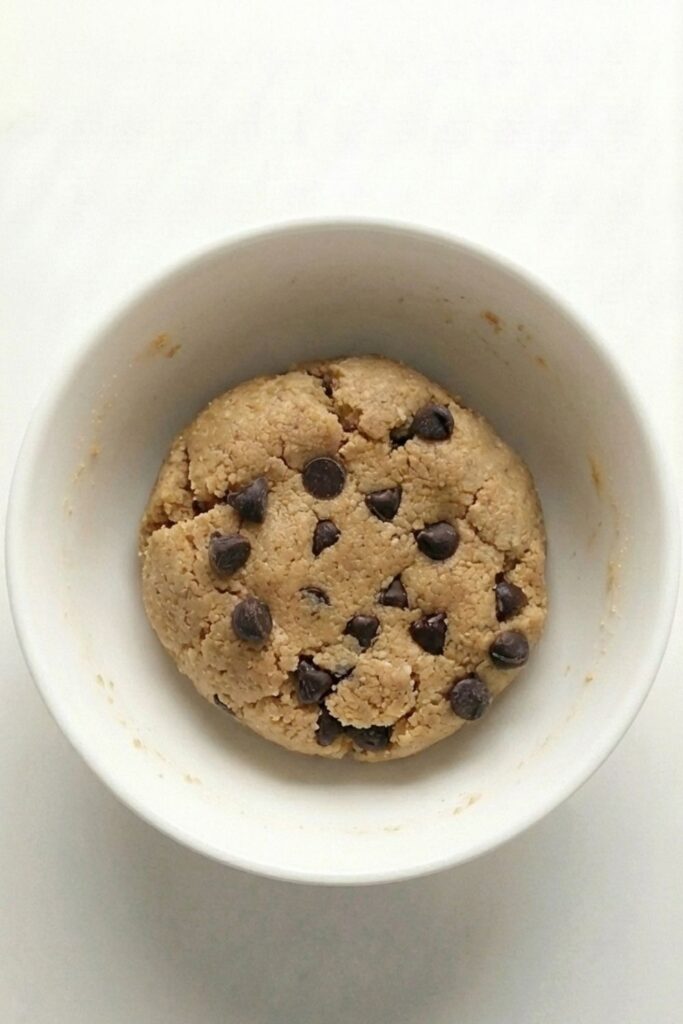
Add your chocolate chips (or cacao nibs for a lower sugar option). Because the dough is thick, you may need to use your hands to “knead” the chips in, ensuring they are evenly distributed throughout the bar, not just on the surface.
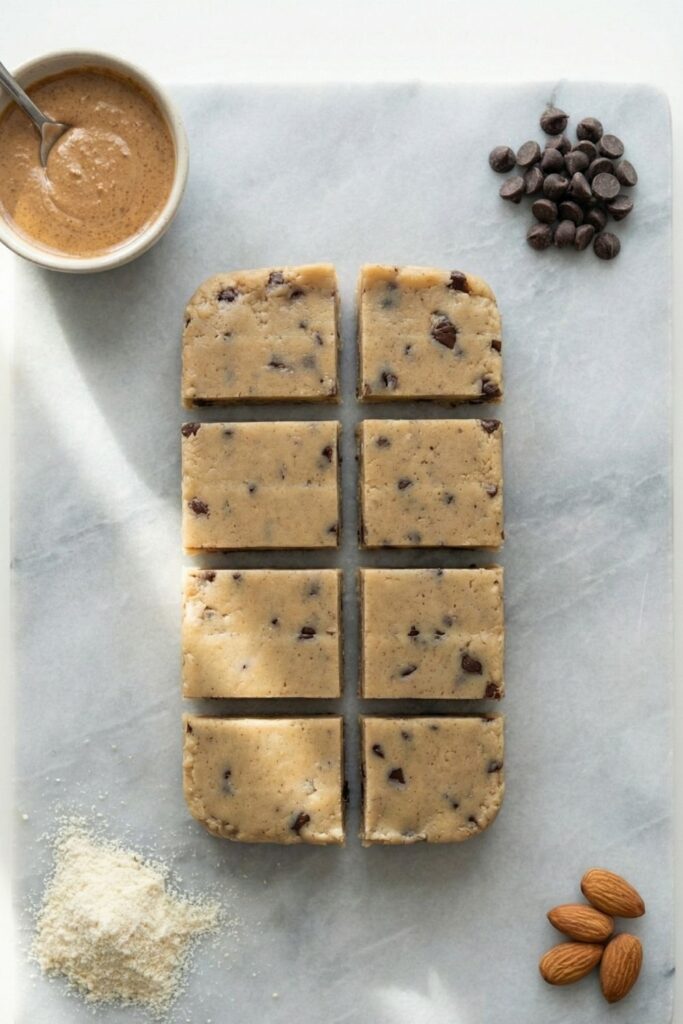
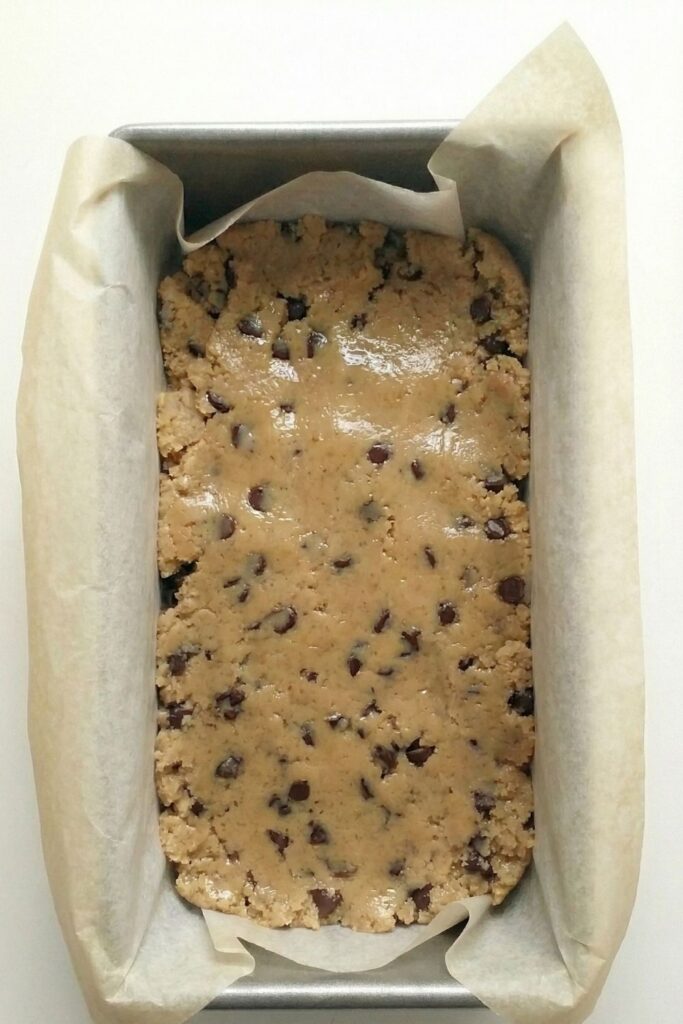
Step 6: Press & Compress
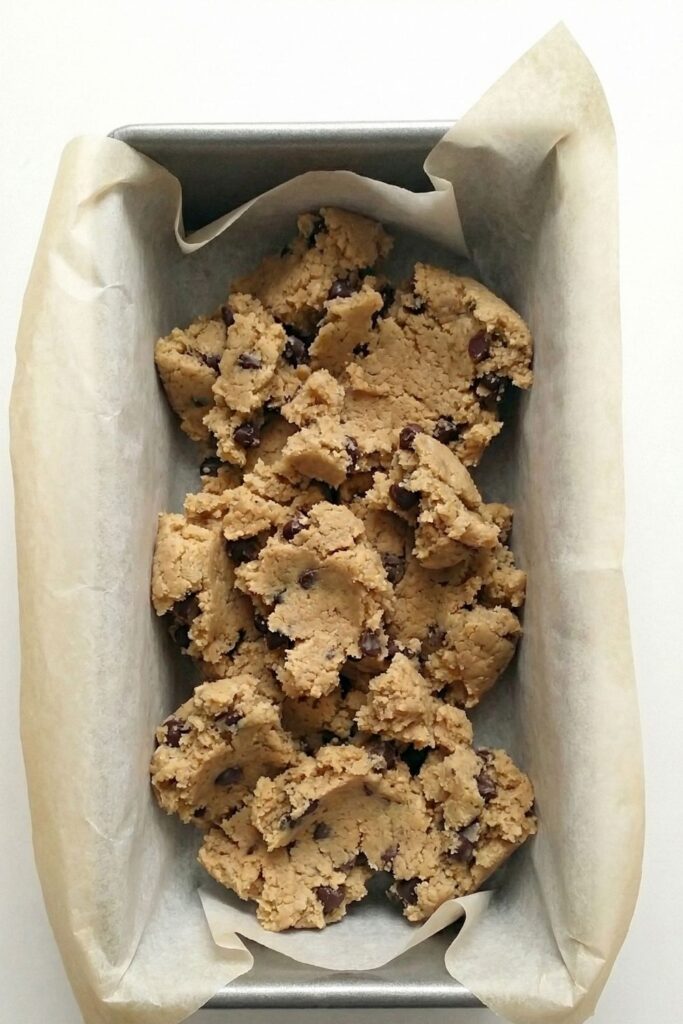
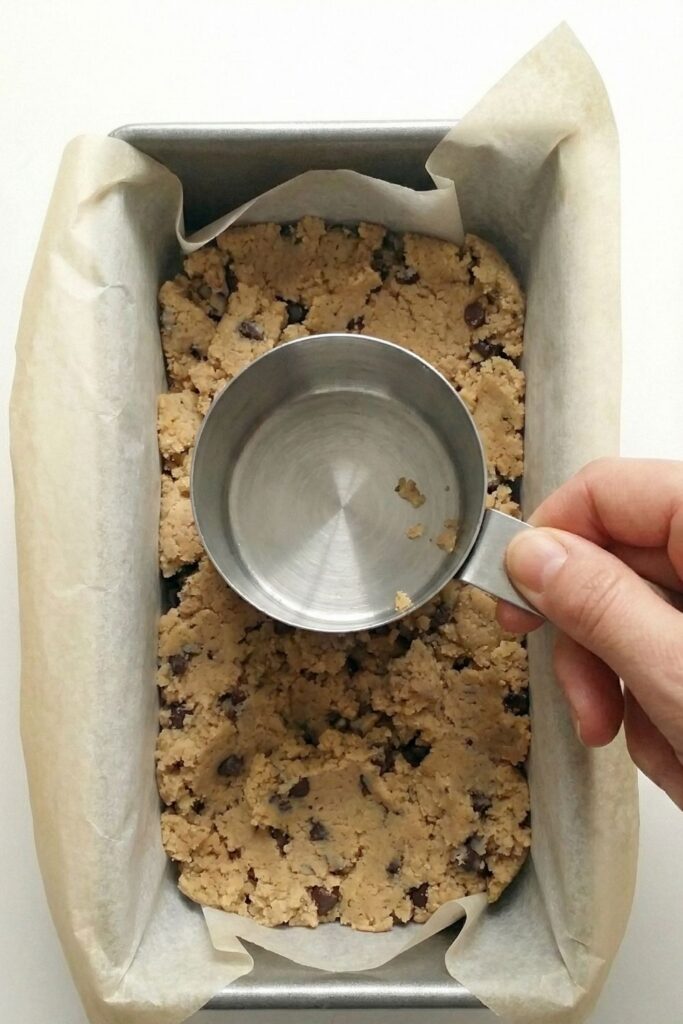
Transfer the dough to a loaf pan lined with parchment paper. Using the back of a measuring cup or your hands, press the dough firmly into the corners.
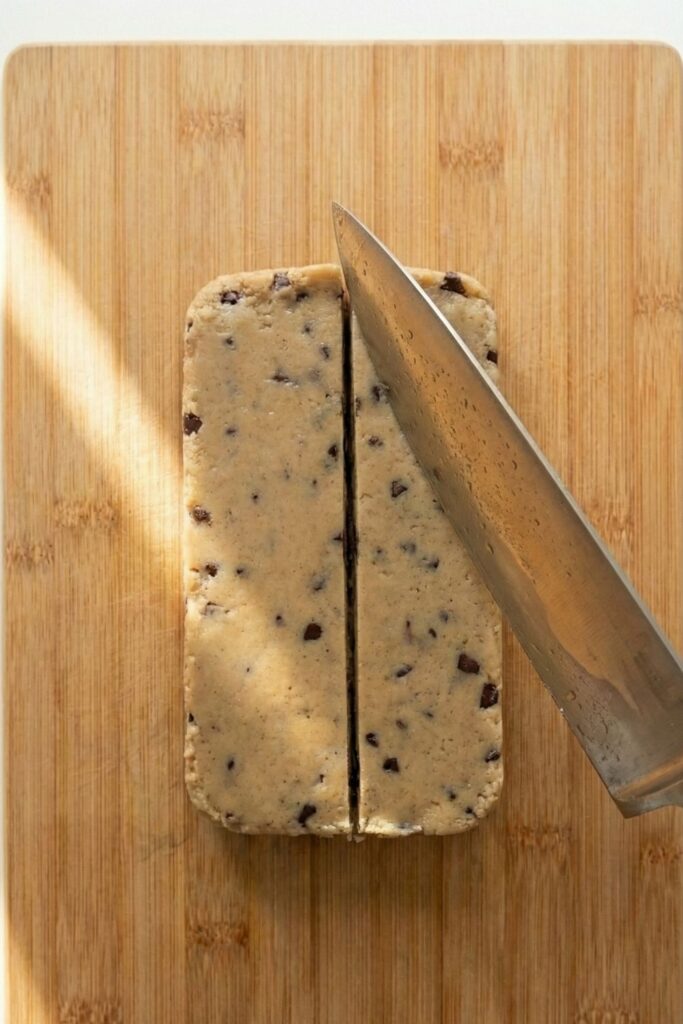
Step 7: The Clean Cut
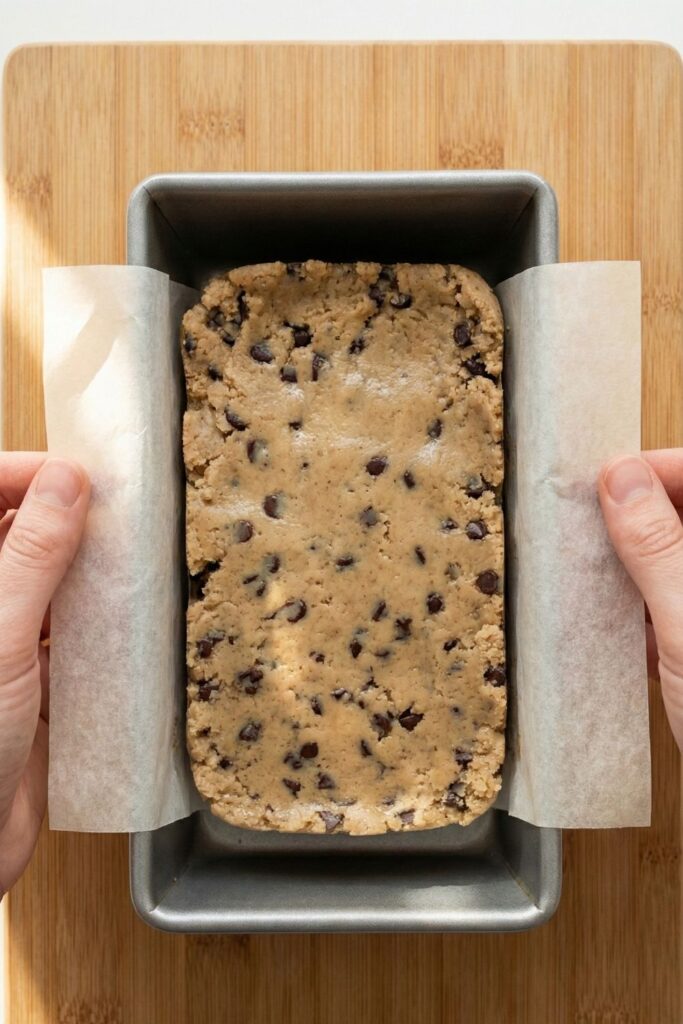
Once chilled, lift the block out of the pan and place it on a cutting board.
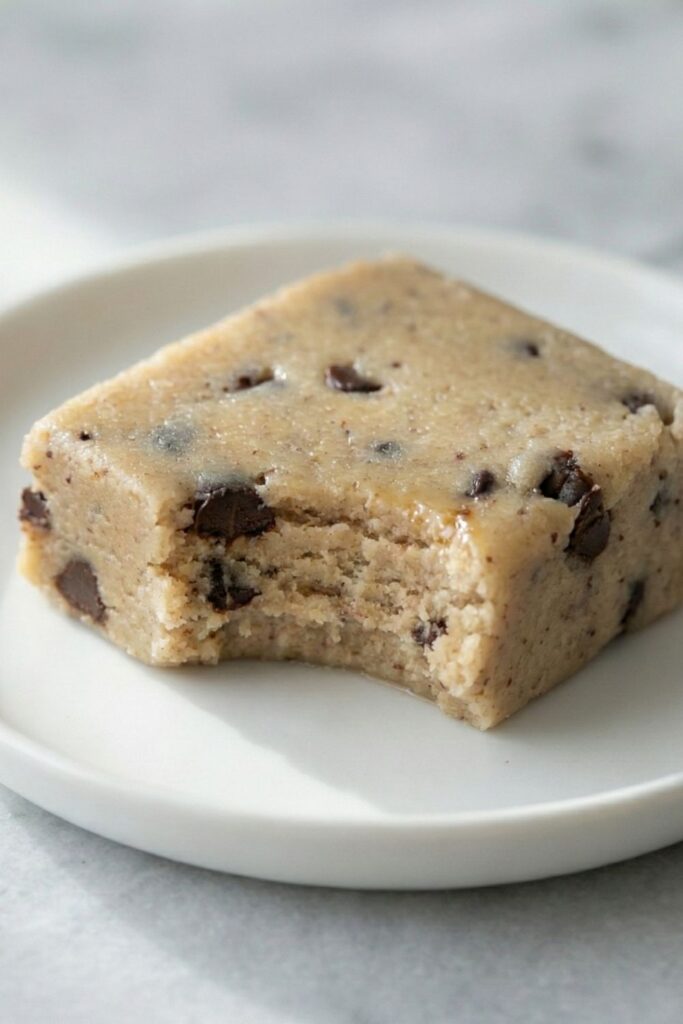
8. Serve & Portion Control
- If you made Standard Bars: Slice into 8 bars (~180 calories each).
- If you made Thick Bars: Slice into 16 squares (bites) to keep them around 90-100 calories each, or 8 thick bars if you want a larger meal replacement (~200+ calories depending on exact thickness).
Troubleshooting: Common Mistakes & How to Fix Them
I want you to have 100% success with this recipe, so here is how to troubleshoot like a pro.
1. Problem: My dough is too crumbly and won’t stick together.
- The Cause: You likely used too much coconut flour, or your nut butter was the dry, bottom-of-the-jar kind.
- The Fix: Add water or almond milk, 1 teaspoon at a time. Massage it in with your hands until the dough comes together.
2. Problem: My bars are too oily/wet.
- The Cause: Your almond butter was very oily, or you didn’t measure the flour correctly.
- The Fix: Add another teaspoon of coconut flour and let it sit for 5 minutes. Coconut flour takes time to absorb moisture.
3. Problem: The bars are melting at room temperature.
- The Cause: Natural nut butters and coconut oil (if your butter contains it) melt in heat.
- The Fix: These are “No-Bake” bars, which implies they rely on cold to hold their firmest structure. Keep them stored in the fridge.
The Nutrition Breakdown: Why This Beats Store-Bought
Let’s look at the numbers. As someone who cares deeply about what goes into my body, I compared this homemade recipe to a popular store-bought protein bar (let’s call it “Brand Q”).
- “Brand Q” Bar: 200 Calories | 21g Protein | 14g Fat (processed oils) | 22g Carbs | Sucralose & Corn Fiber
- My Homemade Collagen Bar: 180 Calories | 15g Protein | 10g Fat (healthy nuts) | 6g Net Carbs | No Artificial Sweeteners
While “Brand Q” might have slightly more protein, it comes with a side of bloating and artificial ingredients. My version provides highly bioavailable collagen specifically for skin and joints, with clean energy that won’t cause a crash.
Storage & Freezing Tips
These bars are great for meal prep.
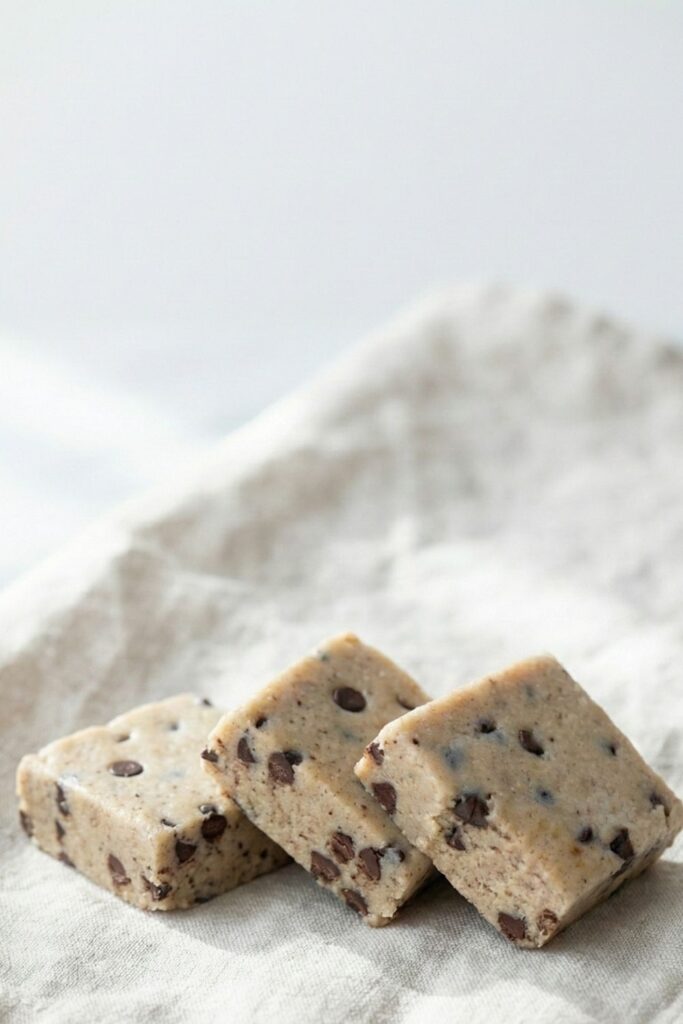
- Refrigerator: Store in an airtight container for up to 2 weeks. They will maintain a fudge-like consistency.
- Freezer: These freeze amazingly well! Wrap them individually in parchment paper and store in a freezer bag for up to 3 months.
- To Serve: You can eat them straight from the freezer (they don’t freeze rock hard because of the fat content) or let them thaw for 5 minutes.
Frequently Asked Questions (FAQ)
You can, but the texture will change significantly. Whey protein absorbs liquid differently and can dry out no-bake recipes. If you use whey, start with less coconut flour and add milk as needed to get the right consistency.
Surprisingly, no! The amount of coconut flour is small compared to the strong flavor of the almond butter and sweetener. If you hate coconut, you won’t notice it here.
Generally, yes, but collagen is an animal product (usually bovine or marine). If you have specific health conditions or are pregnant, always double-check with your doctor.
Disclaimer: I am a blogger, not a doctor, and this is not medical advice.
5-Ingredient No-Bake Collagen Protein Bars
Ingredients
- 1 Cup Creamy Almond Butter (natural, drippy)
- ⅓ Cup Liquid Sweetener (Monk fruit syrup for low sugar, or Honey)
- ½ Cup Unflavored Collagen Peptides
- 2-3 Cup Coconut Flour (start with 2 tbsp)
- ⅓ Cup Dark Chocolate Chips (sugar-free)
- Pinch of sea salt
Instructions
- Mix Base: In a medium bowl, whisk together the almond butter and liquid sweetener until smooth and glossy.
- Add Protein: Stir in the collagen peptides. The mixture will become sticky.
- Thicken: Add the coconut flour, one tablespoon at a time, mixing thoroughly. Stop adding flour when the dough holds its shape and isn't sticky to the touch.
- Add Crunch: Fold in the chocolate chips.
- Press: Line an 8×4 loaf pan with parchment paper. Press the dough firmly into the pan to create an even layer.
- Chill: Refrigerate for 30 minutes to set.
- Serve: Lift out of the pan and slice into bars. Enjoy!
Notes
- Net Carbs: If using monk fruit syrup, each bar has approx 3-4g net carbs.
- Storage: Keep refrigerated.